Debian GNU/Linux12基础配置(静态路由、ssh、apt、防火墙)
找到 #PermitRootLogin 一行 改成 PermitRootLogin yes (取消注释) PermitRootLogin yes。删掉#PasswordAuthentication yes 前面的 #nano编辑器 Ctrl + O 保存(按下后需回车确认)放在%sudo ALL=(ALL:ALL) ALL下方。nano编辑器 Ctrl + X 退出。MobaXterm成功连接。
·
一、开启sudo命令
1.使用apt下载sudo(实际上debian自带sudo,此操作为安装sudo)
sudo apt install sudo
2.配置特权用户
放在%sudo ALL=(ALL:ALL) ALL下方
username(用户名) ALL=(ALL:ALL) ALL
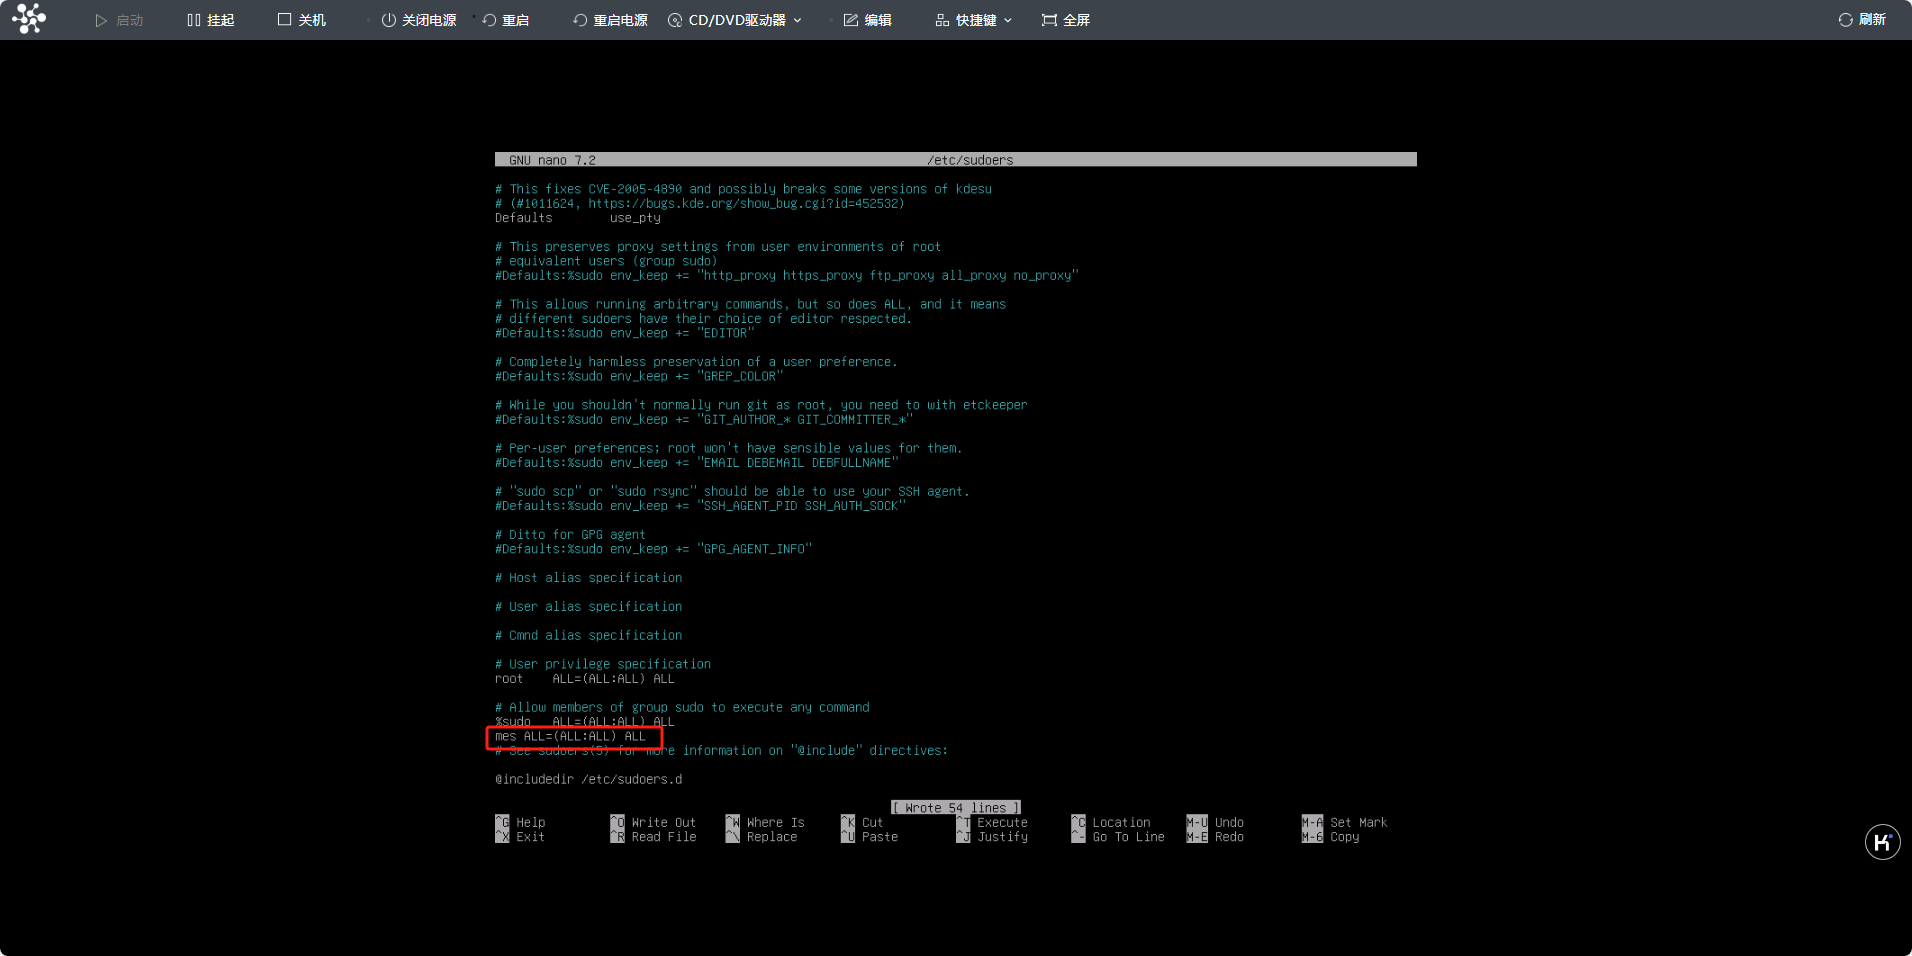
3.测试权限(显示root代表权限配置成功)
sudo whoami
二、配IP、网关、DNS
1.进入/etc/network文件夹
cd /etc/network
2.确认网卡名称(ens18)
ip link show
3.修改interfaces文件(nano编辑器)
nano interfaces
nano编辑器 Ctrl + O 保存(按下后需回车确认)
nano编辑器 Ctrl + X 退出
#自启动网口ens18
auto ens18
#将网口设定为静态配置IP
iface ens18 inet static
#配置IP
address 192.168.0.2
#配置子网掩码
netmask 255.255.255.0
#配置网关
gateway 192.168.0.1
#配置DNS
dns-nameservers 114.114.114.114
4.重启网络服务
sudo systemctl restart networking![]()
5.验证网卡配置6.测试内网以及外网通讯
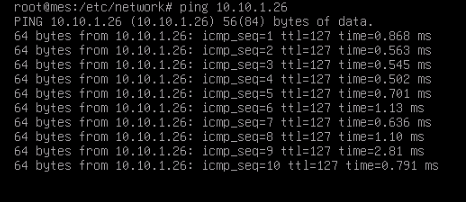
内网
ping 192.168.0.99
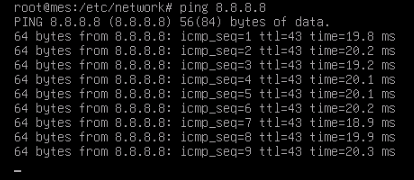
外网
ping 8.8.8.8
三、安装ssh,设置root登录
1.安装openssh-server
sudo apt-get install openssh-server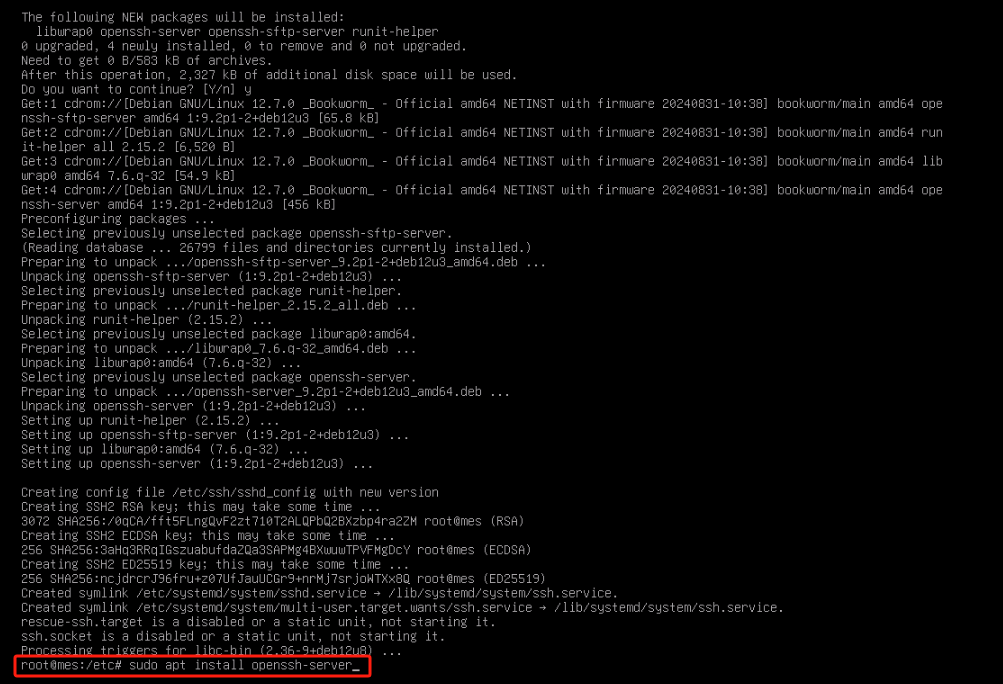
2.启动ssh
sudo systemctl start ssh![]()
3.启用ssh
sudo systemctl enable ssh
4.查看ssh状态
sudo systemctl status ssh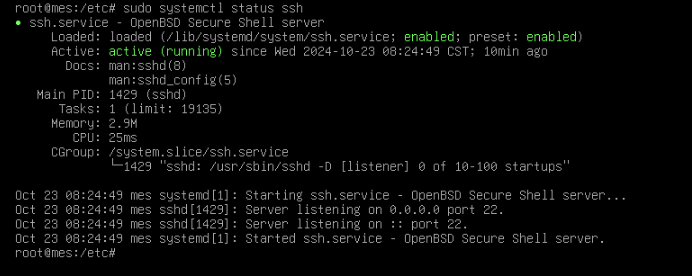
5.进入/etc/ssh文件夹
cd /etc/ssh![]()
6.修改sshd_config文件
nano sshd_config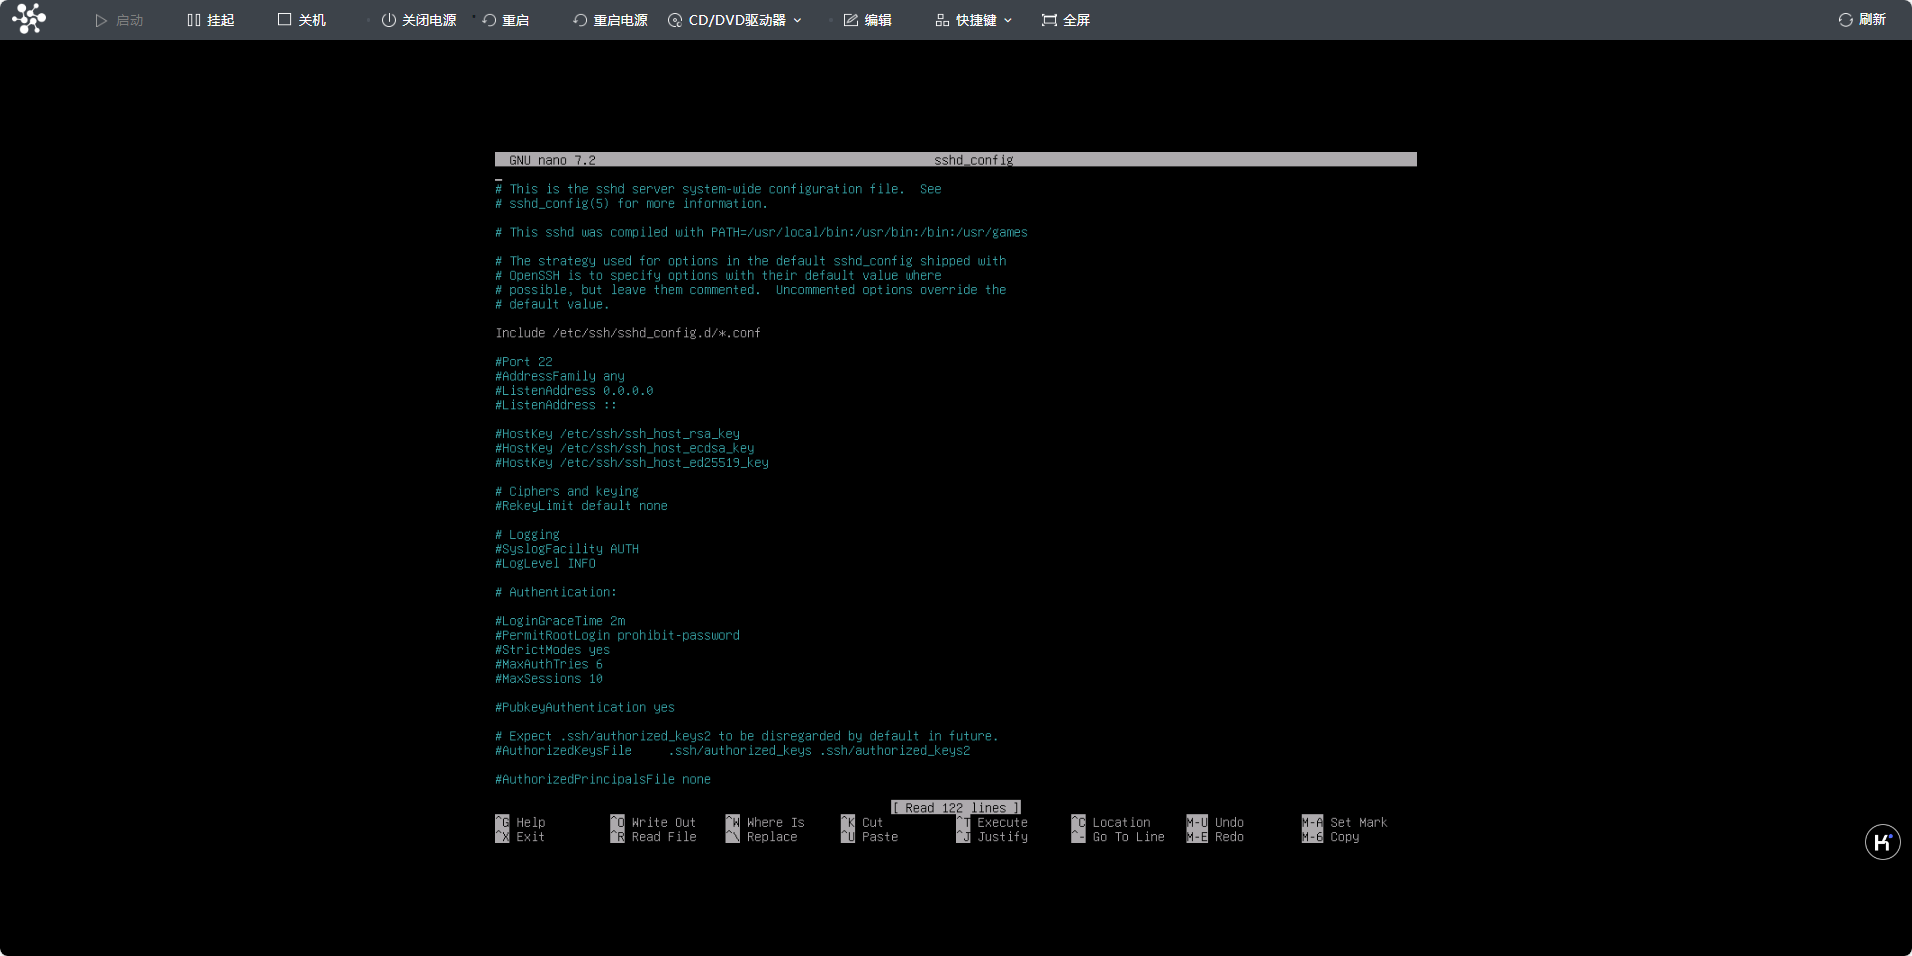
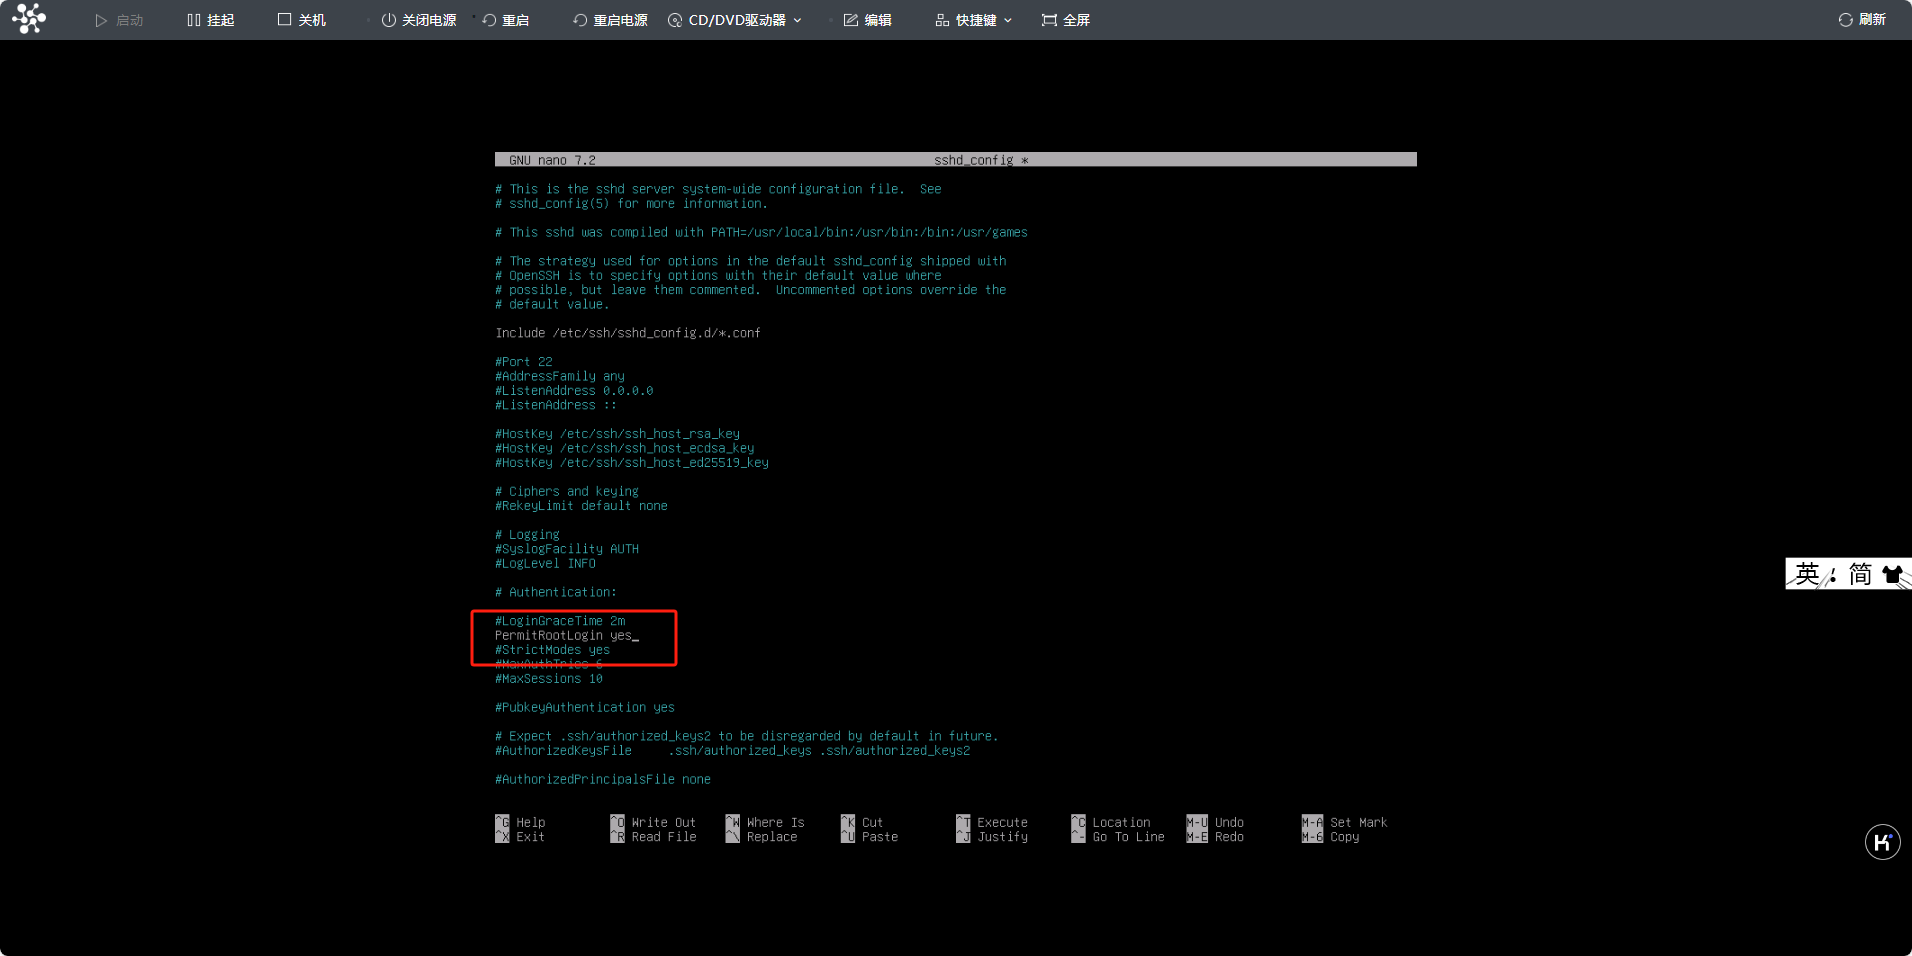
找到 #PermitRootLogin 一行 改成 PermitRootLogin yes (取消注释)
PermitRootLogin yes
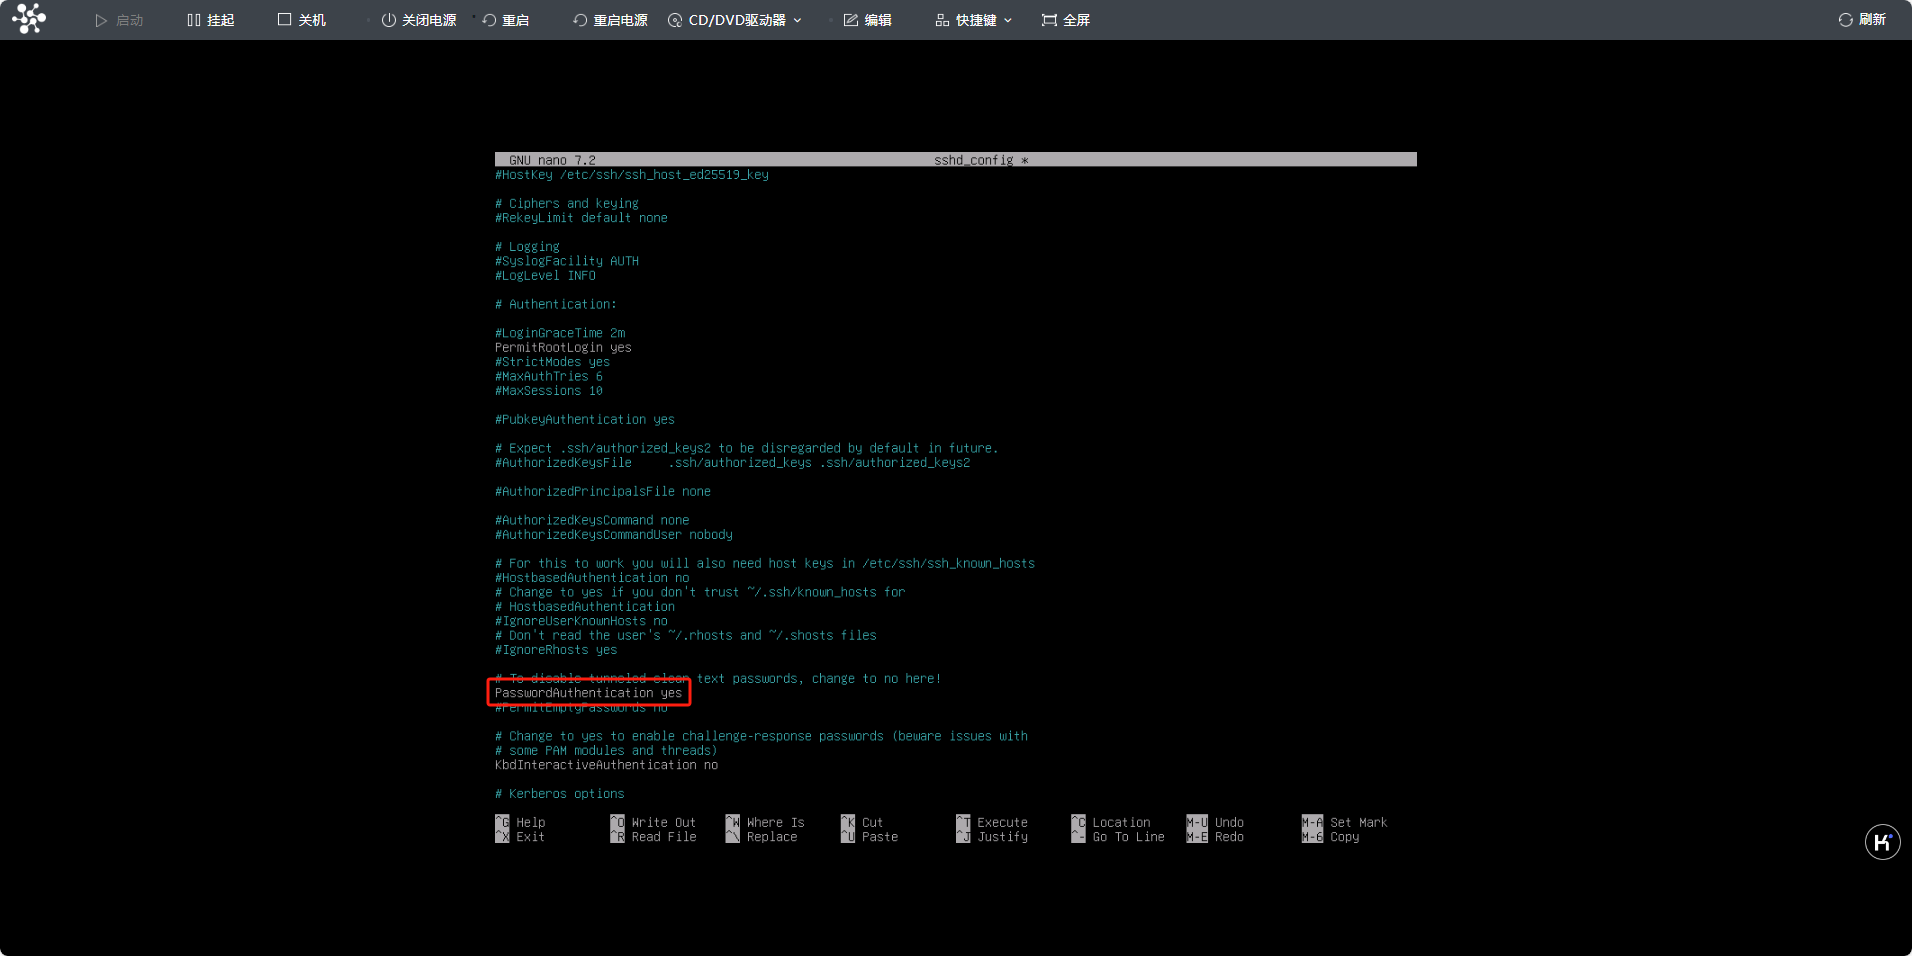
删掉#PasswordAuthentication yes 前面的 #
7.重启ssh
sudo service ssh restart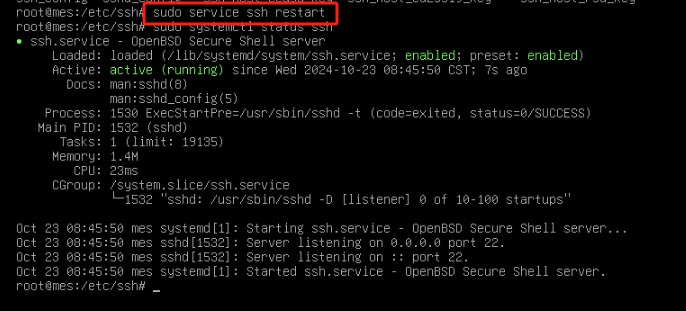
8.尝试ssh连接(Putty或MobaXterm)
Putty成功连接

MobaXterm成功连接
四、修改apt源,打补丁(使用MobaXterm方便粘贴源)
1.进入/etc/apt文件夹
cd /etc/apt
2.修改sources.list文件(删除原有apt源)
nano sources.list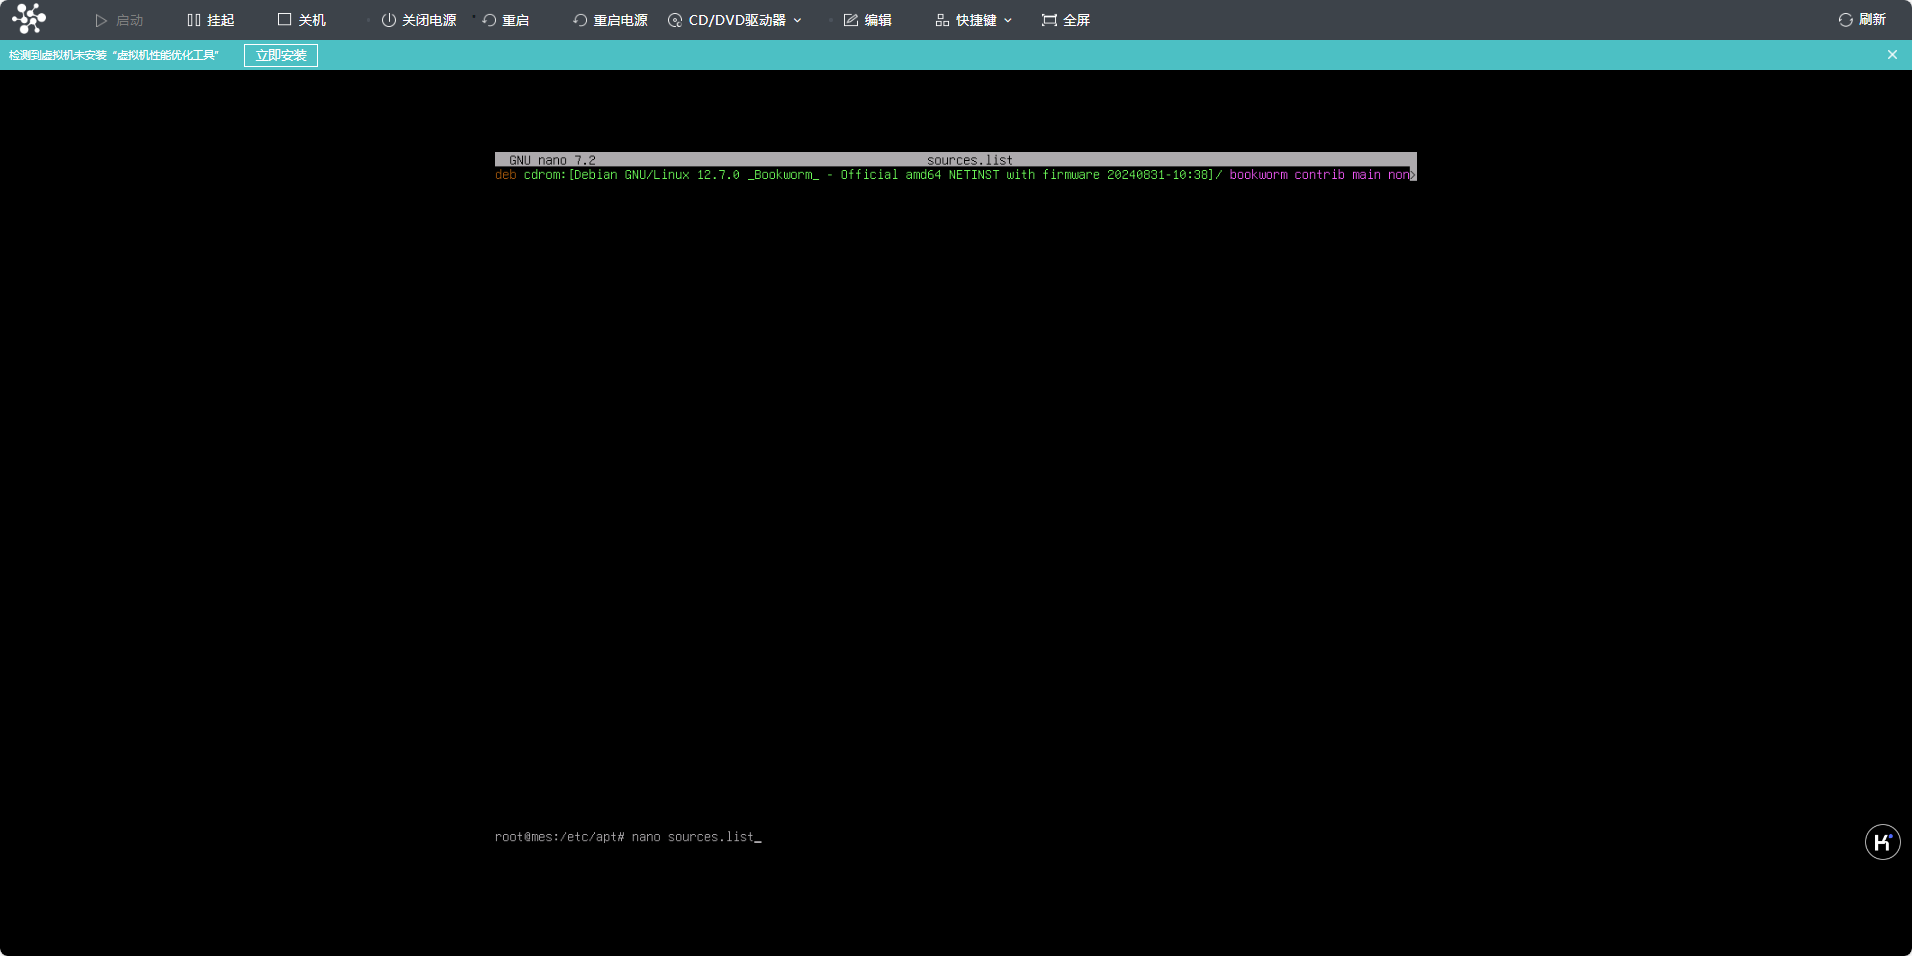
阿里云
deb https://mirrors.aliyun.com/debian/ bookworm main non-free non-free-firmware contrib
deb-src https://mirrors.aliyun.com/debian/ bookworm main non-free non-free-firmware contrib
deb https://mirrors.aliyun.com/debian-security/ bookworm-security main
deb-src https://mirrors.aliyun.com/debian-security/ bookworm-security main
deb https://mirrors.aliyun.com/debian/ bookworm-updates main non-free non-free-firmware contrib
deb-src https://mirrors.aliyun.com/debian/ bookworm-updates main non-free non-free-firmware contrib
deb https://mirrors.aliyun.com/debian/ bookworm-backports main non-free non-free-firmware contrib
deb-src https://mirrors.aliyun.com/debian/ bookworm-backports main non-free non-free-firmware contrib
中科源
deb https://mirrors.ustc.edu.cn/debian/ bookworm main non-free non-free-firmware contrib
deb-src https://mirrors.ustc.edu.cn/debian/ bookworm main non-free non-free-firmware contrib
deb https://mirrors.ustc.edu.cn/debian-security/ bookworm-security main
deb-src https://mirrors.ustc.edu.cn/debian-security/ bookworm-security main
deb https://mirrors.ustc.edu.cn/debian/ bookworm-updates main non-free non-free-firmware contrib
deb-src https://mirrors.ustc.edu.cn/debian/ bookworm-updates main non-free non-free-firmware contrib
deb https://mirrors.ustc.edu.cn/debian/ bookworm-backports main non-free non-free-firmware contrib
deb-src https://mirrors.ustc.edu.cn/debian/ bookworm-backports main non-free non-free-firmware contrib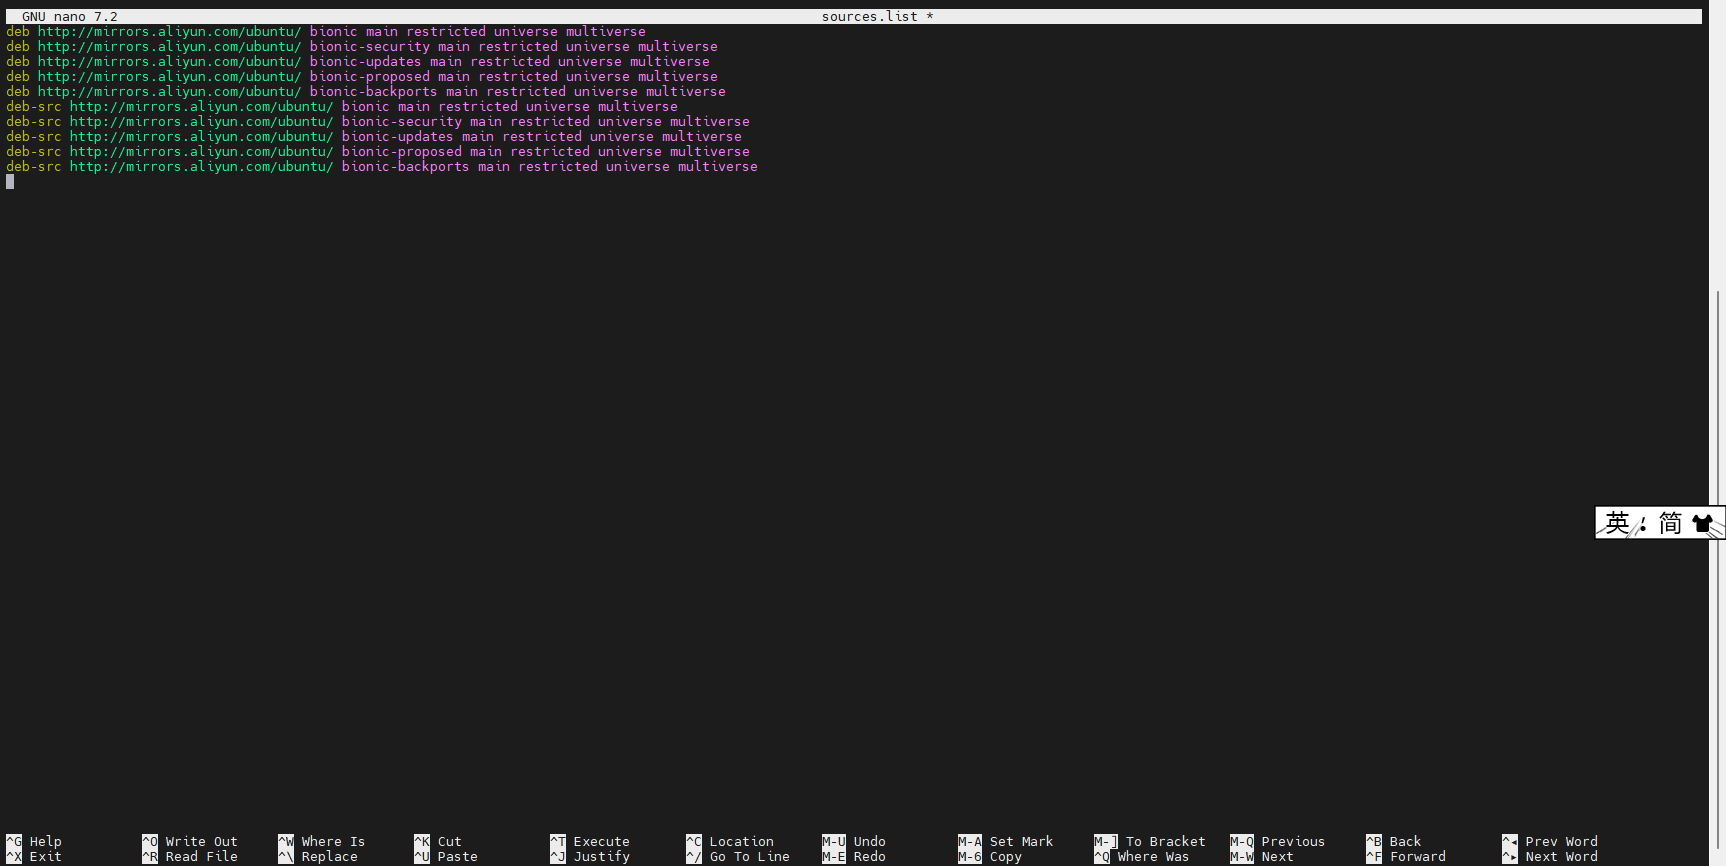
3.更新源列表并升级系统
sudo apt-get update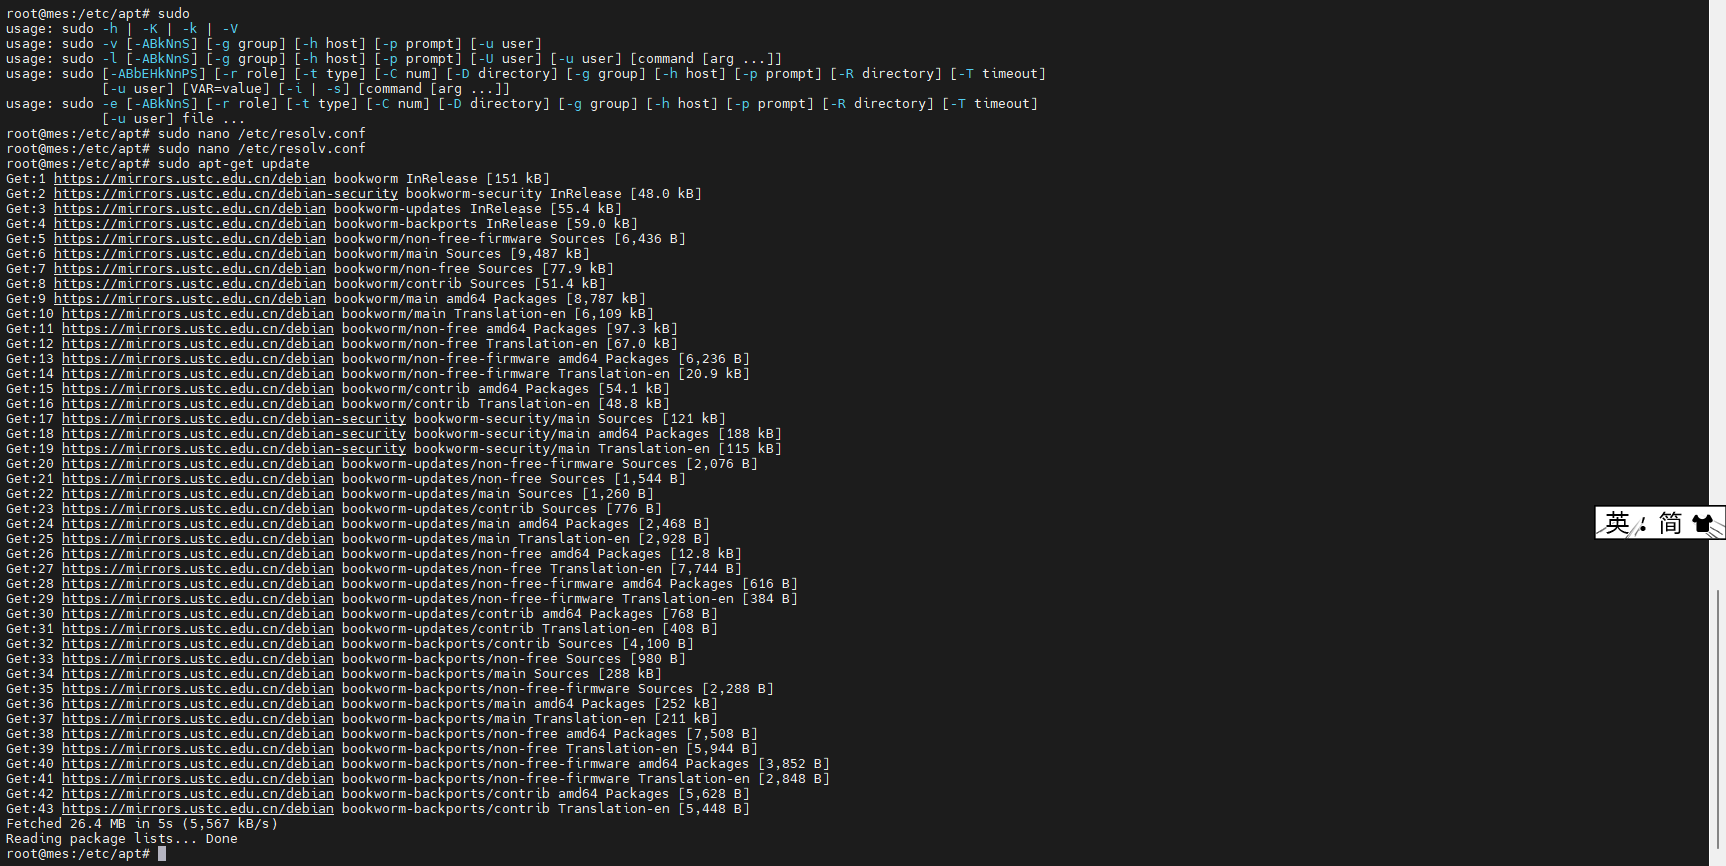
五、安装启用防火墙
1.安装防火墙
sudo apt-get install ufw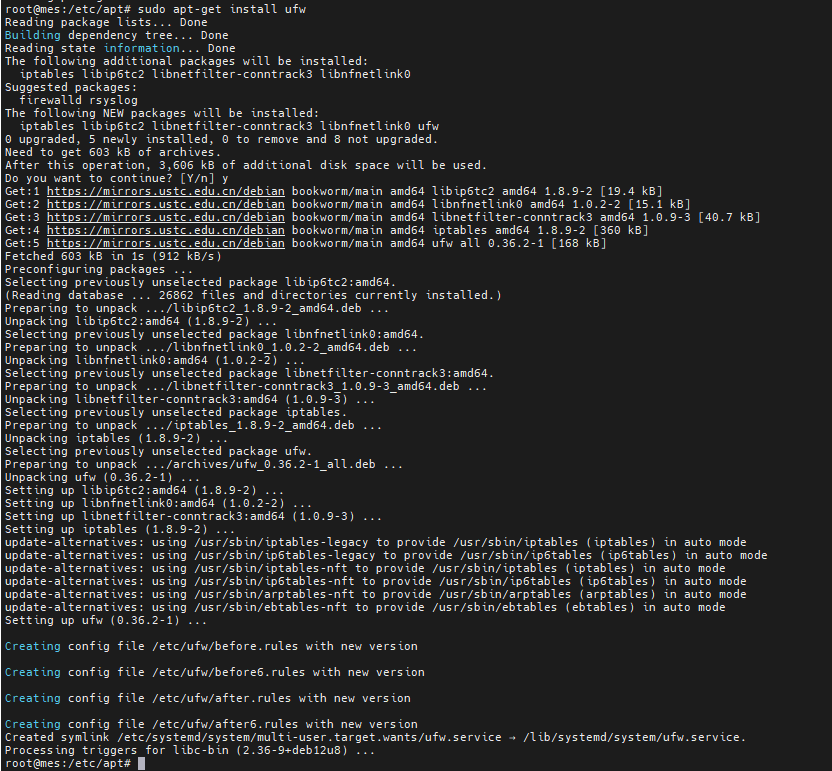
更多推荐
 已为社区贡献1条内容


所有评论(0)