python-opencv划痕检测-续
第六步:绘制轮廓,并将过滤面积较小的轮廓,且进行轮廓填充。这次划痕检测,是上一次划痕检测的续集。第一步:读取灰度图像。第二步:进行均值滤波。第三步:进行图像差分。
·
python-opencv划痕检测-续
这次划痕检测,是上一次划痕检测的续集。
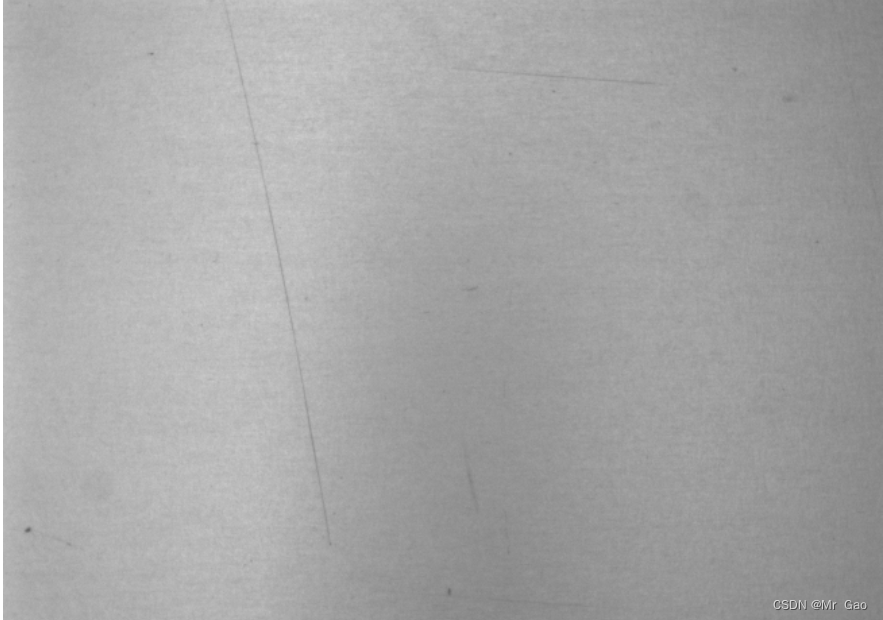
处理的图像如下:

这次划痕检测,我们经过如下几步:
第一步:读取灰度图像
第二步:进行均值滤波
第三步:进行图像差分
第四步:阈值分割
第五步:轮廓检测
第六步:绘制轮廓,并将过滤面积较小的轮廓,且进行轮廓填充
代码如下:
import cv2
import copy
import math
import matplotlib.pyplot as plt
import matplotlib as mpl
import numpy as np
import os


path=r'sta.bmp'

img=cv2.imread(path)

def histogram_equalization(image):
    gray = image
    equalized = cv2.equalizeHist(gray)
    return equalized

# 图像去噪 - 高斯滤波
def gaussian_filtering(image):
    blurred = cv2.GaussianBlur(image, (3, 3), 0)
    return blurred


#img=gaussian_filtering(img)

#img = histogram_equalization(img)
img_gray=cv2.cvtColor(img,cv2.COLOR_BGR2GRAY)


def cv_show(name,img):
    cv2.imshow(name,img)
    #cv2.waitKey(0),接收0,表示窗口暂停
    cv2.waitKey(0)
    #销毁所有窗口
    cv2.destroyAllWindows()


img_mean_3 = cv2.blur(img_gray, (10, 10))

#图像差分
img_diffence=cv2.subtract(img_mean_3,img_gray)

img_diffence1=img_mean_3-img_gray

plt.subplot(131)
plt.imshow(img_diffence,'gray')
plt.title('img_diffence')


#阈值分割

_,img_binary=cv2.threshold(img_diffence,5,255,cv2.THRESH_BINARY_INV)
plt.subplot(132)
plt.imshow(img_binary,'gray')
plt.title('img_binary')

plt.show()
#cv_show('img

grayimg=img_binary


cout,hi=cv2.findContours(grayimg,cv2.RETR_TREE,cv2.CHAIN_APPROX_SIMPLE)

#hierarchy 轮廓层级关系
result=np.zeros(img.shape,np.uint8)

#绘制轮廓边框
for  i in range(len(cout)):
    moms=cv2.moments(cout[i])#计算轮廓的矩
    area=moms['m00']#面积
    if area>50 and area<1000:
            cv2.drawContours(result,cout,i,(0,0,255),thickness=cv2.FILLED,hierarchy=hi,maxLevel=0)


cv_show('result',result)

os.system("pause")
结果如下:


更多推荐
 已为社区贡献10条内容


所有评论(0)