.NET Core使用Cookie做身份验证
.NET Core cookie认证
·
市面上见的比较多的认证协议是JWT这种颁布令牌(Access Token)的方式,同样也诞生出了OAuth2这种第三方授权框架,但是我们不要忽视了最原始的cookie认证方式,本次博客就来回顾一下这个存在了20年(不知道是不是20年,想想看,我们世界上最好的语言C#才诞生20年)依旧经久不衰的原始存在。
本文使用的是.NET Core 6.0。
1、添加 cookie 身份验证
创建一个CookieAuthentication的.NET Core Web API 的项目,引用
Microsoft.AspNetCore.Authentication.Cookies
将身份验证中间件服务 AddAuthentication 添加到和 AddCookie 方法。
using Microsoft.AspNetCore.Authentication.Cookies;

var builder = WebApplication.CreateBuilder(args);

// Add services to the container.

builder.Services.AddControllers();
// Learn more about configuring Swagger/OpenAPI at https://aka.ms/aspnetcore/swashbuckle
//builder.Services.AddAuthentication(CookieAuthenticationDefaults.AuthenticationScheme)
//    .AddCookie();

//添加身份验证中间件服务 AddAuthentication ,并使用AddCookie 方法注入cookie
builder.Services.AddAuthentication(CookieAuthenticationDefaults.AuthenticationScheme)
    .AddCookie(options =>
    {
        options.ExpireTimeSpan = TimeSpan.FromMinutes(20);
        options.SlidingExpiration = true;
        options.AccessDeniedPath = null;
    });

builder.Services.AddEndpointsApiExplorer();
builder.Services.AddSwaggerGen();

var app = builder.Build();

// Configure the HTTP request pipeline.
if (app.Environment.IsDevelopment())
{
    app.UseSwagger();
    app.UseSwaggerUI();
}
//添加认证(认证需要在Map方法调用前写,否则无效)
app.UseAuthentication();
//授权
app.UseAuthorization();

app.MapControllers();

app.Run();
2、 创建、验证、注销cookie
新建控制器UserAuthenticationController,编写用户登录、验证、注销cookie三个方法
 [Route("User/[controller]/[Action]")]
    [ApiController]
    public class UserAuthenticationController : ControllerBase
    {

        /// <summary>
        /// 认证
        /// </summary>
        /// <param name="number"></param>
        /// <param name="passwd"></param>
        /// <returns></returns>
        [AllowAnonymous]
        [HttpPost]
        public async Task<IActionResult> UserSignInAsync(string number, string passwd)
        {
            //这里无数据库,默认admin,123456为登录成功用户名及密码,role为admin
            if (number=="admin"&&passwd=="123456")
            {
                var user = new { Name = "张三", Email = "666@qq.com", Role = "admin" };
                var claims = new List<Claim>
                {
                    new Claim(ClaimTypes.Name, user.Name),
                    new Claim(ClaimTypes.Email,user.Email),
                    new Claim(ClaimTypes.Role, user.Role)
                };
                //通过Claim来创建ClaimsIdentity 类似于通过用户的身份来创建身份证
                var claimsIdentity = new ClaimsIdentity(claims, CookieAuthenticationDefaults.AuthenticationScheme);

                var authProperties = new AuthenticationProperties
                {
                    //应该允许刷新身份验证会话。
                    AllowRefresh  = true,
                    //身份验证票证过期的时间10分钟
                    ExpiresUtc = DateTimeOffset.UtcNow.AddMinutes(10),
                    //允许持久化
                    IsPersistent = true,
                    //cookie过期时间1天
                    IssuedUtc =  DateTime.Now.AddDays(1),
                    //重定向url地址
                    RedirectUri=""
                };
                //授权cookie
                await HttpContext.SignInAsync(CookieAuthenticationDefaults.AuthenticationScheme, new ClaimsPrincipal(claimsIdentity), authProperties);

                return Ok(new
                {
                    code = 200,
                    messgae = $"用户{user.Name}登录成功,登录时间{ DateTime.UtcNow}"
                });
            }
            return Ok(new
            {
                code = 404,
                messgae = $"用户信息错误"
            });
        }

        /// <summary>
        /// 获取用户信息
        /// </summary>
        /// <returns></returns>
        //[Authorize(AuthenticationSchemes = CookieAuthenticationDefaults.AuthenticationScheme)]
        [HttpGet]
        public IActionResult GetUser()
        {
            //
            if (HttpContext.User.Identity!=null)
            {
                if (HttpContext.User.Identity.IsAuthenticated)  //判断用户是否通过认证
                {
                    string name = HttpContext.User.Claims.ToList()[0].Value;
                    return Ok(new
                    {
                        code = 200,
                        messgae = $"当前用户是{name}"
                    });
                }
                else
                {
                    return Ok(new
                    {
                        code = 400,
                        messgae = "未登录"
                    });
                }
            }
            return Ok(new
            {
                code = 400,
                messgae = "无权访问"
            });
        }

        /// <summary>
        /// 注销
        /// </summary>
        /// <param name="returnUrl"></param>
        /// <returns></returns>
        [HttpPost]
        public async Task<IActionResult> UserSignOutAsync()
        {
            await HttpContext.SignOutAsync(
                CookieAuthenticationDefaults.AuthenticationScheme);
            return Ok(new
            {
                code = 200,
                messgae = "注销成功"
            });
        }
    }
2、 验证cookie授权
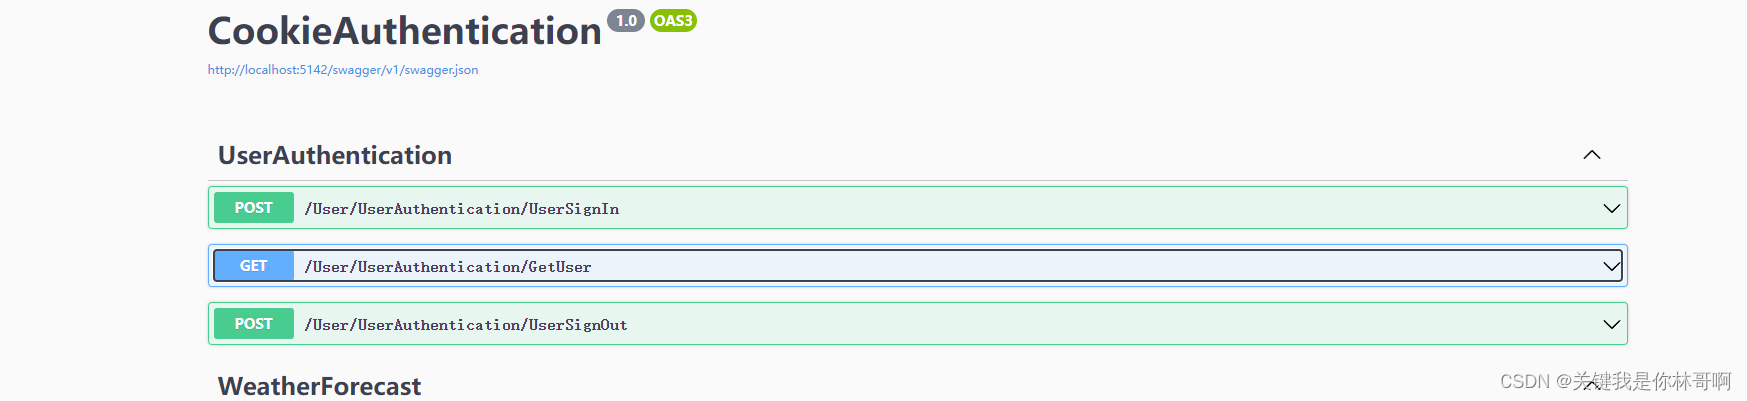
.NET 6 默认集成了OpenAPI (Swagger),我们只需要运气起来,就会看到如下界面
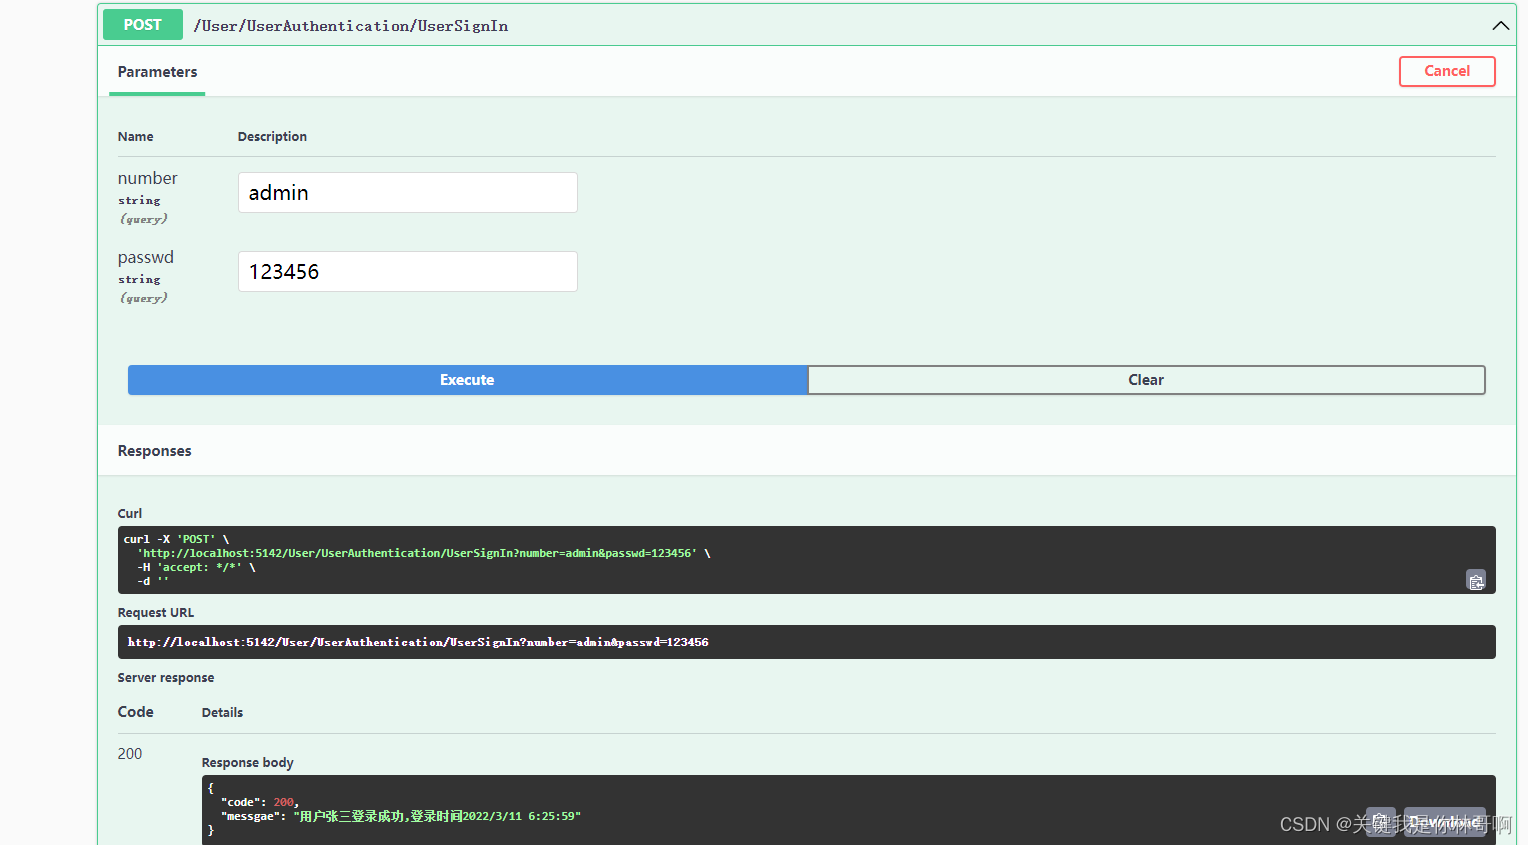
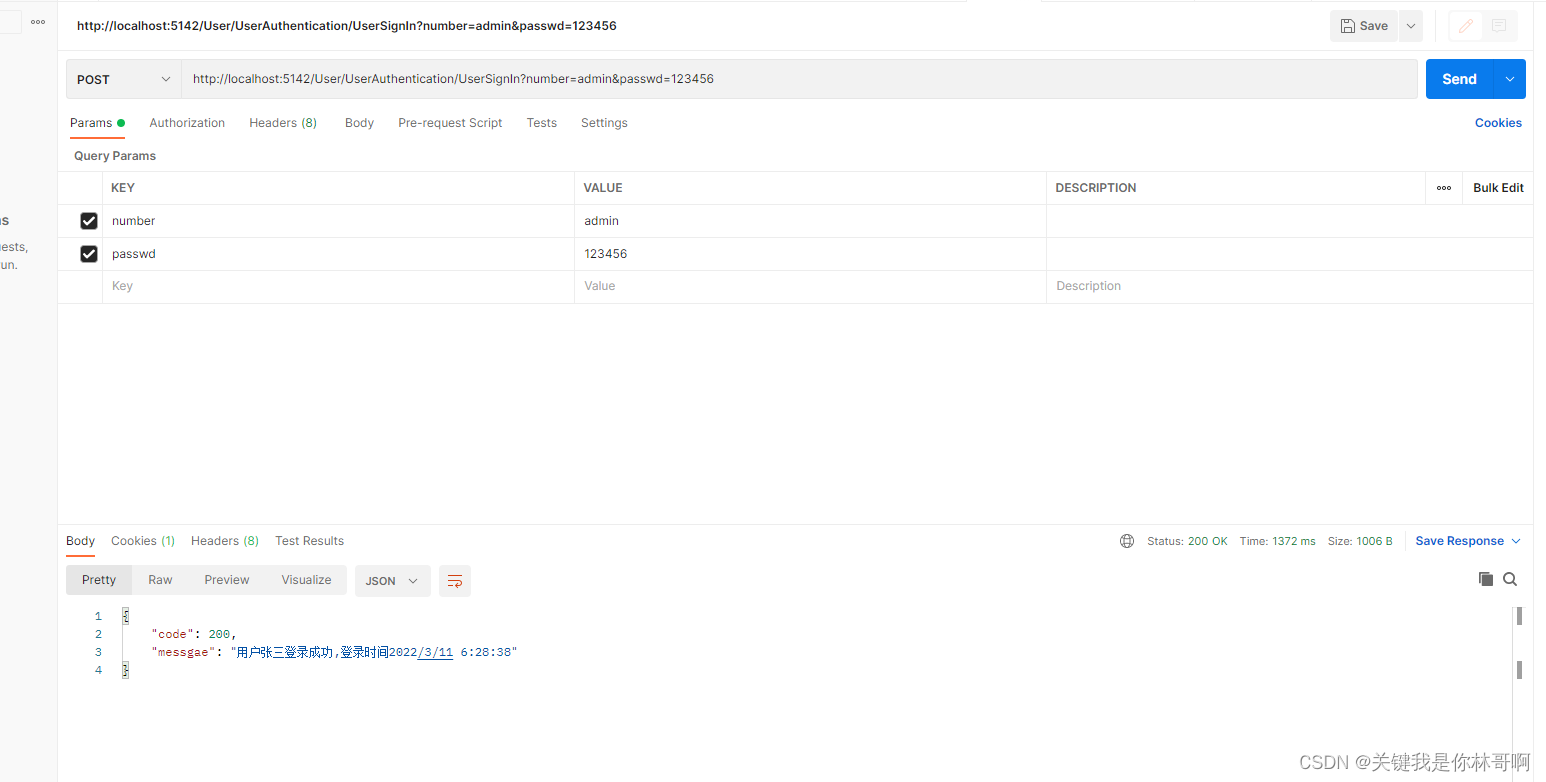
首先用浏览器请求登录接口,返回如下:
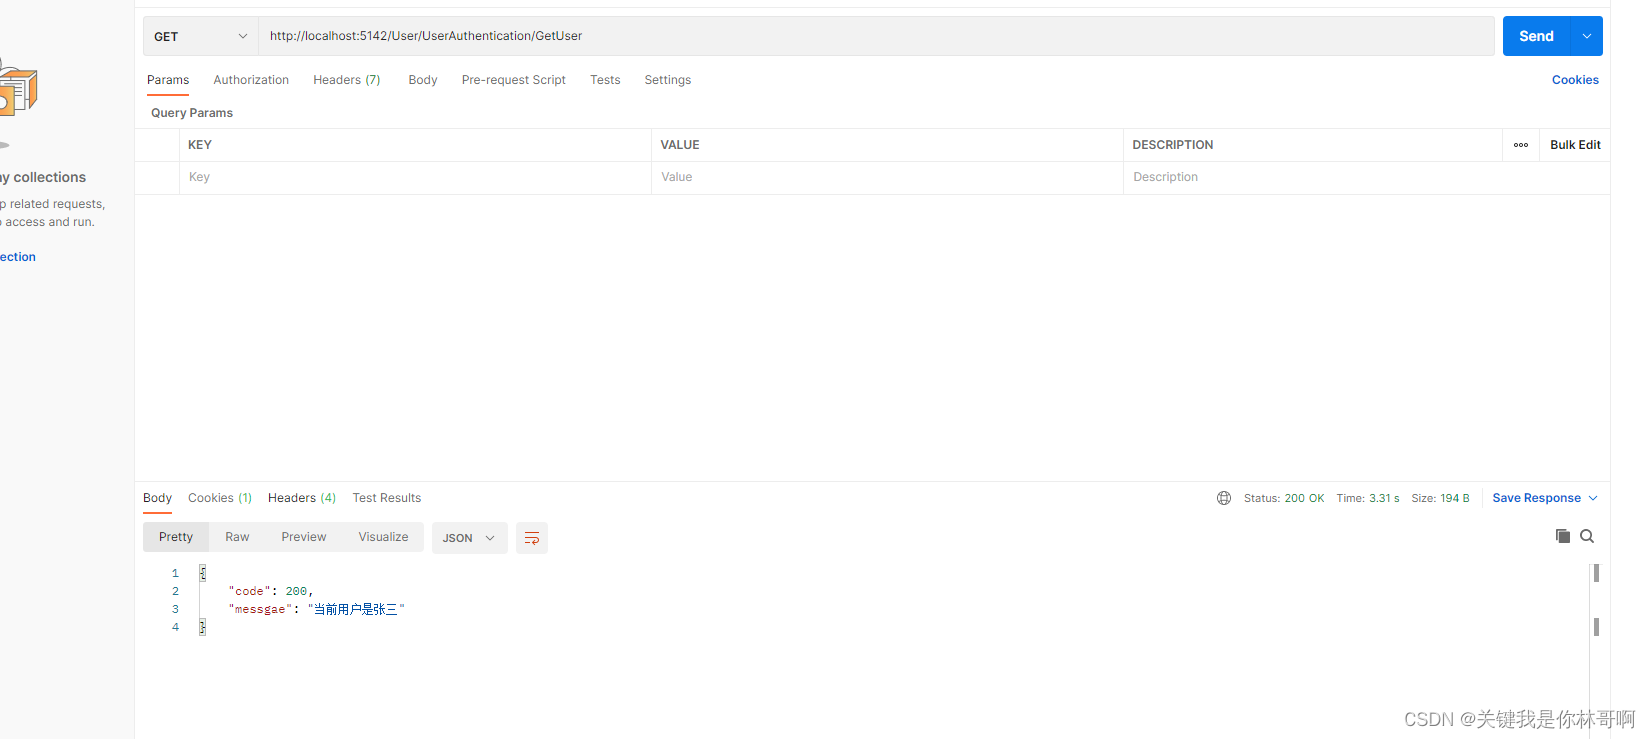
请求获取用户,返回如下: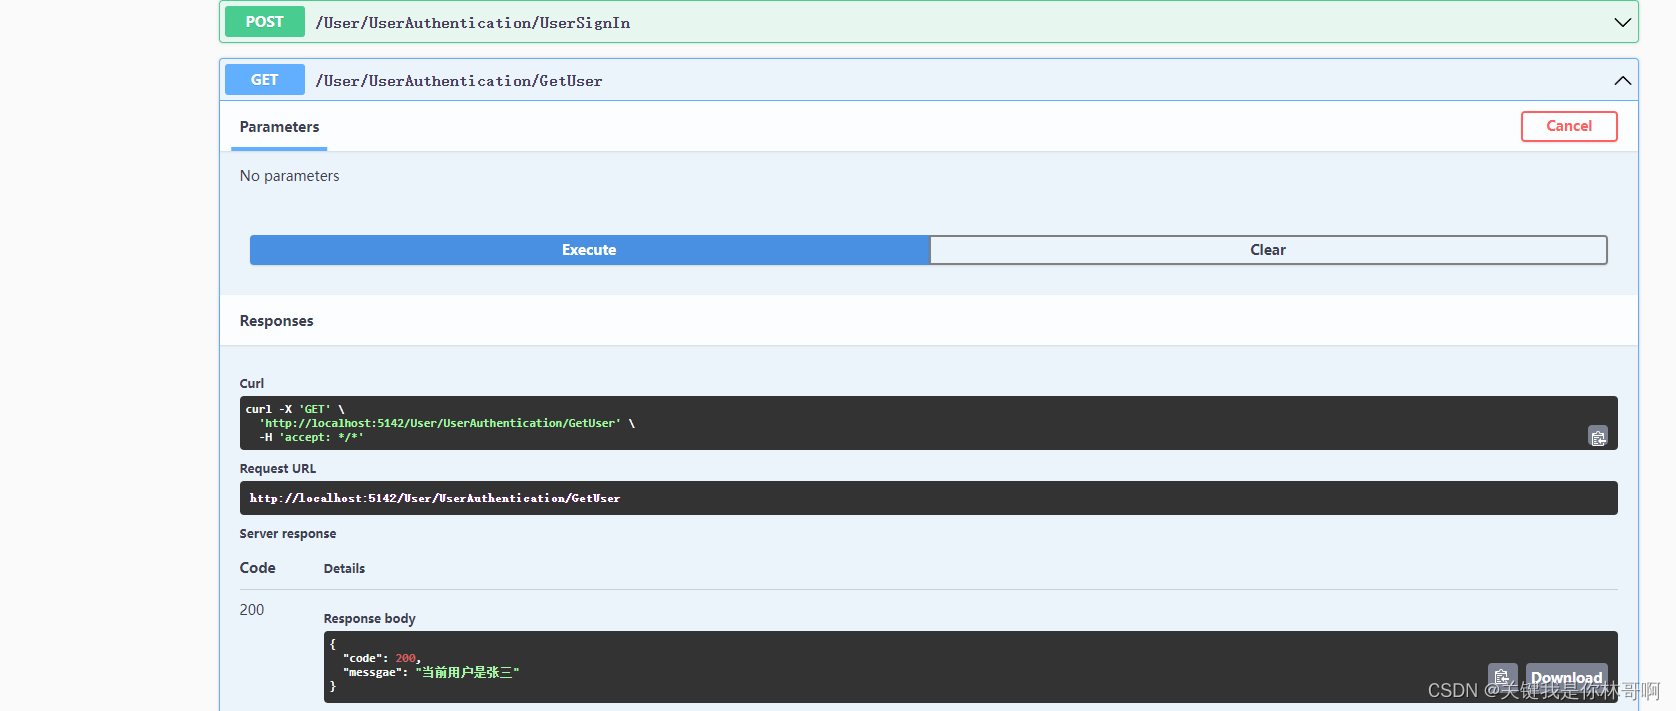
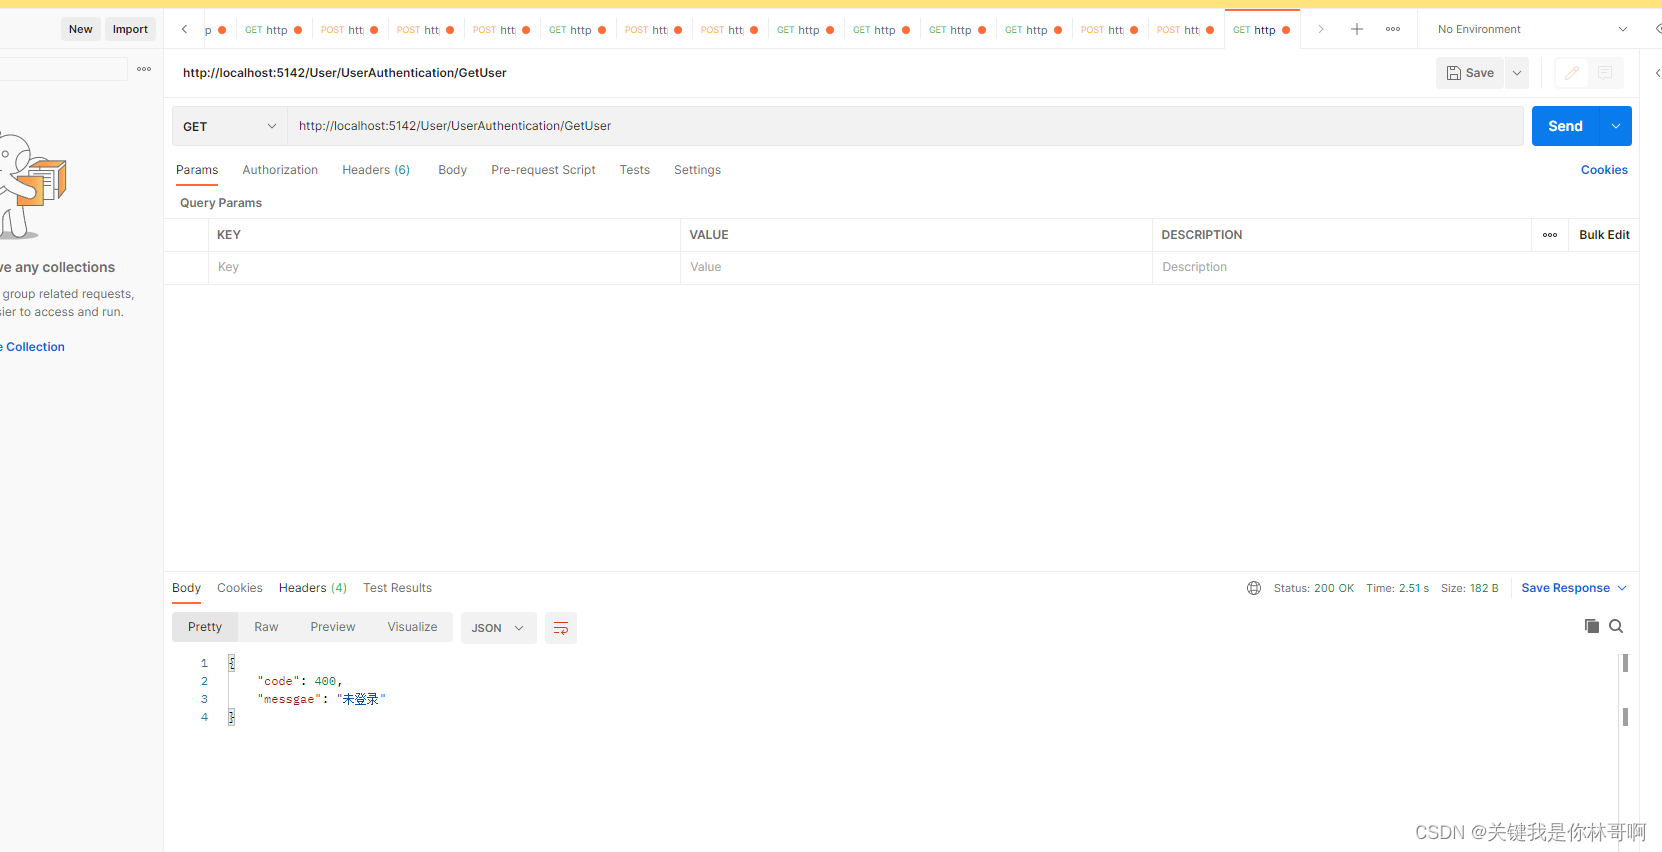
接下来,用postman,直接请求获取用户的接口,返回如下: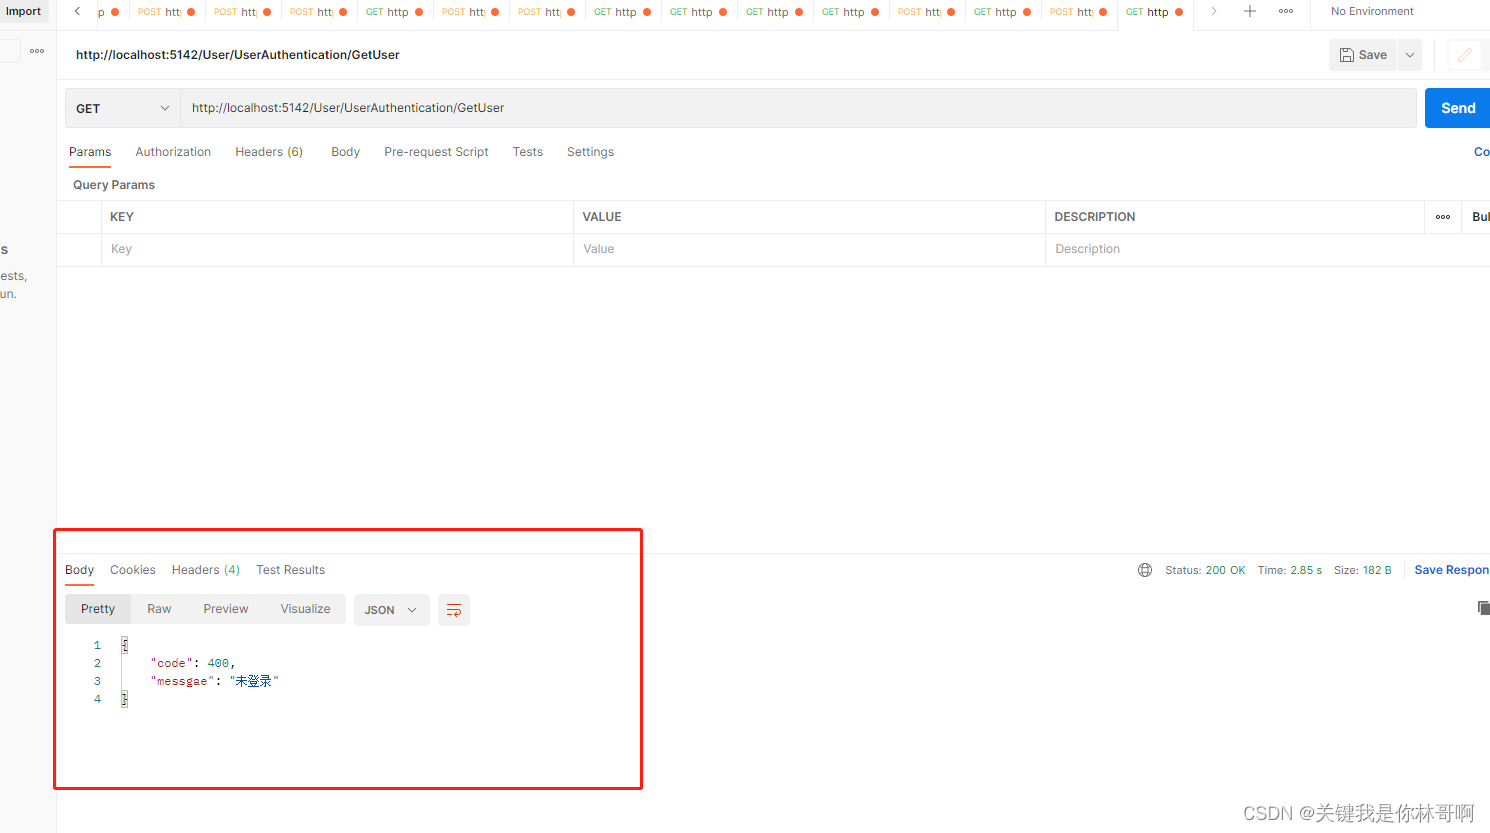
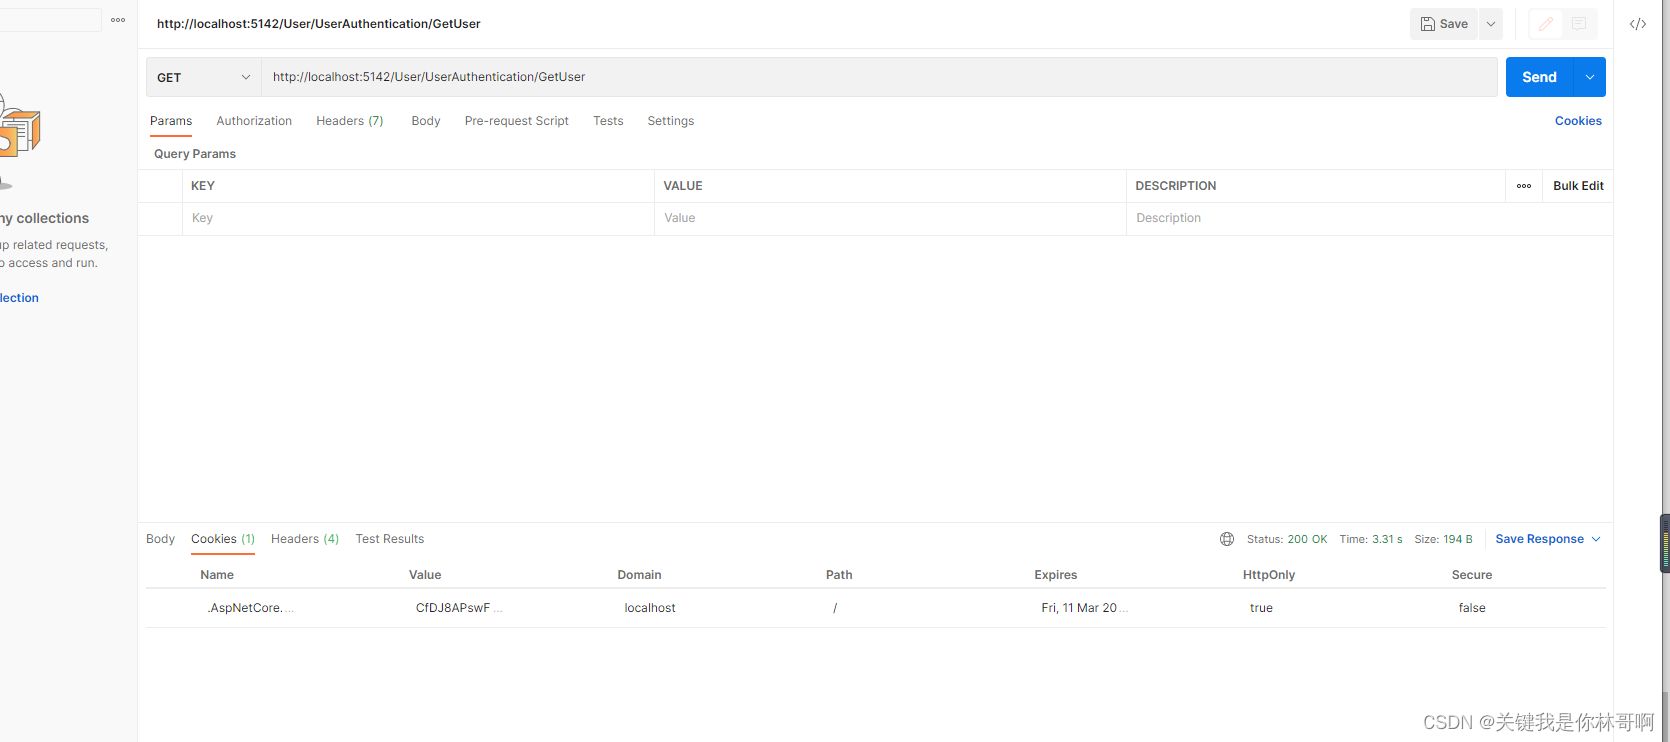
查看cookie,显示【No cookies yet】

此时,再再postman登录一次,再请求接口,返回信息如下
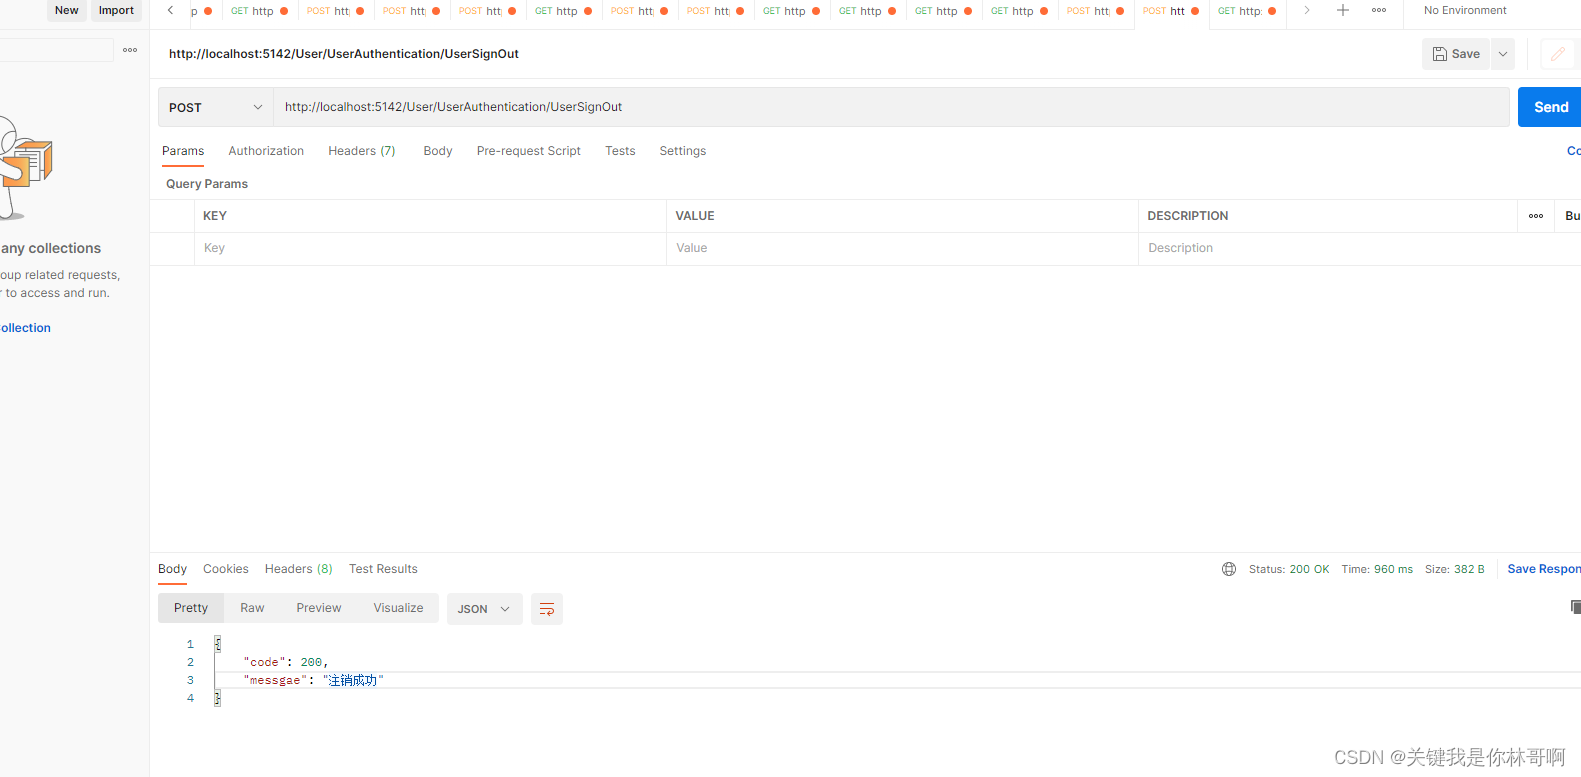
当调用注销之后,cookie即消失
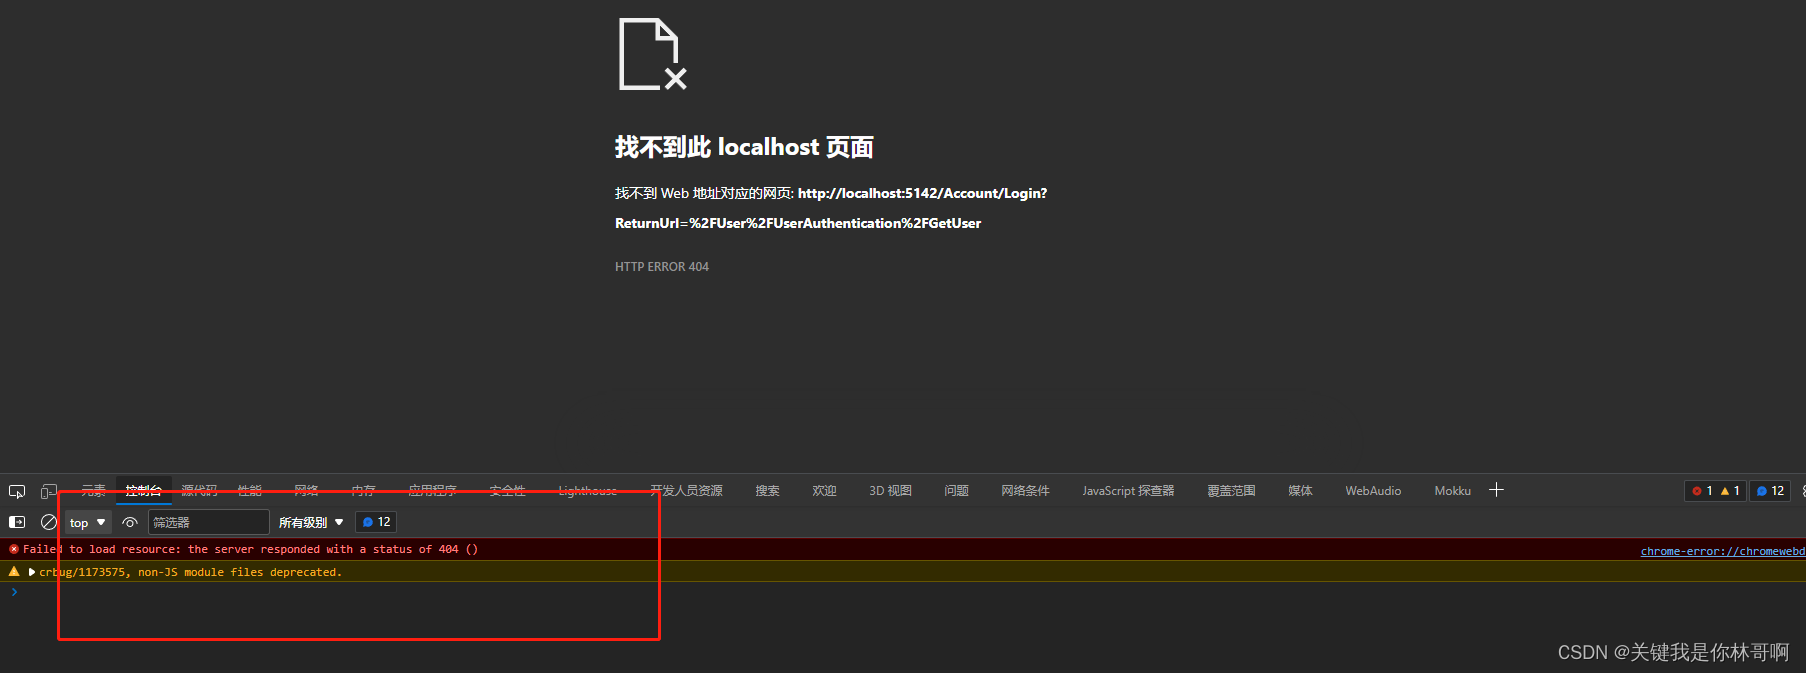
有时候,为了更加安全,不登录用户,未获取cookie的用户,将无法正常使用api,此时,此时,只需要再对应的API增加特性即可
[Authorize(AuthenticationSchemes = CookieAuthenticationDefaults.AuthenticationScheme)]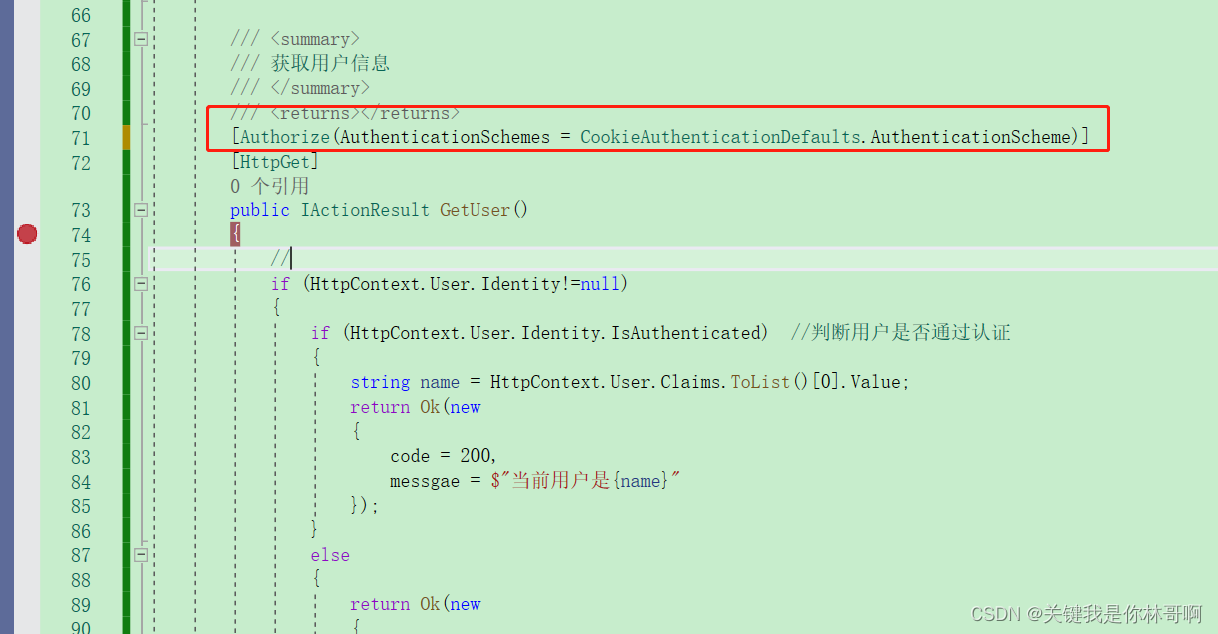
此时未授权的用户,直接返回404
代码请参阅:点击查看

腾讯云面向开发者汇聚海量精品云计算使用和开发经验,营造开放的云计算技术生态圈。
更多推荐


 0
0 0
0- 0


 已为社区贡献1条内容

所有评论(0)