iis 网站添加 身份验证_在10分钟内将身份验证添加到任何网页
iis 网站添加 身份验证This content is sponsored via Syndicate Ads该内容是通过辛迪加广告 赞助的Adding authentication to web pages can be pretty annoying.向网页添加身份验证可能会很烦人。While I'd like to say that over the course of m...
iis 网站添加 身份验证
This content is sponsored via Syndicate Ads
该内容是通过辛迪加广告 赞助的
Adding authentication to web pages can be pretty annoying.
向网页添加身份验证可能会很烦人。
While I'd like to say that over the course of my programming tenure I've learned to easily add authentication to any app I create, my attempts tend to devolve into me bickering with myself endlessly over a User schema and the most efficient way to share my user data between components.
虽然我想说的是,在我的编程任期内,我学会了轻松地向我创建的任何应用程序添加身份验证,但我的尝试倾向于让我无休止地对自己进行用户模式和最有效的方法争吵。在组件之间共享我的用户数据。
One of the greatest things that's happened in recent years, however, is the proliferation of identity and user management API services like Okta, which handle many of the typical authentication woes for you, including:
但是,近年来发生的最伟大的事情之一就是身份和用户管理API服务的泛滥,例如Okta ,它为您处理了许多典型的身份验证问题,其中包括:
- User registration 用户注册
- User login 用户登录
- Multi-factor authentication 多因素验证
- Authorization (groups, permissions, etc.) 授权(组,权限等)
- Social login 社交登录
Okta essentially handles all the bullshit you typically need to build when you need to start managing user accounts for your app.
Okta基本上可以处理您需要开始管理应用程序的用户帐户时通常需要构建的所有废话。
So, with that in mind, today I'm going to show you how to easily add authentication to any web page in 10 minutes.
因此,考虑到这一点,今天我将向您展示如何在10分钟内轻松将身份验证添加到任何网页。
创建一个Okta帐户 ( Create an Okta Account )
The first thing you'll need to do is create a free Okta developer account.
您需要做的第一件事是创建一个免费的Okta开发人员帐户 。
Once you've got your shiny new Okta account and you've logged into the dashboard, you need to open a new file and copy down the Org URL from the top-right portion of the page.
获得闪亮的Okta新帐户并登录到信息中心后,您需要打开一个新文件并从页面右上方复制组织URL 。

NOTE: If you were curious about how I was going to teach you to add authentication to any web page in 10 minutes: I'm going to cheat. I'm going to show you how to do it using Okta which makes the entire process thoughtless. If I wanted to show you how to add authentication into any web page without using something like Okta, it would take me about two full days. I'd have to explain sessions, JSON Web Tokens, OpenID Connect, database schema design, database management, API patterns (to expose the users), and much more.
注意 :如果您对我将如何教您如何在10分钟内将身份验证添加到任何网页感到好奇: 我将作弊 。 我将向您展示如何使用Okta做到这一点,这会使整个过程变得毫无思想。 如果我想向您展示如何在不使用Okta之类的情况下向任何网页添加身份验证,则大约需要整整两天的时间。 我必须解释会话, JSON Web令牌 , OpenID Connect ,数据库模式设计,数据库管理,API模式(向用户公开)等等。
创建Okta应用程序 ( Create an Okta Application )
The next thing you need to do is create an Okta Application. Okta allows you to secure as many different websites, mobile apps, and API services as you want, so you'll need to create an Application for each so you know which users can log into which apps. To do this, click the Applications tab at the top of the screen and then create Add Application.
接下来需要做的是创建Okta应用程序。 Okta允许您保护所需的许多不同的网站,移动应用程序和API服务,因此您需要为每个网站创建一个应用程序,以便知道哪些用户可以登录哪些应用程序。 为此,请单击屏幕顶部的“ 应用程序”选项卡,然后创建“ 添加应用程序” 。
Once you've reached the app creation page, you'll want to select the Single-Page App box (because I'm going to show you how to quickly add authentication to a single-page web app), then click Next. To finish creating the app, you'll want to then fill in the following values:
到达应用程序创建页面后,您将需要选择Single-Page App框(因为我将向您展示如何快速向单页Web应用程序添加身份验证),然后单击Next 。 要完成创建应用程序,您需要填写以下值:
- Name: The name of your app. 名称 :您的应用程序的名称。
- Base URIs: The URLs that your app will run under. For instance, the app I'm going to secure in this guide will run on localhost port 8080, so I'll leave the default value of
http://localhost:8080alone. If my website were running ashttps://www.coolsite.com, I'd use that value instead. You can have as many Base URI values as you need. 基本URI :您的应用将在其下运行的URL。 例如,本指南中要保护的应用程序将在localhost端口8080上运行,因此我将保留默认值http://localhost:8080。 如果我的网站以https://www.coolsite.com身份运行,那么我将使用该值。 您可以根据需要具有任意多个基本URI值。 - Login Redirect URIs: The URLs that your app should redirect back to once a user has authenticated. For 99% of you, this should be the same value as the Base URI. 登录重定向URI :用户通过身份验证后,您的应用应重定向回的URL。 对于您中的99%,此值应与基本URI相同。
Once you've got all the settings specified, click Done to create your new app.
指定所有设置后,请单击“完成”以创建新应用。
The last thing you'll need to do is scroll down to the bottom of your newly created app page and copy down the Client ID value. This is your app's unique OpenID Connect client identifier. It isn't important that you understand what that is yet, but it is important that you copy that value down for later.
您需要做的最后一件事是向下滚动到新创建的应用页面的底部,然后向下复制“ 客户端ID”值。 这是您应用的唯一OpenID Connect客户端标识符。 了解目前还不重要,但将其复制下来以备后用则很重要。
创建网页 ( Create a Web Page )
Now that you've got the Okta stuff out of the way, go ahead and create a web page, any web page! You can use an existing page, create a new one, or use the one that I've provided below.
现在您已经有了Okta的东西,继续创建一个网页,任何网页! 您可以使用现有页面,创建新页面或使用我在下面提供的页面。
<!doctype html>
<html lang="en">
<head>
<meta charset="utf-8">
<meta name="viewport" content="width=device-width, initial-scale=1, shrink-to-fit=no">
<link rel="stylesheet" href="https://stackpath.bootstrapcdn.com/bootstrap/4.1.0/css/bootstrap.min.css" integrity="sha384-9gVQ4dYFwwWSjIDZnLEWnxCjeSWFphJiwGPXr1jddIhOegiu1FwO5qRGvFXOdJZ4" crossorigin="anonymous">
<title>Simple Web Page</title>
<style>
h1 {
margin: 2em 0;
}
</style>
</head>
<body>
<div class="container">
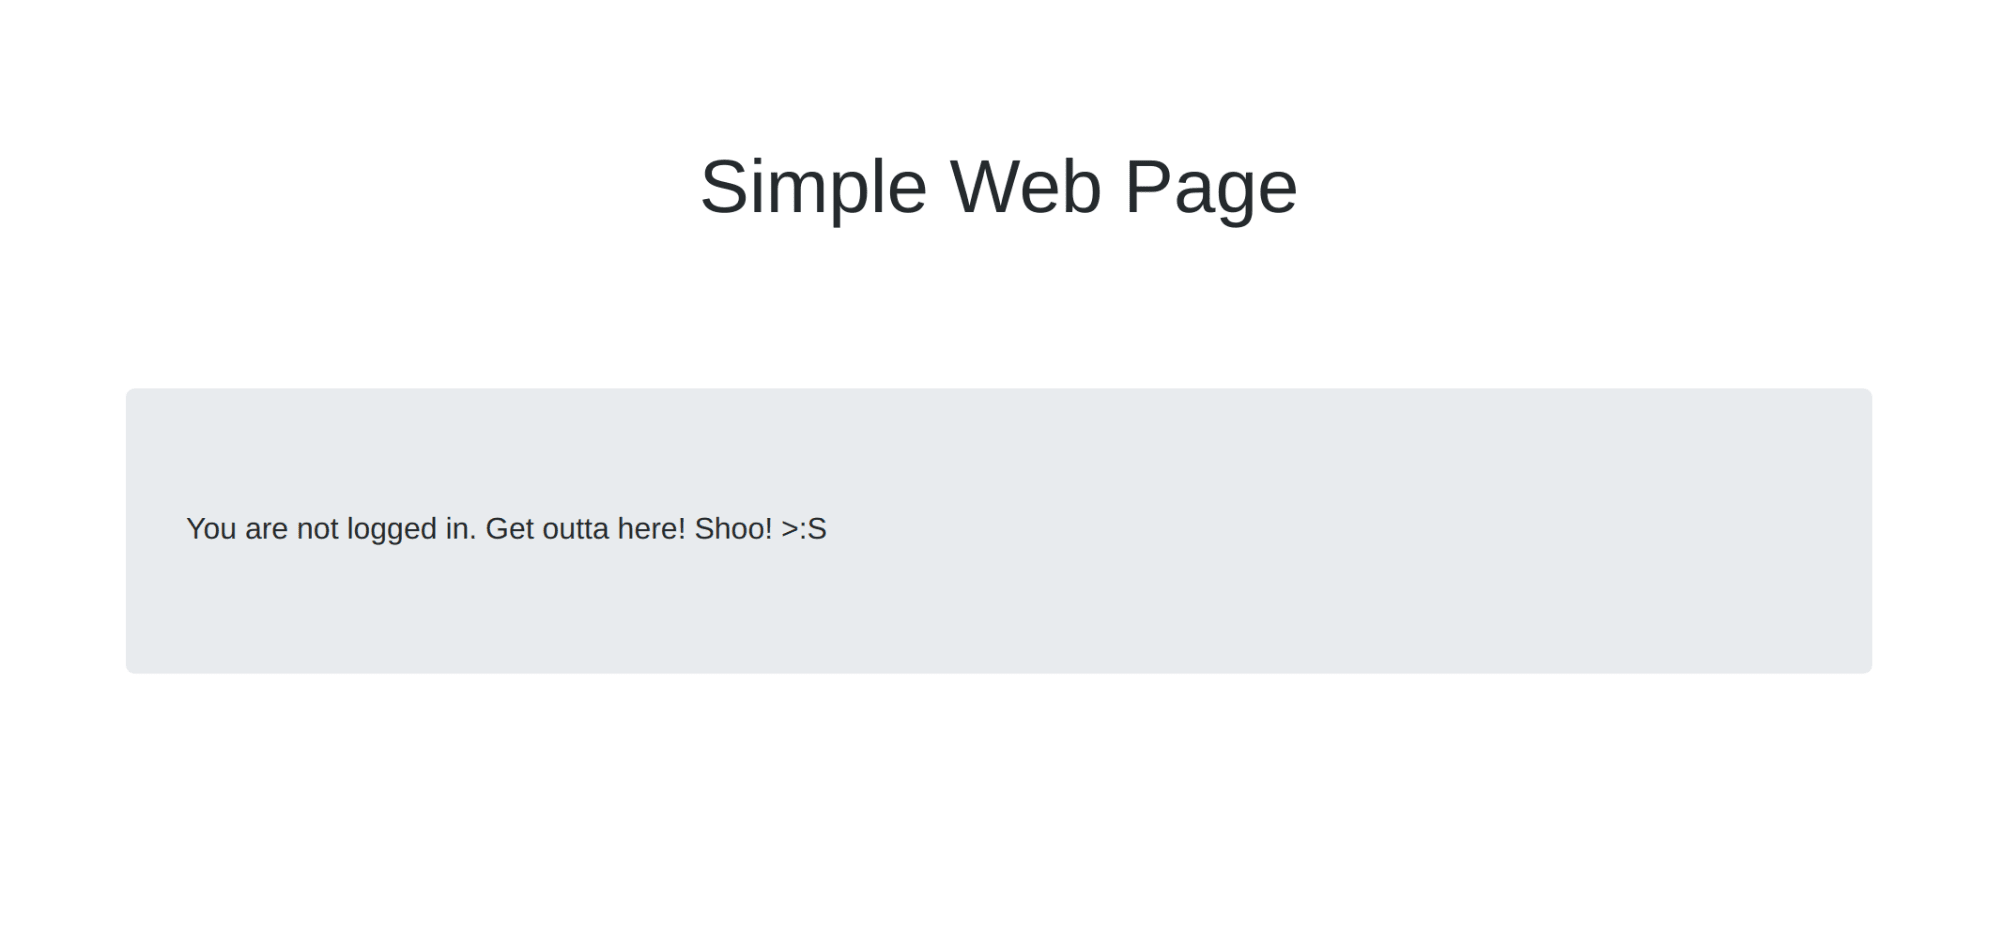
<h1 class="text-center">Simple Web Page</h1>
<div class="jumbotron">
You are not logged in. Get outta here! Shoo! >:S
</div>
</div>
</body>
</html>If you open this page in your browser, you'll see the incredibly simple web page below:
如果在浏览器中打开此页面,则会在下面看到非常简单的网页:
NOTE: I like to run my test servers on port 8080. When I test my page out, I visit http://localhost:8080 in my browser. To do this, if you have Python 3 installed, you can simply run the command python -m http.server 8080 in your project directory. This will open a web server on the specified port. In my case, I named my HTML file index.html so that when I visit http://localhost:8080 it will display by default.
注意 :我想在端口8080上运行测试服务器。 测试页面时,我在浏览器中访问http://localhost:8080 。 为此,如果已安装Python 3,则只需在项目目录中运行命令python -m http.server 8080 。 这将在指定端口上打开Web服务器。 就我而言,我将HTML文件命名为index.html这样当我访问http://localhost:8080 ,它将默认显示。
向您的网页添加身份验证 ( Add Authentication to Your Web Page )
Now that you've got a simple web page, let's add authentication to it!
现在您已经有了一个简单的网页,让我们向其添加身份验证!
The first thing you need to do is define a div in your HTML page that will eventually be transformed into a super stylish login form.
您需要做的第一件事是在HTML页面中定义一个div,最终将其转换为超级时尚的登录表单。
You can do this by simply defining a <div id="sign-in-container"></div> anywhere in your page. In my case, I'm going to modify the simple web page above and drop the box in right below the big jumbotron element:
您只需在页面上的任意位置定义<div id="sign-in-container"></div> 。 就我而言,我将修改上方的简单网页,然后将框拖放到大型jumbotron元素的正下方:
<!doctype html>
<!doctype html>
<html lang="en">
  <head>
    <meta charset="utf-8">
    <meta name="viewport" content="width=device-width, initial-scale=1, shrink-to-fit=no">
    <link rel="stylesheet" href="https://stackpath.bootstrapcdn.com/bootstrap/4.1.0/css/bootstrap.min.css" integrity="sha384-9gVQ4dYFwwWSjIDZnLEWnxCjeSWFphJiwGPXr1jddIhOegiu1FwO5qRGvFXOdJZ4" crossorigin="anonymous">
    <title>Simple Web Page</title>
    <style>
      h1 {
        margin: 2em 0;
      }
    </style>
  </head>
  <body>
    <div class="container">
      <h1 class="text-center">Simple Web Page</h1>
      <div id="messageBox" class="jumbotron">
        You are not logged in. Get outta here! Shoo! >:S
      </div>
      <!-- where the sign-in form will be displayed -->
      <div id="sign-in-container"></div>
    </div>
  </body>
</html>
After that, you'll need to copy the following JavaScript code into the head element of your page. This code will load the Okta widget, which is what makes all this fancy authentication functionality work:
之后,您需要将以下JavaScript代码复制到页面的head元素中。 这段代码将加载Okta小部件 ,这就是所有这些精美身份验证功能都起作用的原因:
<head>
  <meta charset="utf-8">
  <meta name="viewport" content="width=device-width, initial-scale=1, shrink-to-fit=no">
  <link rel="stylesheet" href="https://stackpath.bootstrapcdn.com/bootstrap/4.1.0/css/bootstrap.min.
css" integrity="sha384-9gVQ4dYFwwWSjIDZnLEWnxCjeSWFphJiwGPXr1jddIhOegiu1FwO5qRGvFXOdJZ4" crossorigin
="anonymous">
  <title>Simple Web Page</title>
  <style>
    h1 {
      margin: 2em 0;
    }
  </style>
  <!-- widget stuff here -->
  <script src="https://ok1static.oktacdn.com/assets/js/sdk/okta-signin-widget/2.6.0/js/okta-sign-in.
min.js" type="text/javascript"></script>
  <link href="https://ok1static.oktacdn.com/assets/js/sdk/okta-signin-widget/2.6.0/css/okta-sign-in.
min.css" type="text/css" rel="stylesheet"/>
  <link href="https://ok1static.oktacdn.com/assets/js/sdk/okta-signin-widget/2.6.0/css/okta-theme.cs
s" type="text/css" rel="stylesheet"/>
</head>
Once you've got the Okta widget loaded up, the last thing you need to do is initialize the widget, give it some configuration data, and tell it what to do. Copy the code below into the bottom of your HTML page, directly above the closing body tag:
加载Okta小部件后,您需要做的最后一件事是初始化小部件,为其提供一些配置数据,并告诉其操作。 将下面的代码复制到HTML页面的底部,紧接在body标记上方:
<!-- use the Okta widget to power authentication! -->
<script type="text/javascript">
  var oktaSignIn = new OktaSignIn({
    baseUrl: "{{ YOUR_ORG_URL }}",
    clientId: "{{ YOUR_APP_CLIENT_ID }}",
    authParams: {
      issuer: "{{ YOUR_ORG_URL }}/oauth2/default",
      responseType: ["token", "id_token"],
      display: "page"
    }
  });

  if (oktaSignIn.token.hasTokensInUrl()) {
    oktaSignIn.token.parseTokensFromUrl(
      // If we get here, the user just logged in.
      function success(res) {
        var accessToken = res[0];
        var idToken = res[1]

        oktaSignIn.tokenManager.add("accessToken", accessToken);
        oktaSignIn.tokenManager.add("idToken", idToken);

        window.location.hash = "";
        document.getElementById("messageBox").innerHTML = "Hello, " + idToken.claims.email + "! You just logged in! :)";
      },
      function error(err) {
        console.error(err);
      }
    );
  } else {
    oktaSignIn.session.get(function (res) {
      // If we get here, the user is already signed in.
      if (res.status === 'ACTIVE') {
        document.getElementById("messageBox").innerHTML = "Hello, " + res.login + "! You are *still* logged in! :)";
        return;
      }

      // If we get here, the user is not logged in, so we should show the sign-in form.
      oktaSignIn.renderEl(
        { el: '#sign-in-container' },
        function success(res) {},
        function error(err) {
          console.error(err);
        }
      );
    });
  }
</script>NOTE: Don't forget to replace {{ YOUR_ORG_URL }} and {{ YOUR_CLIENT_ID}} with your Org URL and Client ID values that you copied down earlier when you set up Okta.
注意 :请不要忘记将{{ YOUR_ORG_URL }}和{{ YOUR_CLIENT_ID}}替换为您在设置Okta时复制的Org URL和客户ID值。
If you now go ahead and view the page again, you'll see a shiny new login form on your page:
如果现在继续操作并再次查看该页面,您将在页面上看到一个闪亮的新登录表单:
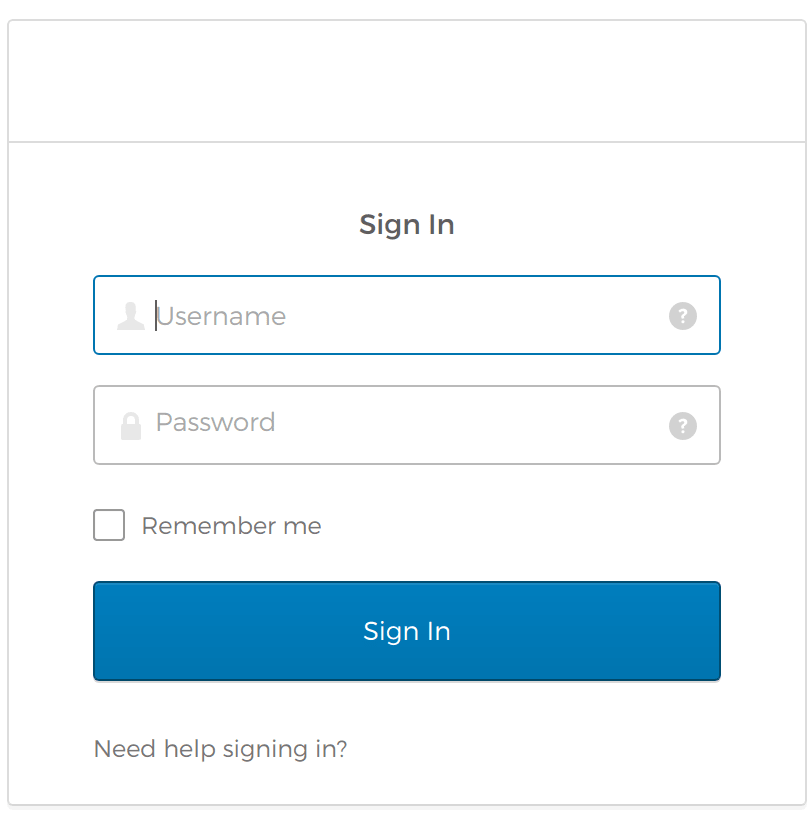
It looks pretty snazzy! Your simple web page now has way more pizazz.
看起来很时髦! 您的简单网页现在有了更多的乐趣。
Now go ahead and enter your Okta credentials into the login form and see what happens. You'll notice that you will now be logged into the page and the message you saw before will be gone! It was replaced by a message telling you you've authenticated:
现在继续,在登录表单中输入您的Okta凭据,看看会发生什么。 您会注意到,您现在将登录到该页面,以前看到的消息将消失! 替换为一条消息,告诉您您已通过身份验证:
Okta小部件的工作方式 ( How the Okta Widget Works )
You might be thinking to yourself, "Wow, that really was easy! But how does it all work?" Good question!
您可能会想自己:“哇,那真的很容易!但是,这一切如何起作用?” 好问题!
The way the Okta widget works is by looking in HTML Local Storage for authentication tokens that determine whether or not there is an active user session. If there's no session, the widget knows you aren't logged in, so it displays a login form.
Okta小部件的工作方式是在HTML本地存储中查找用于确定是否存在活动用户会话的身份验证令牌。 如果没有会话,则该小部件会知道您尚未登录,因此会显示一个登录表单。
Once you've entered your user credentials, your login data will be sent to the Okta API service which will securely log you in using the OpenID Connect protocol (which, FYI, is the recommended way to handle modern web authentication).
输入用户凭据后,您的登录数据将发送到Okta API服务,该服务将使用OpenID Connect协议(FYI,建议使用此协议来处理现代Web身份验证)安全地登录。
After you've been logged in with Okta, the widget will then store your authentication tokens (JSON Web Tokens) in HTML Local Storage for later retrieval.
使用Okta登录后,该小部件将把您的身份验证令牌(JSON Web令牌)存储在HTML本地存储中,以供以后检索。
If you needed to securely communicate from your web page to a backend API, for example, you could extract your accessToken out of HTML Local Storage and use it to hit your API service securely. For example:
例如,如果您需要从网页安全地与后端API通信,则可以从HTML Local Storage中提取accessToken并使用它安全地访问API服务。 例如:
function callMessagesApi() {
  var accessToken = oktaSignIn.tokenManager.get("accessToken");

  if (!accessToken) {
    return;
  }

  // Make the request using jQuery
  $.ajax({
    url: "{{ YOUR_API_URI }}",
    headers: {
      Authorization : "Bearer " + accessToken.accessToken
    },
    success: function(response) {
      console.log('Messages', response);
    },
    error: function(response) {
      console.error(response);
    }
  });
}
是否需要更多身份验证功能? ( Want More Authentication Awesomeness? )
I hope you enjoyed learning how you can quickly add authentication to any web page in just 10 minutes using Okta. What I showed you in this article was just the tip of the iceberg, however. There's a lot more you can do using services like Okta to quickly bootstrap the authentication component of your web apps:
希望您喜欢使用Okta如何在短短10分钟内将身份验证快速添加到任何网页中。 但是,我在本文中向您展示的只是冰山一角。 使用Okta之类的服务可以快速引导Web应用程序的身份验证组件,您可以做很多事情:
- Add multi-factor authentication to your app 向您的应用添加多因素身份验证
- Support social login with Google, Facebook, LinkedIn, etc. 支持使用Google,Facebook,LinkedIn等进行社交登录。
- Add user registration 添加用户注册
- Protect your API endpoints 保护您的API端点
- And lots more... 还有更多...
If you liked this, you might want to follow Okta on Twitter and check out some other interesting Okta articles that walk you through building interesting apps:
如果喜欢这个,您可能想在Twitter上关注Okta,并查看其他一些有趣的Okta文章,这些文章将引导您逐步构建有趣的应用程序:
- Simple Node Authentication 简单节点认证
- Add Auth to your PWA with Okta and Stencil.js 使用Okta和Stencil.js将Auth添加到您的PWA中
- Build a React Native Application and Authenticate with OAuth 2.0 构建一个React Native应用程序并使用OAuth 2.0进行身份验证
- Build a Basic CRUD App with Vue.js and Node 使用Vue.js和Node构建基本的CRUD应用
Until next time!
直到下一次!
翻译自: https://scotch.io/tutorials/add-authentication-to-any-web-page-in-10-minutes
iis 网站添加 身份验证

腾讯云面向开发者汇聚海量精品云计算使用和开发经验,营造开放的云计算技术生态圈。
更多推荐


 0
0 0
0- 0


 已为社区贡献2条内容

所有评论(0)