小程序云开发云存储之---获取数据库中的图片路径,并将其渲染在页面上和“预览”
·
一、获取在数据库中图片的路径并渲染在页面上
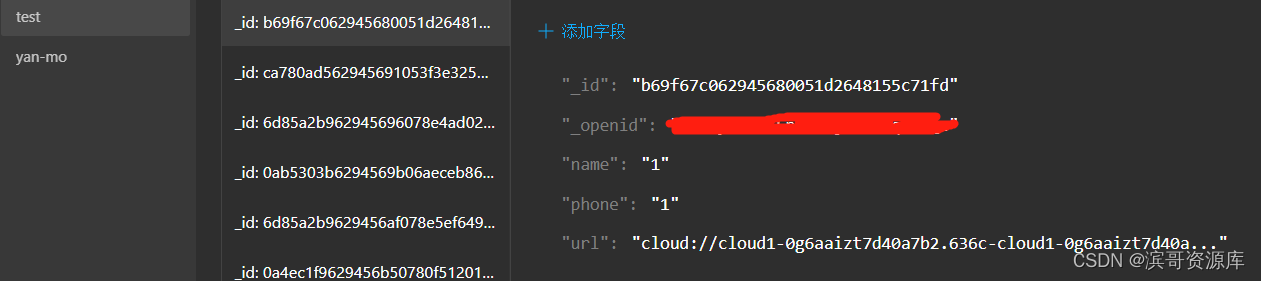
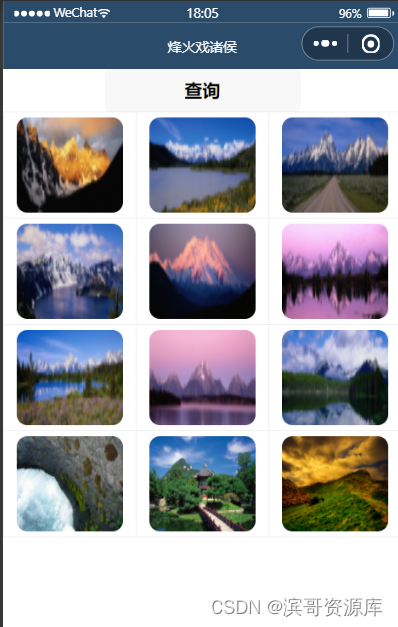
点击“查询”按键,获取到图片路径,同时“渲染”在页面上
wxml代码
<button bindtap="chaxun">查询</button>
<view class="imge">
    <view class="imge-item" wx:for="{{imge}}" wx:key="index" >
         <image  src="{{item.url}}" bindtap="previewImg" data-imgUrl="{{item.url}}" data-arr="{{imge}}"> </image>
    </view>
</view>
wxss代码
.imge{
    display: flex;/*横向分布*/
    flex-wrap: wrap;
    border-left: 1rpx solid #efefef;/*左边框线的颜色和大小*/
    border-top: 1rpx solid #efefef;/*上边框线的颜色和大小*/
}
.imge-item{
    height: 200rpx;/**/
   width: 33.33%;/**/
   display: flex;/**/
   flex-direction: column;/**/
   align-items: center;
   justify-content: center;/*文本和图标在自己的item里面居中*/
   border-right: 1rpx solid #efefef;/*右边框线的颜色和大小*/
   border-bottom: 1rpx solid #efefef;/*下边框线的颜色和大小*/
   box-sizing: border-box;/*box的布置方式*/
}
.imge-item image{
    border-radius: 10px;
    height: 90px;/*图片的高度*/
    width: 100px;/*图片的宽度*/
}
用到云开发数据库的get,拿到数据库中的数据,
js代码
chaxun:function(e){
    let that = this;
    let _list=[];
    this.setData({imge:_list});
    wx.cloud.database().collection('test')
    .get({
        success:function(res){
        console.log("数据回调成功");
        console.log(res.data);
        that.setData({imge:res.data});
        console.log("查询成功");
        },
        fail:function(err){ console.log("查询失败")}
    })
},
二、点击图片“预览”
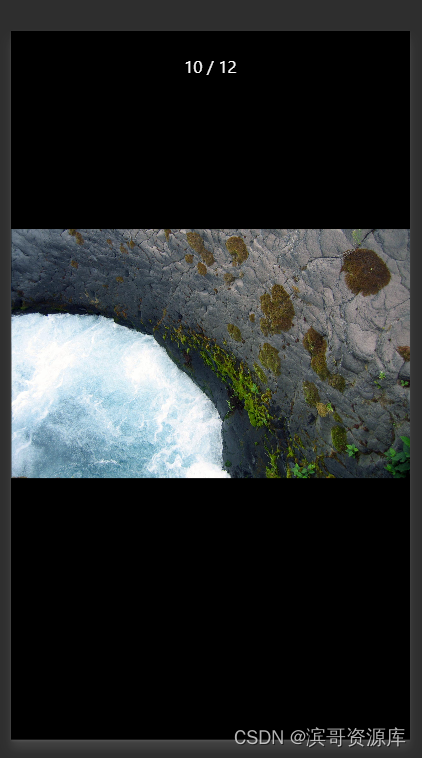
js代码
previewImg: function (e) {
    // 声明一个空的数组
       let arr = []
       // 循环传递过来的图片集合,将每一个图片都push到arr中,如果e.currentTarget.dataset.arr就是纯粹的图片集合可以直接赋值,如果是数组对象最好是循环将每一个图片添加到arr中
       e.currentTarget.dataset.arr.forEach(item => {
         arr.push(item.url)
       })
       wx.previewImage({
         current: e.currentTarget.dataset.imgurl, //当前图片地址
         urls: arr, //所有要预览的图片的地址集合 数组形式
         success: function (res) {},
         fail: function (res) {},
         complete: function (res) {},
       })
},下面这里是整体代码wxml
<button bindtap="upload">点击上传</button>
<image src="{{imges}}"></image>

<button bindtap="chaxun">查询</button>
<view class="imge">
    <view class="imge-item" wx:for="{{imge}}" wx:key="index" >
         <image  src="{{item.url}}" bindtap="previewImg" data-imgUrl="{{item.url}}" data-arr="{{imge}}"> </image>
    </view>
</view>
js代码
Page({

  data: {
  imge:[],
  imges:'',
  },

upload:function(e){
  let that=this;
  console.log("点击了上传");
  wx.chooseImage({
    count: 2,//最多上传几个,默认9个
    sizeType:['original','compressed'],//原图,压缩图
    sourceType:['album','camera'],//相机、相册
    success(res){
      console.log("选择成功");
      that.uploadImg(res.tempFilePaths[0]);
    }
  })
},
uploadImg(fileUrl){
   let that =this;
  let rand = (Math.floor(Math.random()*1000 )); //上传图片环节
  wx.cloud.uploadFile({
    cloudPath:rand+'.png',
    filePath:fileUrl,
    success:res=>{
      console.log("上传成功",res);
     toast("上传成功");
      that.setData({
        imges:res.fileID  //把文件的路径ID赋值给imges
      })
    },
    fail:console.error,
    //返回文件ID

  })
},
chaxun:function(e){
    let that = this;
    let _list=[];
    this.setData({imge:_list});
    wx.cloud.database().collection('test')
    .get({
        success:function(res){
        console.log("数据回调成功");
        console.log(res.data);
        that.setData({imge:res.data});
        toast("查询成功");
        },
        fail:function(err){ alert("查询失败")}
    })
},
//图片预览
previewImg: function (e) {
    // 声明一个空的数组
       let arr = []
       // 循环传递过来的图片集合,将每一个图片都push到arr中,如果e.currentTarget.dataset.arr就是纯粹的图片集合可以直接赋值,如果是数组对象最好是循环将每一个图片添加到arr中
       e.currentTarget.dataset.arr.forEach(item => {
         arr.push(item.url)
       })
       wx.previewImage({
         current: e.currentTarget.dataset.imgurl, //当前图片地址
         urls: arr, //所有要预览的图片的地址集合 数组形式
         success: function (res) {},
         fail: function (res) {},
         complete: function (res) {},
       })
     },


  /**
   * 生命周期函数--监听页面加载
   */
  onLoad: function (options) {

  },

  /**
   * 生命周期函数--监听页面初次渲染完成
   */
  onReady: function () {

  },

  /**
   * 生命周期函数--监听页面显示
   */
  onShow: function () {

  },

  /**
   * 生命周期函数--监听页面隐藏
   */
  onHide: function () {

  },

  /**
   * 生命周期函数--监听页面卸载
   */
  onUnload: function () {

  },

  /**
   * 页面相关事件处理函数--监听用户下拉动作
   */
  onPullDownRefresh: function () {

  },

  /**
   * 页面上拉触底事件的处理函数
   */
  onReachBottom: function () {

  },

  /**
   * 用户点击右上角分享
   */
  onShareAppMessage: function () {

  }
});
function toast(message) {
    wx.showToast({
      title: message,
      icon: 'none',
      duration: 1000
    });
  };
   function alert(message){
    wx.showModal({
      title:'温馨提示',
      content: message,
      showCancel:false
    });
  };
wxss代码
.imge{
    display: flex;/*横向分布*/
    flex-wrap: wrap;
    border-left: 1rpx solid #efefef;/*左边框线的颜色和大小*/
    border-top: 1rpx solid #efefef;/*上边框线的颜色和大小*/
}
.imge-item{
    height: 200rpx;/**/
   width: 33.33%;/**/
   display: flex;/**/
   flex-direction: column;/**/
   align-items: center;
   justify-content: center;/*文本和图标在自己的item里面居中*/
   border-right: 1rpx solid #efefef;/*右边框线的颜色和大小*/
   border-bottom: 1rpx solid #efefef;/*下边框线的颜色和大小*/
   box-sizing: border-box;/*box的布置方式*/
}
.imge-item image{
    border-radius: 10px;
    height: 90px;/*图片的高度*/
    width: 100px;/*图片的宽度*/
}
腾讯云面向开发者汇聚海量精品云计算使用和开发经验,营造开放的云计算技术生态圈。
更多推荐
 1
1 0
0- 0


 已为社区贡献1条内容

所有评论(0)