从头开始安装Genesis(gpu版本)
·
首先up的配置为:PTX4060,ubuntu22
在进入ubuntu系统时,是没有驱动的,如果你的电脑有驱动,请按照如下安装ubuntu驱动
1.安装ubuntu显卡驱动
老样子,先
sudo apt update
sudo apt upgrade
sudo ubuntu-drivers devices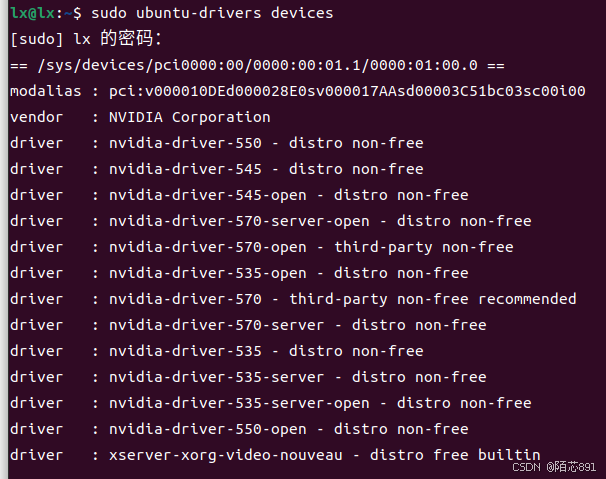
看看自己适合哪个,安装recommended的
如果上面没能显示成功,先
sudo apt install nvidia-cuda-toolkit
然后正式安装显卡驱动
sudo apt install nvidia-driver-570请根据电脑自行选择,安装完成后重启,打开输入以下命令
nvidia-smi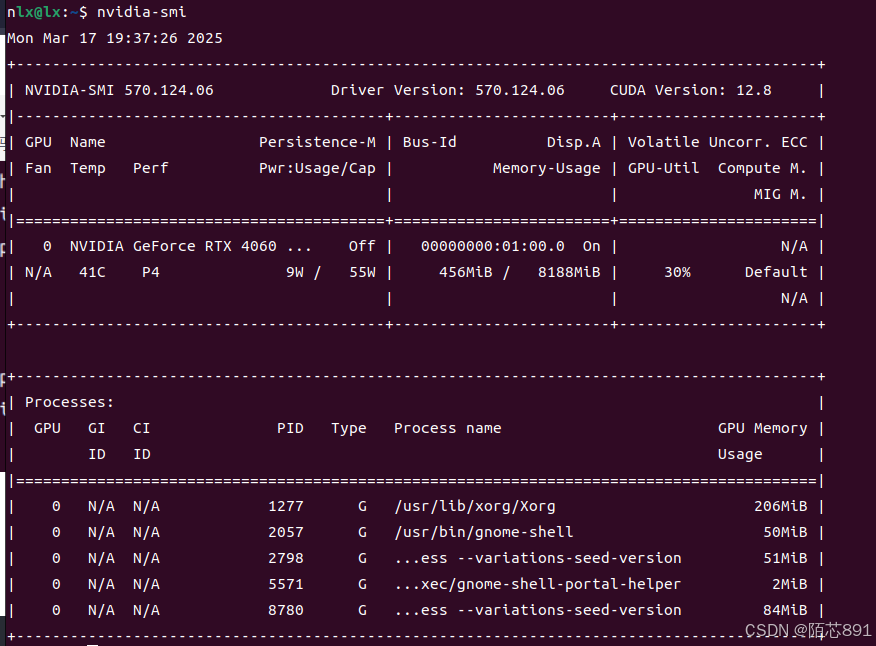
这样就显示安装成功了
2.配置环境
安装anaconda,配环境用的,很方便,强烈建议去清华源里面下载,速度很快
Index of /anaconda/archive/ | 清华大学开源软件镜像站 | Tsinghua Open Source Mirror
得到的是.sh文件,然后bash启动就行了,很简单
1.安装pytorch
首先,用conda创建一个环境
conda create -n lx python=3.9 -y
conda activate lx进入并且激活环境后,使用,进入到pytorch官网,往下拉PyTorch  https://pytorch.org/
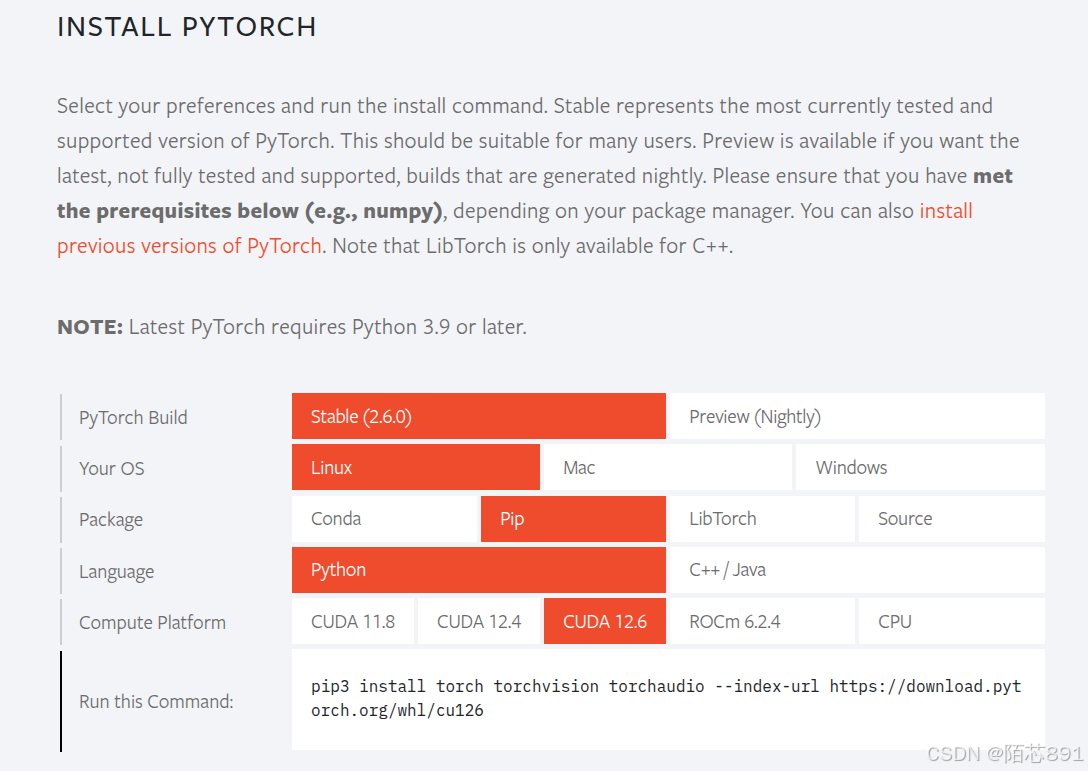
根据及的cuda版本,选择,我的是cuda12.8,在nvidia-smi里面可以看到,只要不超过你电脑自身的cuda版本就够了,根据他的命令复制
建议加上清华源,安装的速度会很快
这个是镜像
https://pypi.tuna.tsinghua.edu.cn/simple
安装如下,后面加个-i https://pypi.tuna.tsinghua.edu.cn/simple
pip3 install torch torchvision torchaudio --index-url https://download.pytorch.org/whl/cu126 -i https://pypi.tuna.tsinghua.edu.cn/simple
2.配置genesis环境
pip install genesis-world -i https://pypi.tuna.tsinghua.edu.cn/simple
3.安装genesis
首先克隆源码
git clone https://github.com/Genesis-Embodied-AI/Genesis.git如果失败,加个代理GitHub Proxy 代理加速
git clone https://ghfast.top/https://github.com/Genesis-Embodied-AI/Genesis.git以上环境配置就完成拉
4.使用genesis
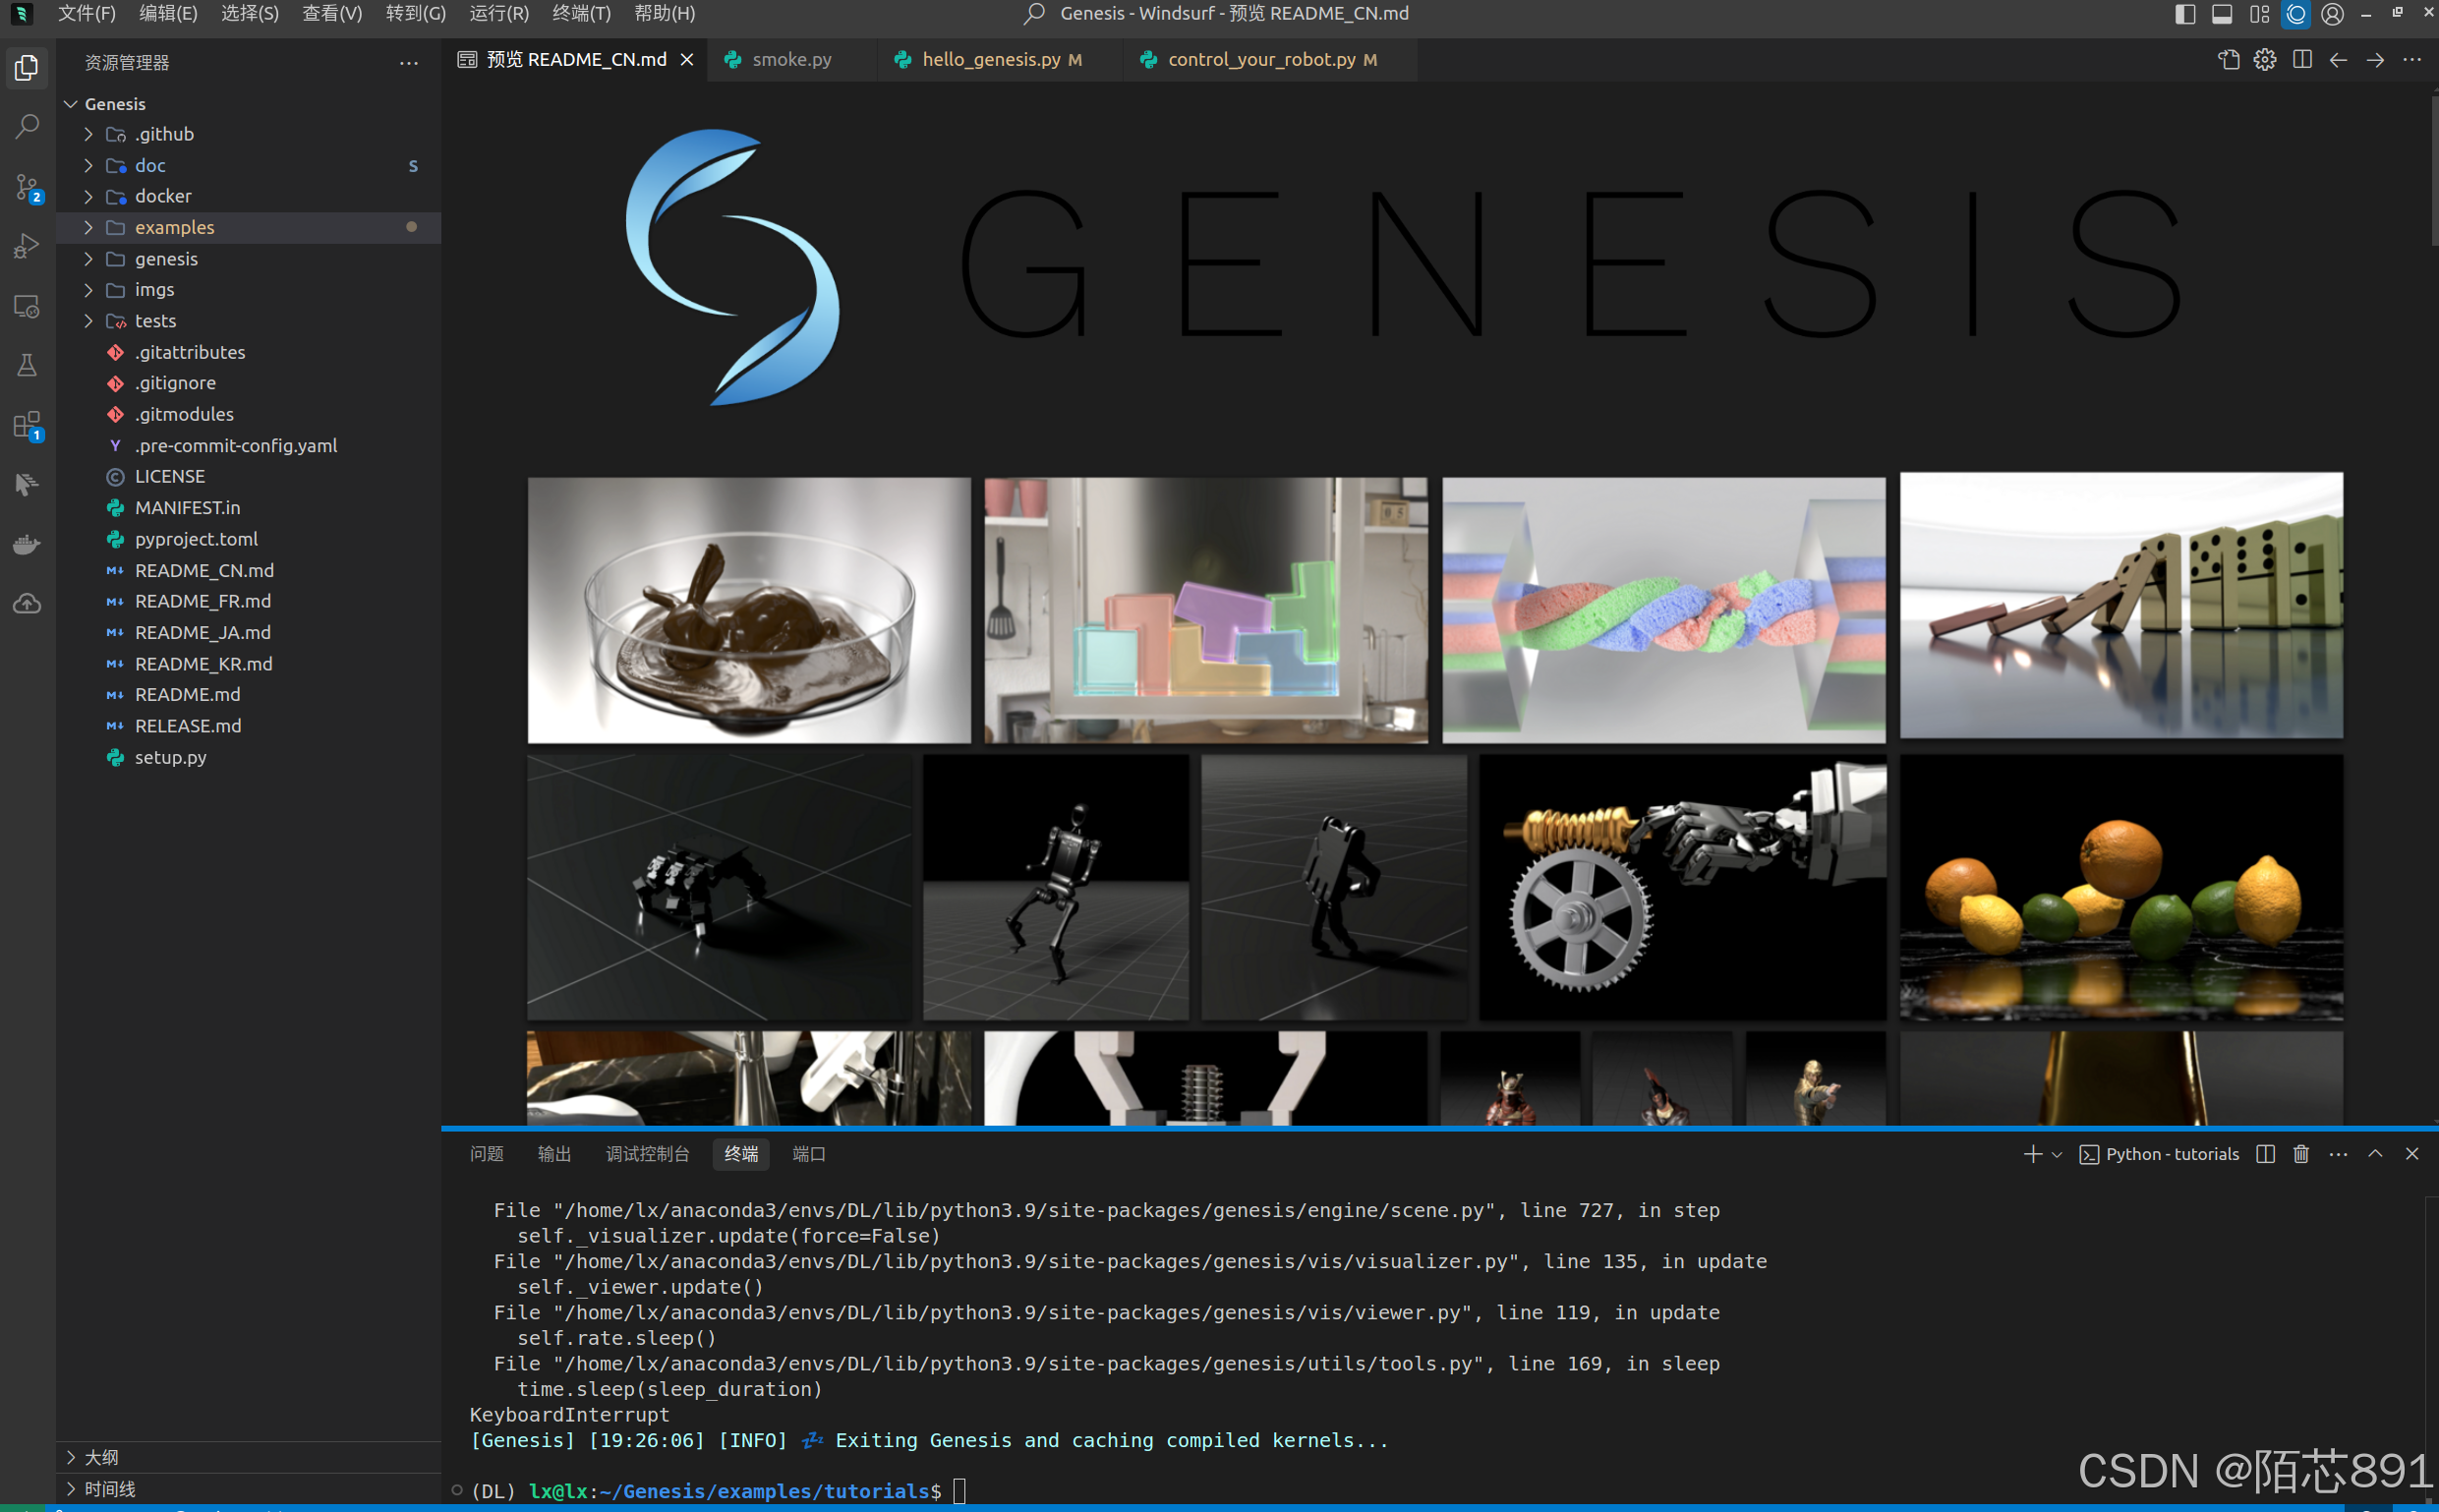
这就是他的代码,首先需要激活你的环境,然后就可以在example里面学习拉
尝试一下第一个例子吧,进入到Genesis/examples/tutorials下,在激活好的环境里面运行
python control_your_robot.py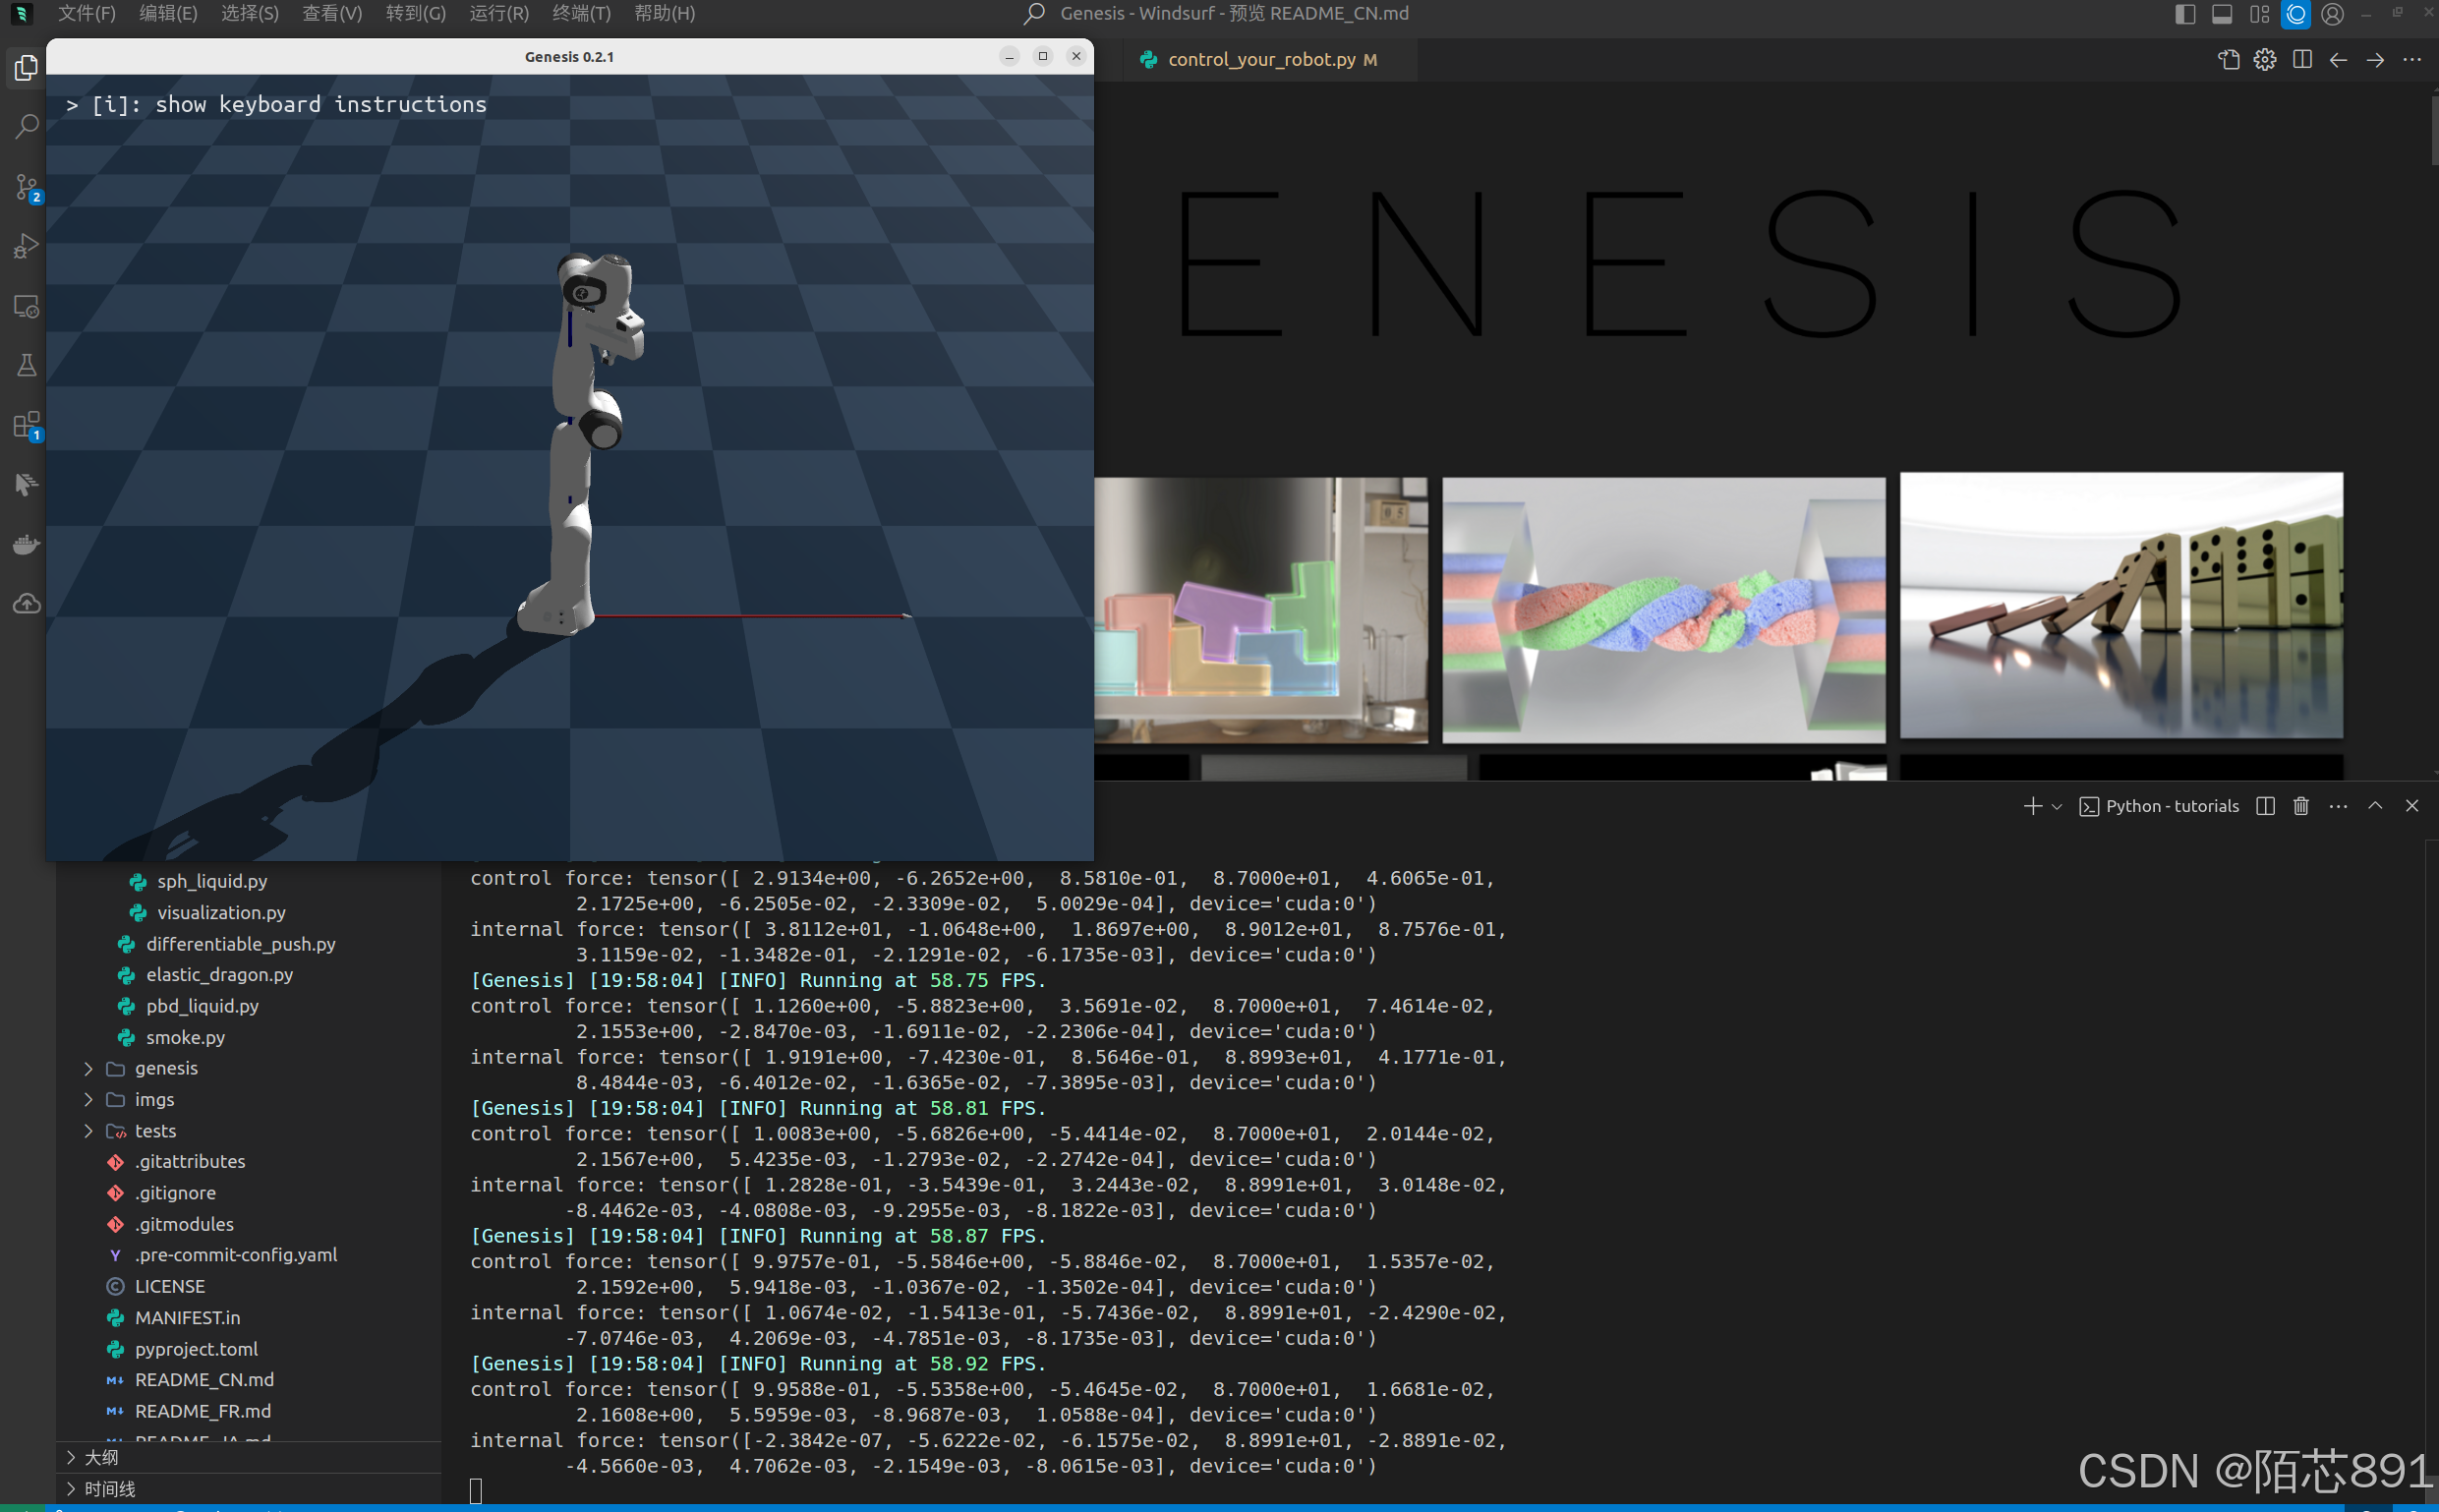
详细的教学请根据官方文档

腾讯云面向开发者汇聚海量精品云计算使用和开发经验,营造开放的云计算技术生态圈。
更多推荐
 5
5 0
0- 0


 已为社区贡献1条内容

所有评论(0)