搭建LNMP私有云存储(欧拉系统)
·
1.首先我们需要关闭防火墙安全软件
setenforce 0
systemctl stop firewalld
2.搭建LNMP所学需要的环境:mariadb数据库 php执行插件
yum install nginx mariadb-server php* -y
3.安装完成后,切到根目录,把 nextcloud-25.0.1.zip文件上传到根目录下,解压缩此文件夹
unzip nextcloud-25.0.1.zip
4.将解压后的文件夹赋予所有权限
chmod -Rf 777 /nextcloud
5.启用mariadb数据库
[root@server /]# systemctl start mariadb
[root@server /]# mysql
Welcome to the MariaDB monitor.  Commands end with ; or \g.
Your MariaDB connection id is 3
Server version: 10.5.25-MariaDB MariaDB Server

Copyright (c) 2000, 2018, Oracle, MariaDB Corporation Ab and others.

Type 'help;' or '\h' for help. Type '\c' to clear the current input statement.

MariaDB [(none)]>
6.创建nextcloud并创建用户以及密码,为它开放所有权限,最后退出,重启数据库
MariaDB [(none)]> create database nextcloud;
Query OK, 1 row affected (0.000 sec)

MariaDB [(none)]> create user 'nextcloud'@'localhost' identified by '123456';
Query OK, 0 rows affected (0.001 sec)

MariaDB [(none)]> grant all on nextcloud.* to 'nextcloud'@'localhost';
Query OK, 0 rows affected (0.001 sec)

MariaDB [(none)]> exit
Bye
[root@server /]# systemctl restart mariadb
7. 配置nginx文件(server_name改为自己的IP,root改为根下的nextcloud文件夹),配置完重nginx服务
[root@server /]# vim /etc/nginx/nginx.conf
server {
        listen       80;
        listen       [::]:80;
        server_name  192.168.5.135;
        root         /nextcloud;

        # Load configuration files for the default server block.
        include /etc/nginx/default.d/*.conf;

        error_page 404 /404.html;
            location = /40x.html {
        }
[root@server /]# systemctl restart nginx
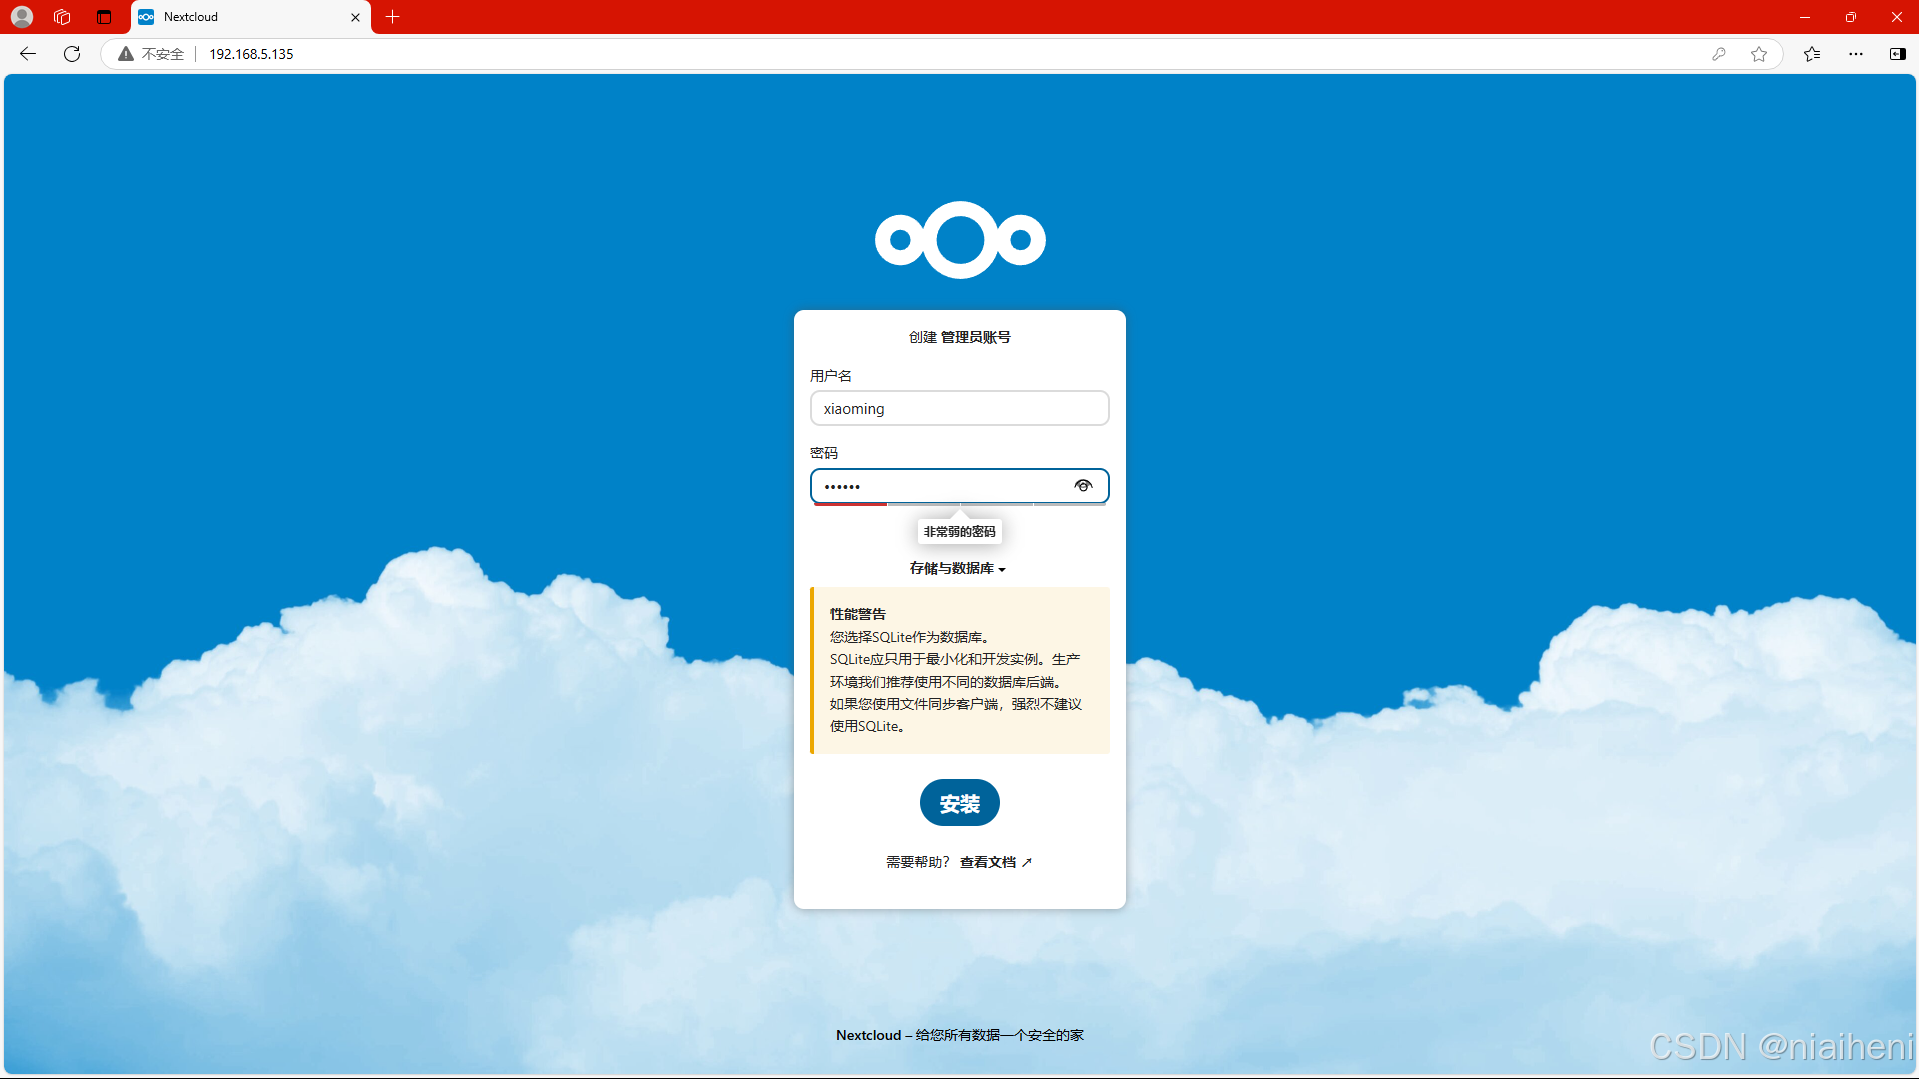
8.打开i浏览器,输入欧拉的IP地址,进入nextcloud安装向导
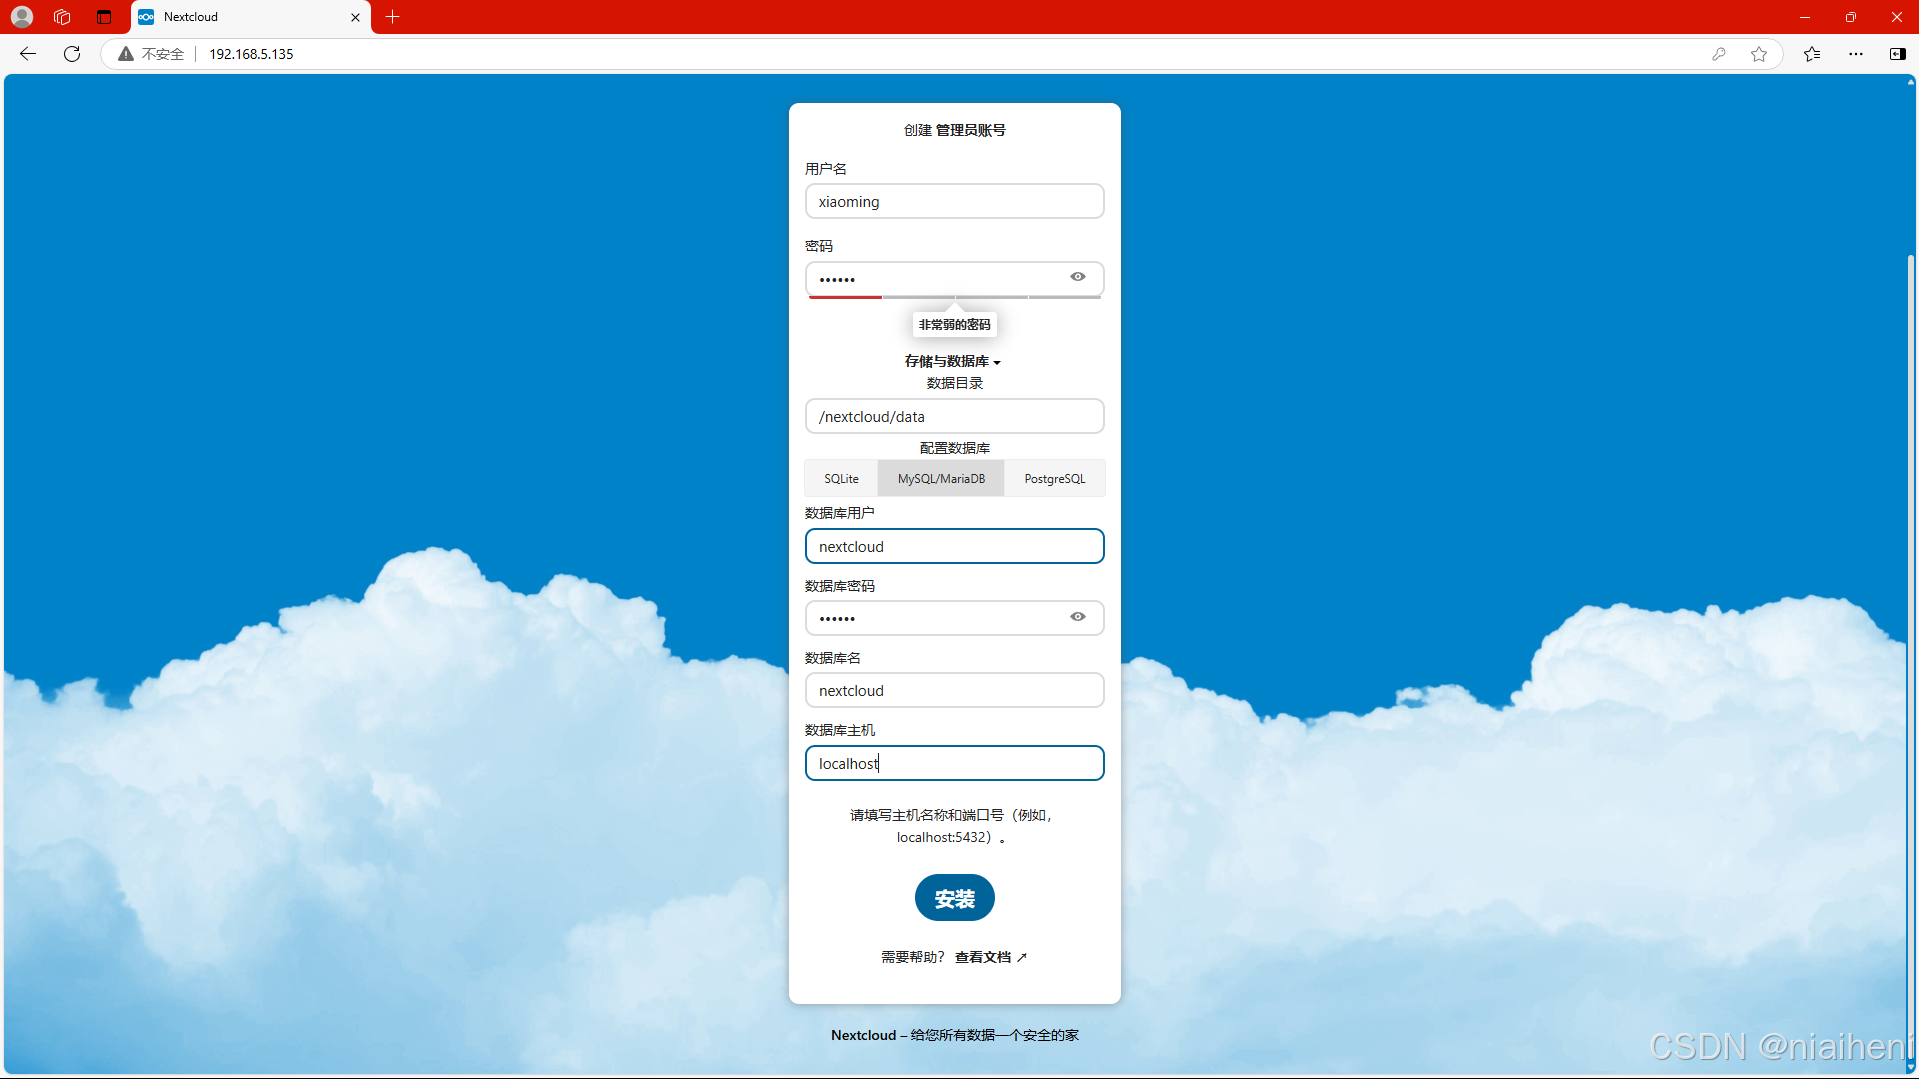
9.选择MySQL/MariaDB数据库,命名如下,密码设置为123456.随后点击安装
10.下一步我们需要把这个内网地址通过cpolar内网穿透到公网上去
在官网下载Linux版本cpolar压缩包,上传到根目录 ,解压缩后,通过官网提示连接到自己的注册账户,在80端口开启隧道

在Forwarding选项中找到自己的公网地址
Forwarding http://207b83d1.r28.cpolar.top -> http://localhost:80
Forwarding https://207b83d1.r28.cpolar.top -> http://localhost:80
最后我们需要修改nextcloud文件。cpolar的域名信任
root@server /]# vim /nextcloud/config/config.php
<?php
$CONFIG = array (
  'instanceid' => 'oc85zlb810fe',
  'passwordsalt' => 'YJO0b1N7JGTjXMXB+37pMIWxconUPI',
  'secret' => 'uSgFE38riR0W2BYtX5IP/I2YD1ajrmPLa+5O7TTVeKHBa6PX',
  'trusted_domains' =>
  array (
          0 => '192.168.5.135',
          1 => '207b83d1.r28.cpolar.top',
  ),
  'datadirectory' => '/nextcloud/data',
  'dbtype' => 'mysql',
  'version' => '25.0.1.1',
  'overwrite.cli.url' => 'http://192.168.5.135',
  'dbname' => 'nextcloud',
  'dbhost' => 'localhost',
  'dbport' => '',
  'dbtableprefix' => 'oc_',
  'mysql.utf8mb4' => true,
  'dbuser' => 'nextcloud',
  'dbpassword' => '123456',
  'installed' => true,
);
在array里添加1 => 加得到的公网地址,去掉http://
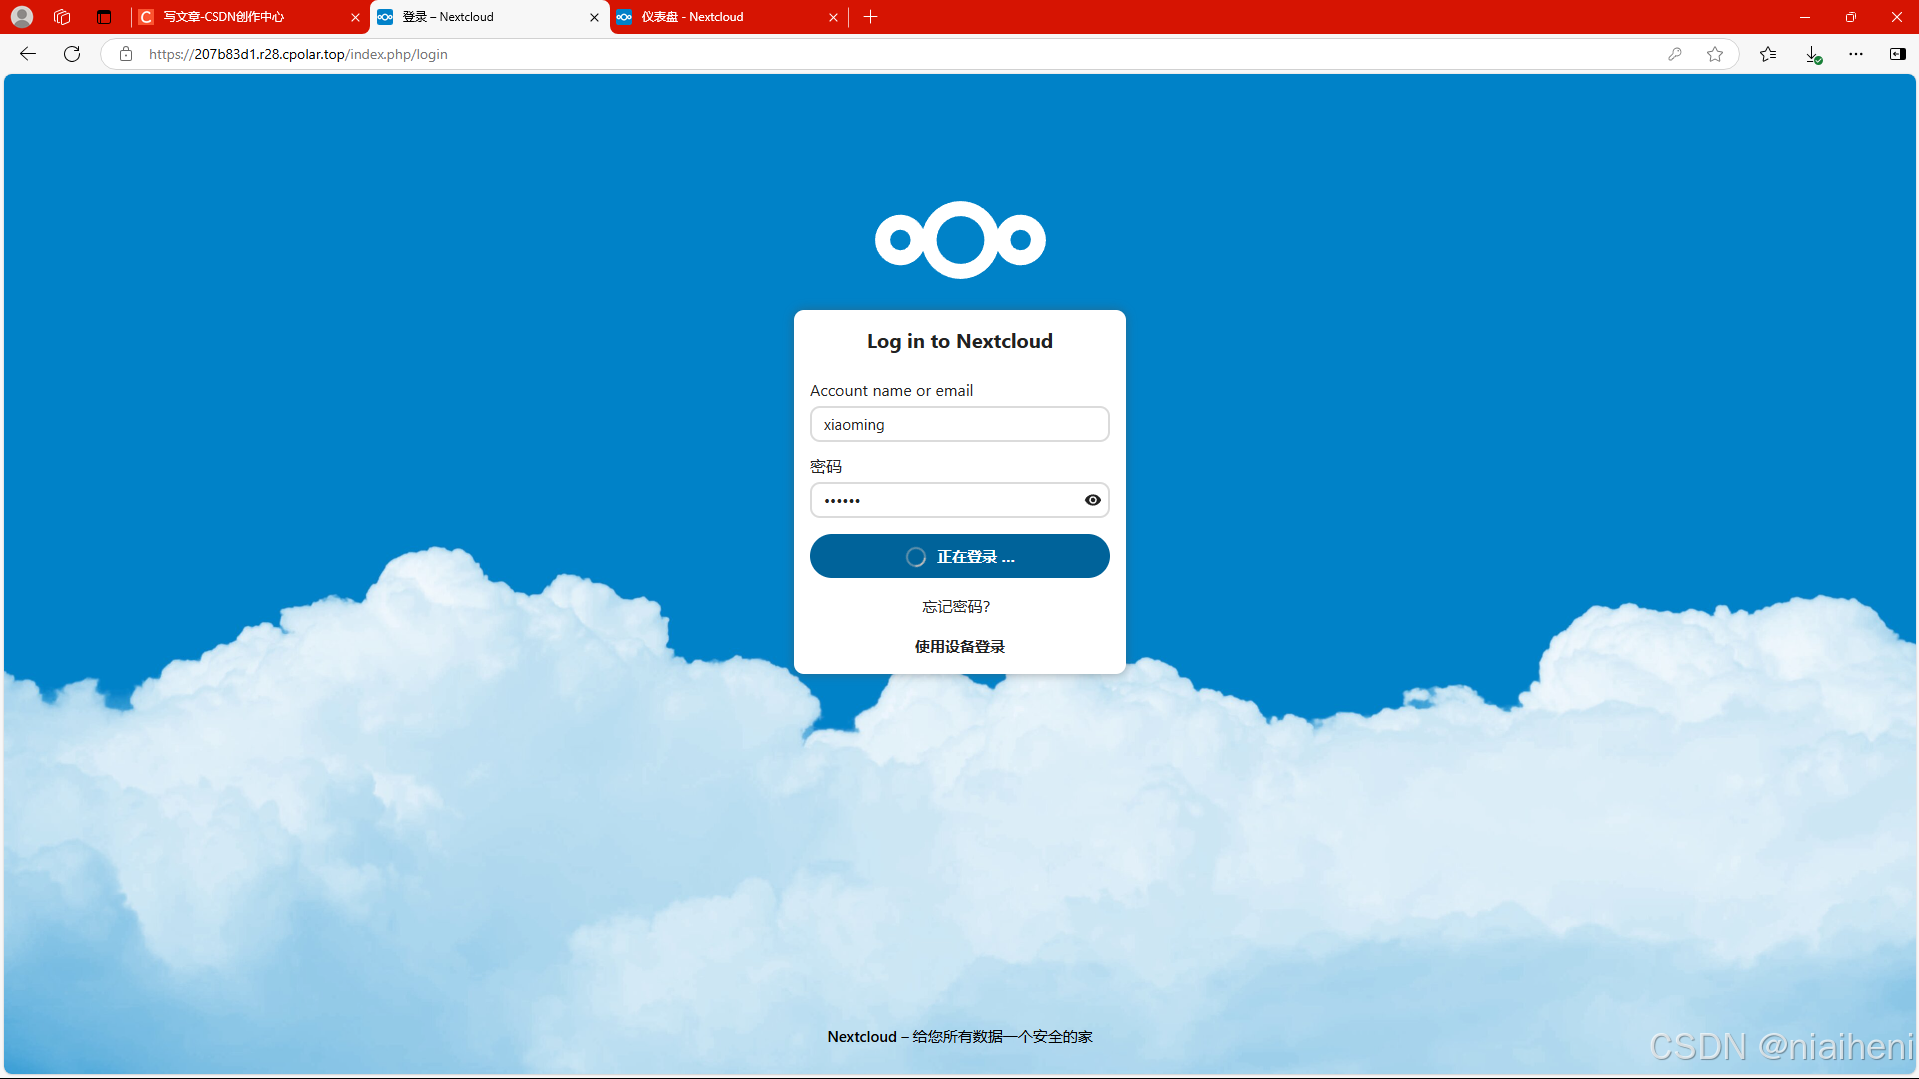
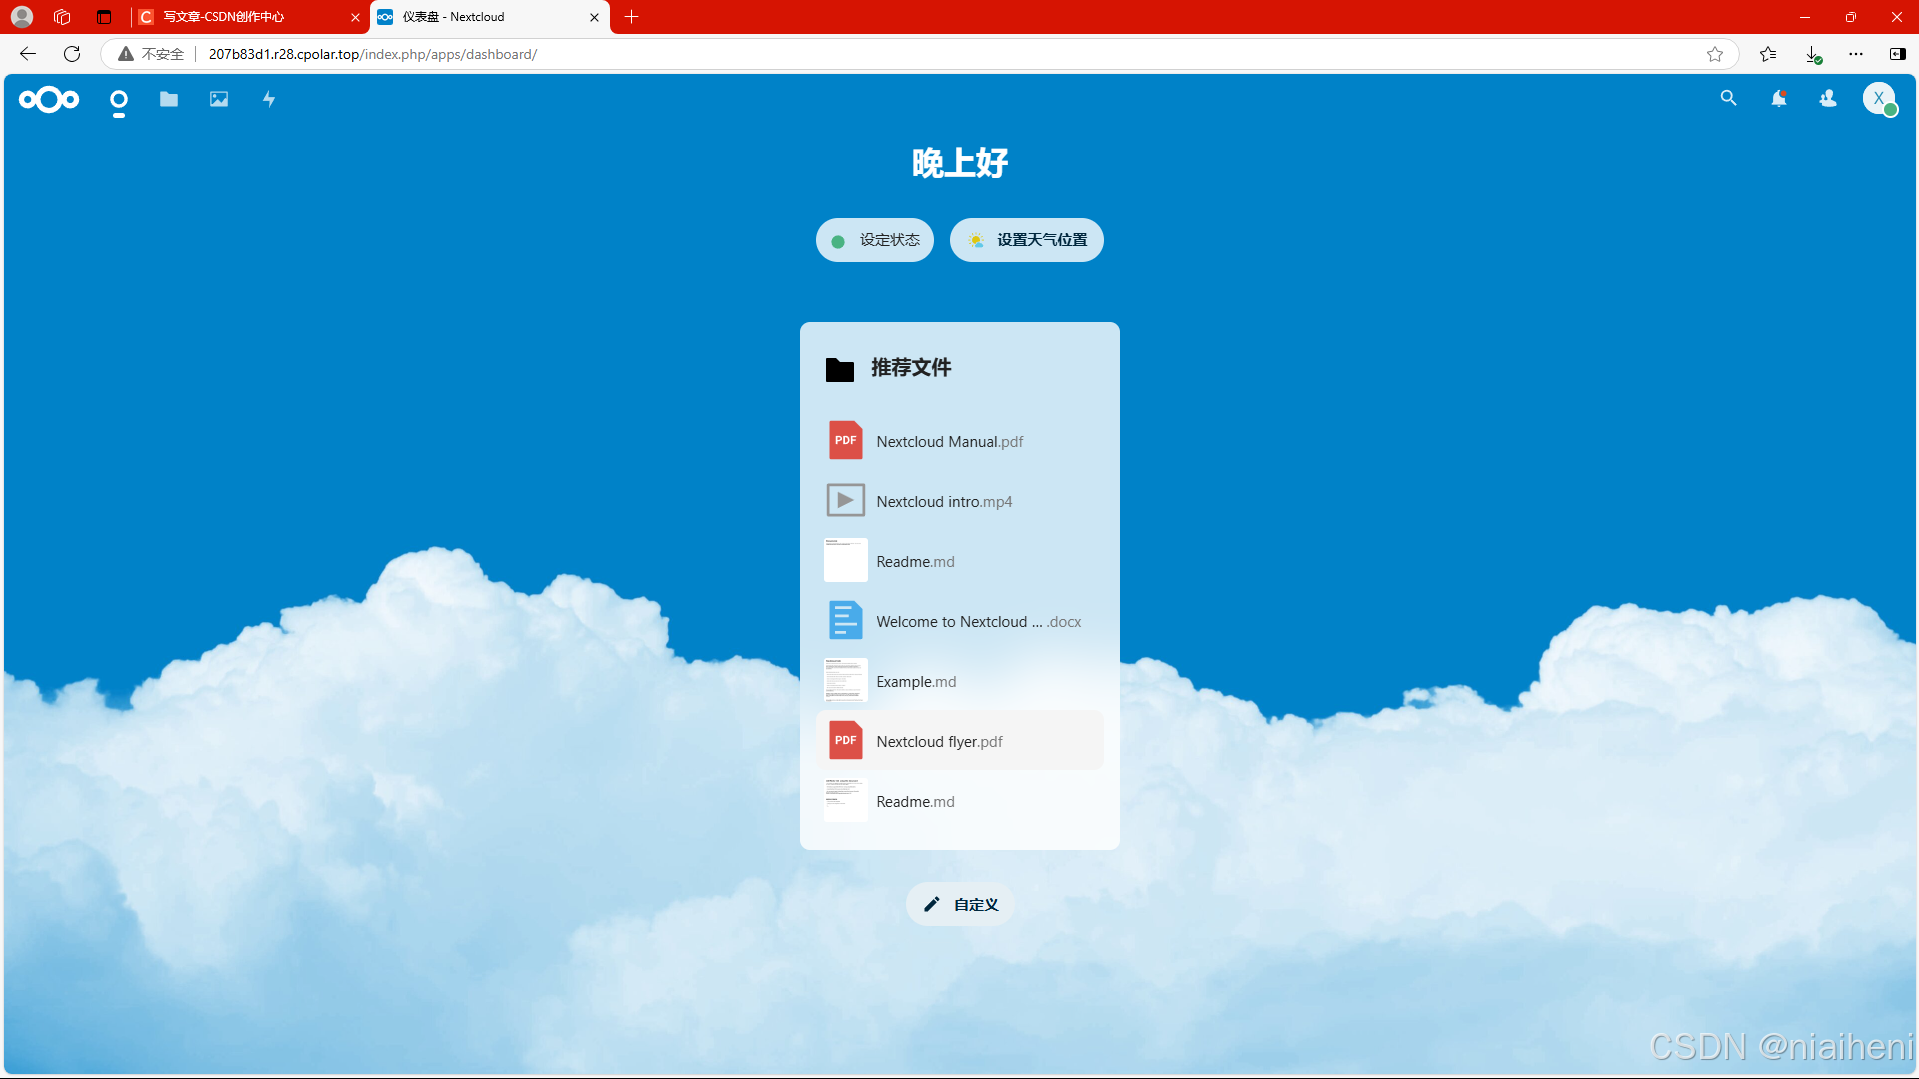
就完成了私有LNMP服务器的搭建

腾讯云面向开发者汇聚海量精品云计算使用和开发经验,营造开放的云计算技术生态圈。
更多推荐
 7
7 0
0- 0


 已为社区贡献2条内容

所有评论(0)