angular知识点--动态组件
·
动态组件
实现动态加载组件,最重要的3个部分:viewchild,viewContainerRef , componentFactoryResolver
- ViewChild:一个属性装饰器,用来从模板视图中获取对应的元素,可以通过模板变量获取,获取时可以通过 read 属性设置查询的条件,就是说可以把此视图转为不同的实例
- ViewContainerRef :一个视图容器,可以在此上面创建、插入、删除组件等等
- ComponentFactoryResolve:一个服务,动态加载组件的核心,这个服务可以将一个组件实例呈现到另一个组件视图上
第一步:在组件所在模块的declarations和entryComponents中声明组件:
//module.ts

import { TestThreeComponent } from './test-three/test-three.component';
import { TestTwoComponent } from './test-two/test-two.component';
import { TestOneComponent } from './test-one/test-one.component';

const declare = [
  TestOneComponent,
  TestTwoComponent,
  TestThreeComponent
]

@NgModule({
  declarations: [
    ...declare
  ],
  entryComponents: [...declare]
})
第二步:定义动态组件所需的内容
//html
<!-- 组件切换链接按钮 -->
<a (click)="load('one')" class="list">one</a>
<a (click)="load('two')" class="list">two</a>
<a (click)="load('three')" class="list">three</a>

<!-- 动态组件容器 -->
<div #dynamic></div>
//ts

export class AppComponent implements OnInit, AfterViewInit {

 // 定义动态组件对象
  cmpData = {
    'one': TestOneComponent,
    'two': TestTwoComponent,
    'three': TestThreeComponent
  }

// 定义动态组件容器
  @ViewChild('dynamic', { read: ViewContainerRef })
  dmRoom: ViewContainerRef;

  constructor(
    private cfr: ComponentFactoryResolver
  ) {}

  // 定义动态切换组件方法
  loadComponent(comName):void {
    const com = this.cfr.resolveComponentFactory(comName);
    this.dmRoom.clear();  // 清空视图
    this.dmRoom.createComponent(com);
  }

   // 定义点击事件方法
  load(name: string) {
    this.loadComponent(this.cmpData[name]);
  }

  ngAfterViewInit(): void {
   // 默认加载的动态组件
    this.loadComponent(this.cmpData['one'])

  }

}
实现效果: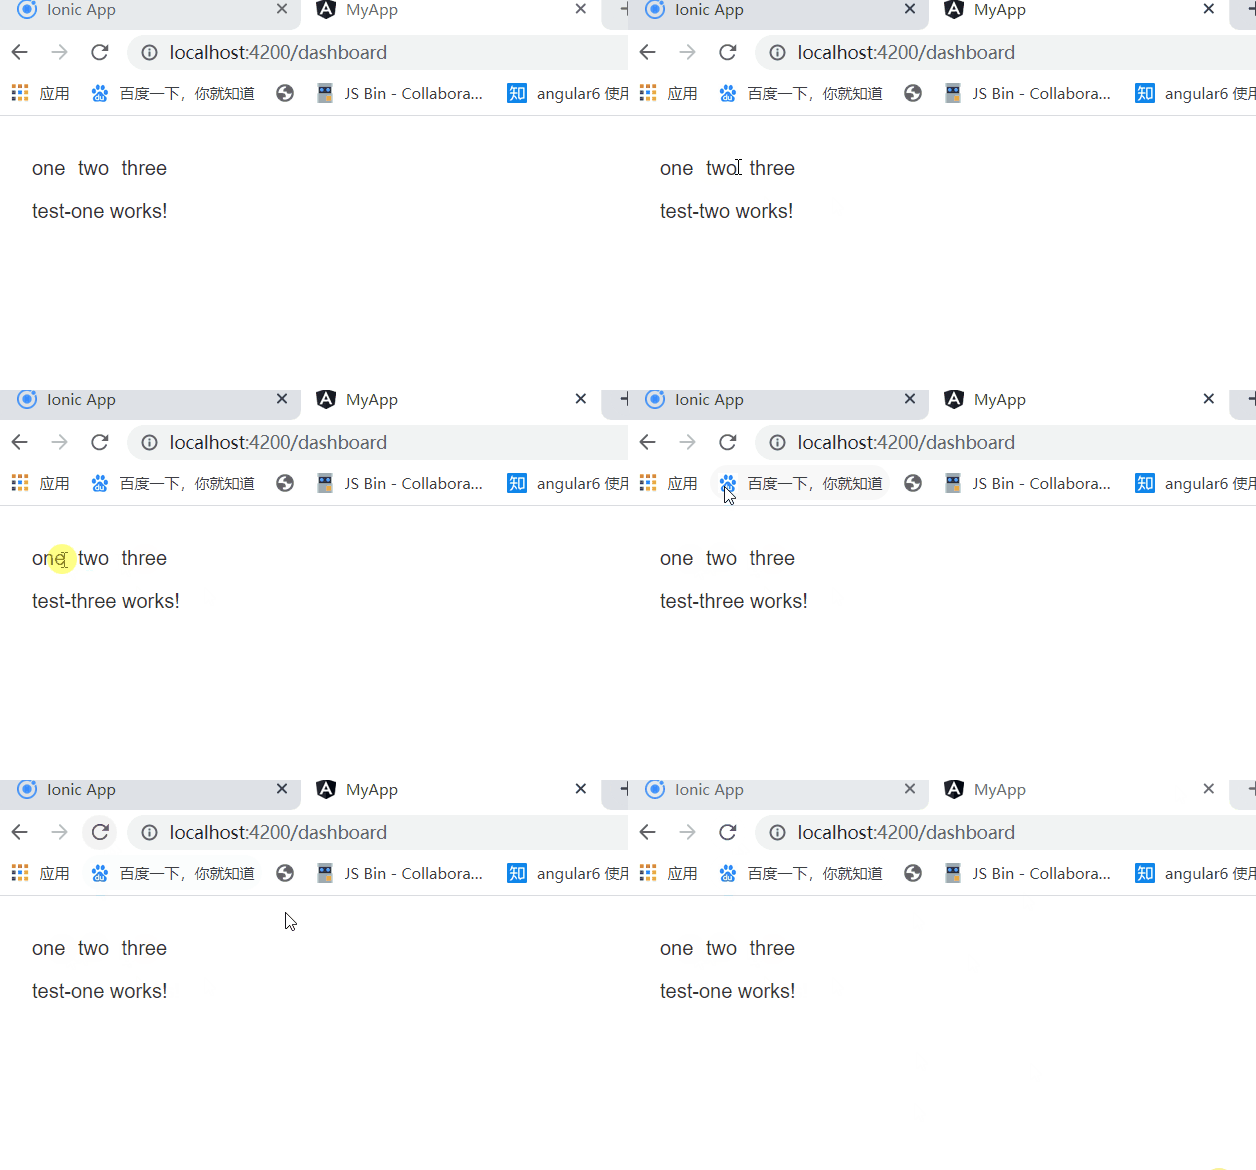
//默认加载得是“one”(test-one组件)内容。然后根据选择加载不同的组件
声明:
本文完全参考下面文章,感谢作者,非常有条理,排版也舒服,学习了学习了。原文章

腾讯云面向开发者汇聚海量精品云计算使用和开发经验,营造开放的云计算技术生态圈。
更多推荐
 1
1 0
0- 0


 已为社区贡献6条内容

所有评论(0)