

Class Activation Maps (CAM) is a powerful technique used in Computer Vision for classification tasks. It allows the scientist to inspect the image to be categorized and understand which parts/pixels of that image have contributed more to the final output of the model.
类激活图(CAM)是Computer Vision中用于分类任务的一项强大技术。 它使科学家可以检查要分类的图像,并了解该图像的哪些部分/像素为模型的最终输出做出了更大的贡献。
Basically, imagine we build a CNN with the goal of classifying people’s pictures into “Man” and “Woman”, then we feed it with a new picture and it returns the label “Man”. With the CAM tool, we would be able to see which parts of the picture activate the “Man” class the most. This can be very useful if we want to improve the accuracy of our model and have to understand which layers need to be modified, or whether we might want to differently pre-process the training set images.
基本上,假设我们构建了一个CNN ,目标是将人们的图片分为“男人”和“女人”,然后将其添加到新图片中,并返回标签“ Man”。 使用CAM工具,我们将能够看到图片中哪个部分最能激活 “ Man”类。 如果我们想提高模型的准确性,并且必须了解需要修改哪些图层,或者是否需要对训练集图像进行不同的预处理,那么这将非常有用。
In this article, I’m going to show you the idea behind this procedure. For this purpose, I will use a pre-trained CNN, Resnet50 (read the official paper here), using weights deriving from its training on the Imagenet dataset (you can read more about this dataset here).
在本文中,我将向您展示此过程背后的想法。 为此,我将使用经过预训练的CNN Resnet50(在此处阅读官方文章),并使用从Imagenet数据集上进行训练得到的权重(您可以在此处阅读有关此数据集的更多信息)。
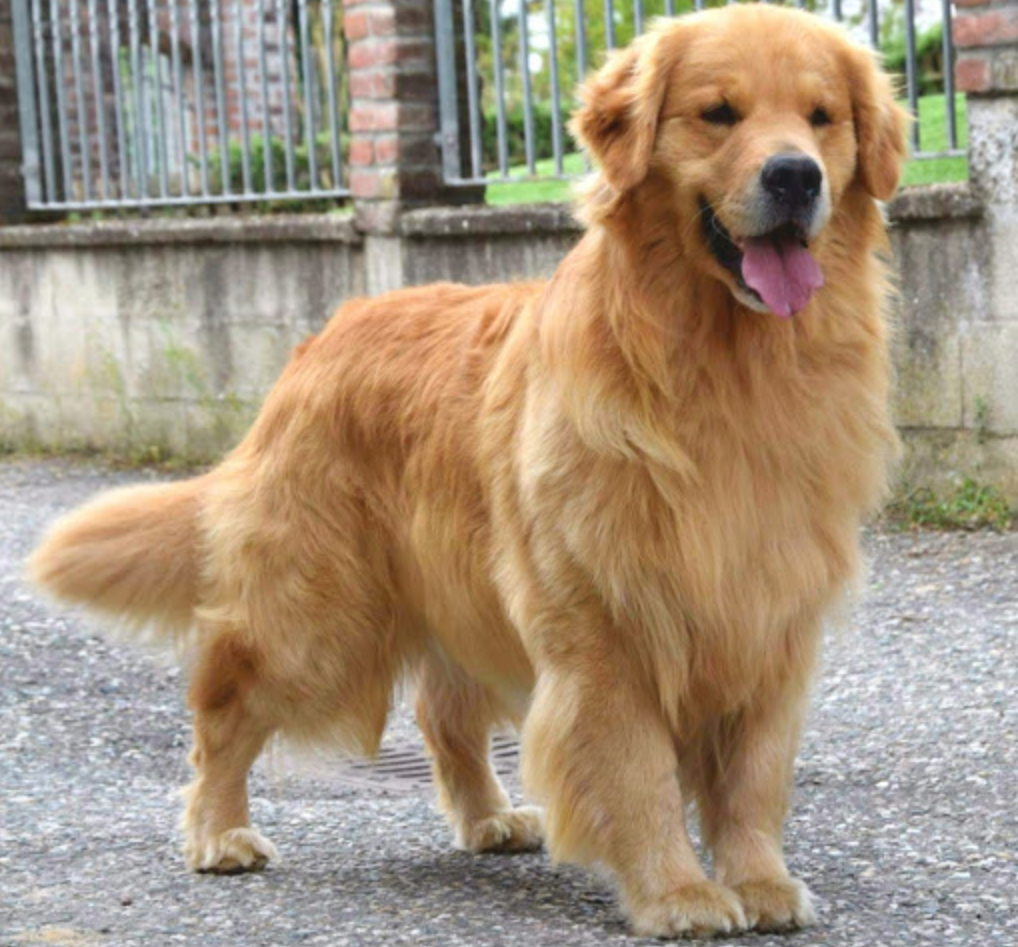
The image I’m going to use for this experiment is, once again, this majestic Golden Retriever:
我将用于此实验的图像再次是这个雄伟的金毛寻回犬:
First thing first, let’s try our pre-trained model on this picture, asking it to return the three most likely categories:
首先,让我们在这张图片上尝试预先训练的模型,要求它返回三个最可能的类别:
from keras.applications.resnet50 import ResNet50
from keras.preprocessing import image
from keras.applications.resnet50 import preprocess_input, decode_predictions
import numpy as npmodel = ResNet50(weights='imagenet')img_path = 'golden.jpg'
img = image.load_img(img_path, target_size=(224, 224))
x = image.img_to_array(img)
x = np.expand_dims(x, axis=0)
x = preprocess_input(x)preds = model.predict(x)
# decode the results into a list of tuples (class, description, probability)
print('Predicted:', decode_predictions(preds, top=3)[0])
As you can see, the first result returns exactly the category we were looking for: Golden Retriever.
如您所见,第一个结果完全返回了我们正在寻找的类别:金毛寻回犬。
Now our goal is that of identifying those parts of our picture which activated the Golden label the most. To do so, we will use a technique called “Gradient-weighted Class Activation Mapping (Grad-CAM)” (you can find the official paper here).
现在,我们的目标是识别图片中最能激活金色标签的部分。 为此,我们将使用一种称为“梯度加权类激活映射(Grad-CAM)”的技术(您可以在此处找到官方文章)。
The idea is the following: imagine we have a trained CNN and we feed it with a new image. It will return a class for that image. Then, if we take the output feature map of the last convolutional layer and weight every channel by the gradient of the output class (w.r.t. to the channel), we obtain a heatmap indicating which are the parts of the input image which activate the class the most.
这个想法是这样的:假设我们有一个训练有素的CNN,并用新的图像填充它。 它将为该图像返回一个类。 然后,如果我们获取最后一个卷积层的输出特征图,并通过输出类的梯度对每个通道加权(输入到通道),我们将获得一个热图,该热图指示输入图像中哪些部分激活了该类。最。
Let’s see an implementation with Keras. As the first thing, let’s examine the structure of our pre-trained ResNet50 to identify which is the layer we want to inspect. Since the structure is very long, I will display here only the last blocks:
让我们看一下Keras的实现。 首先,让我们检查一下经过预训练的ResNet50的结构,以确定要检查的层。 由于结构很长,因此我仅在此处显示最后一个块:
from keras.utils import plot_model
plot_model(model)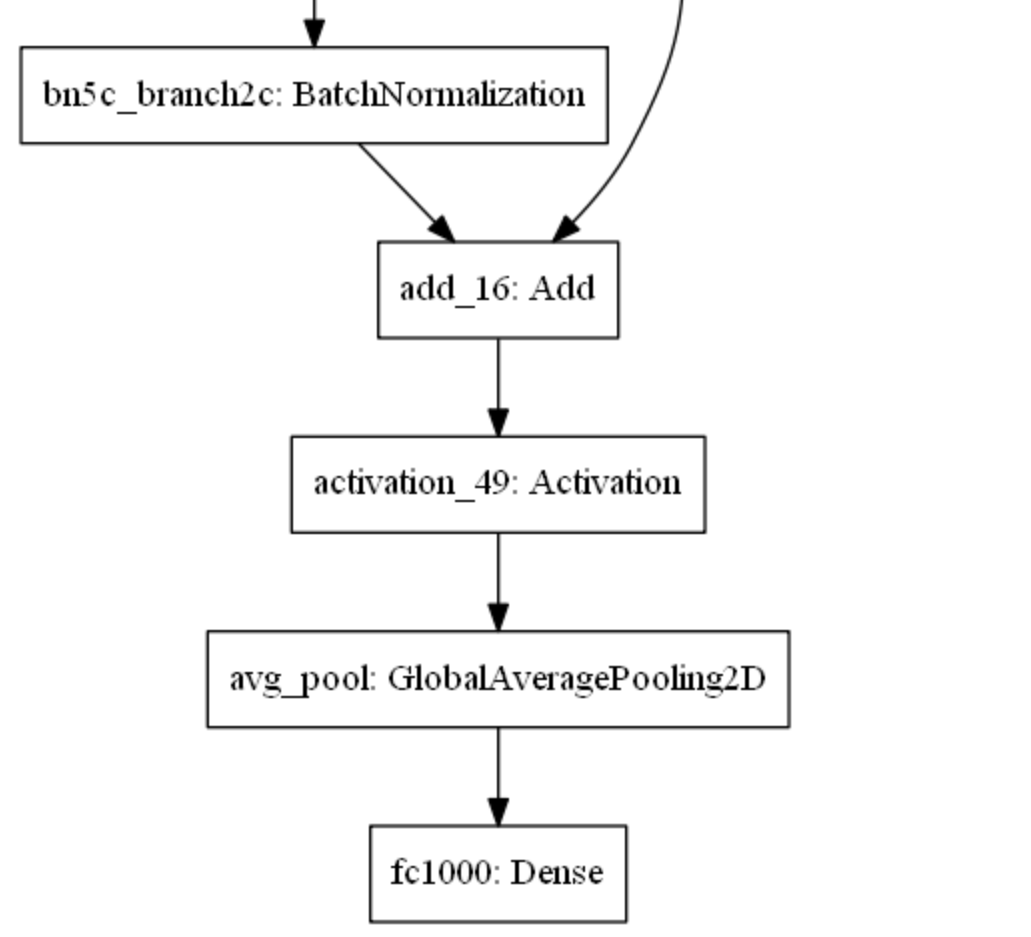
Let use the last activation layer, activation_49, to extract our feature map.
让我们使用最后一个激活层activation_49来提取我们的特征图。
golden = model.output[:, np.argmax(preds[0])]
last_conv_layer = model.get_layer('activation_49')from keras import backend as Kgrads = K.gradients(golden, last_conv_layer.output)[0]
pooled_grads = K.mean(grads, axis=(0, 1, 2))
iterate = K.function([model.input], [pooled_grads, last_conv_layer.output[0]])
pooled_grads_value, conv_layer_output_value = iterate([x])
for i in range(pooled_grads.shape[0]):
    conv_layer_output_value[:, :, i] *= pooled_grads_value[i]
heatmap = np.mean(conv_layer_output_value, axis=-1)import matplotlib.pyplot as pltheatmap = np.maximum(heatmap, 0)
heatmap /= np.max(heatmap)
plt.matshow(heatmap)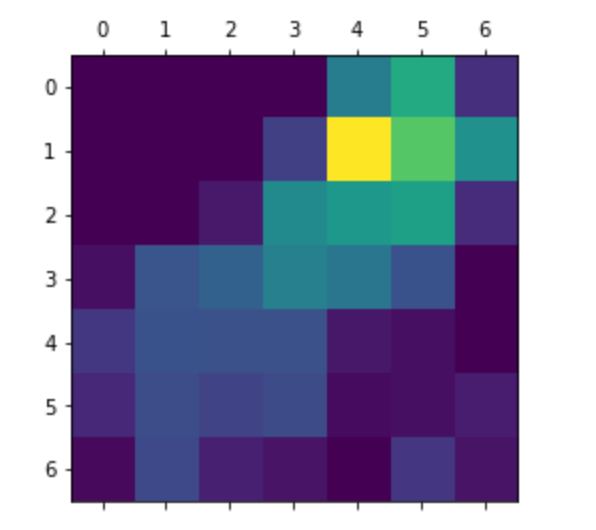
This heatmap suggests to us very little about which parts of the input image are activating the final class. Hence, let’s merge this heatmap and the input image as follows:
此热图对我们几乎没有建议输入图像的哪些部分正在激活最终课程。 因此,让我们如下合并此热图和输入图像:
import cv2
img = cv2.imread(img_path)
heatmap = cv2.resize(heatmap, (img.shape[1], img.shape[0]))
heatmap = np.uint8(255 * heatmap)
heatmap = cv2.applyColorMap(heatmap, cv2.COLORMAP_JET)
merged= heatmap * 0.4 + imgplt.imshow(merged)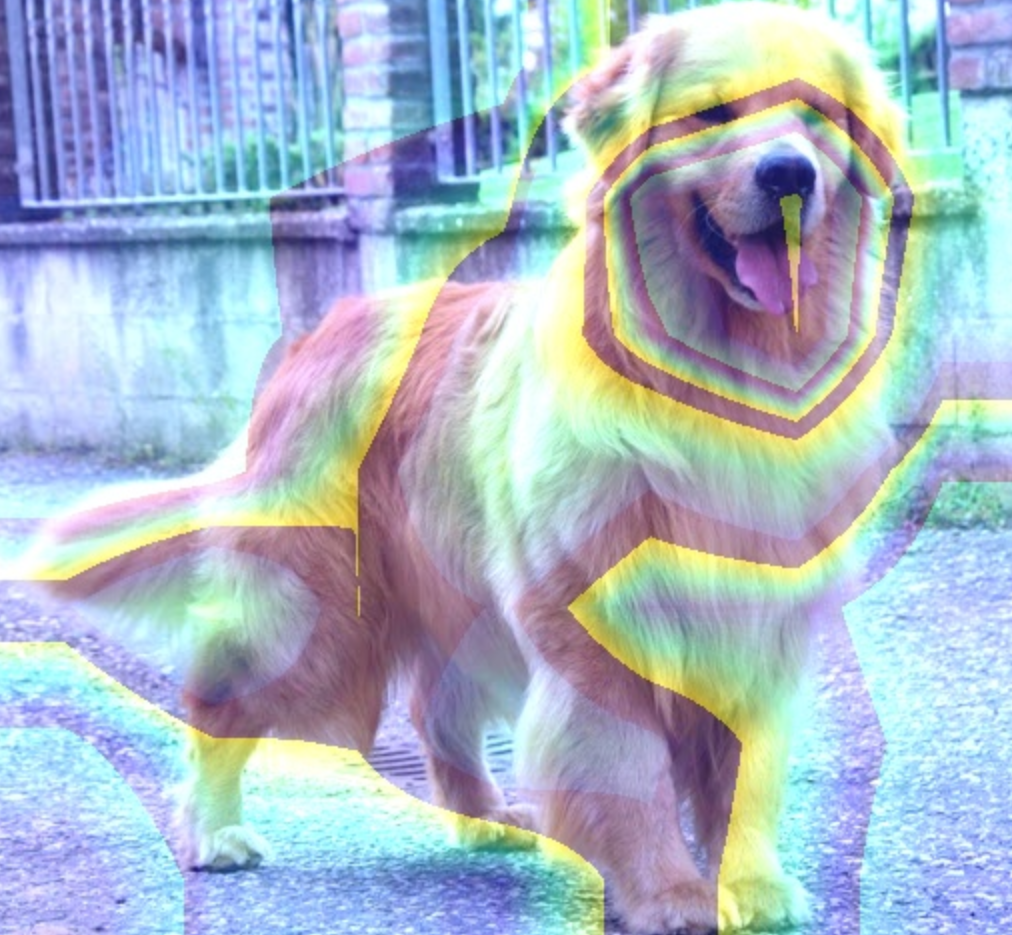
As you can see, there are parts of the image (like the snout) which are particularly indicative of the category of the input image.
如您所见,图像的某些部分(例如口鼻部)特别指示输入图像的类别。
Hope you appreciated the reading! For more information about this topic, I suggest to you the following official papers from which the idea of CAM comes.
希望您对阅读表示赞赏! 有关此主题的更多信息,我向您建议以下CAM构想的官方论文。
翻译自: https://medium.com/@valentinaalto/class-activation-maps-in-deep-learning-14101e2ec7e1


 已为社区贡献5条内容

所有评论(0)