Get “https://registry-1.docker.io/v2/“: net/http: request canceled while waiting for connection
·
目录
5.不针对所有用户可以解决问题(未解决的用户可尝试以下可能会有帮助)
6.通过dig @114.114.114.114 registry-1.docker.io找到IP地址
1.docker pull 拉取镜像报错如下

2.编辑 resolv.conf 文件
vim /etc/resolv.conf 
3.修改daemon.json文件
vim /etc/docker/daemon.json {
"max-concurrent-downloads": 10,
"max-concurrent-uploads": 5,
"default-shm-size": "1G",
"debug": true,
"experimental": false,
"registry-mirrors": [
"https://x9r52uz5.mirror.aliyuncs.com",
"https://dockerhub.icu",
"https://docker.chenby.cn",
"https://docker.1panel.live",
"https://docker.awsl9527.cn",
"https://docker.anyhub.us.kg",
"https://dhub.kubesre.xyz",
"https://docker.m.daocloud.io",
"https://dockerproxy.com",
"https://docker.mirrors.ustc.edu.cn",
"https://docker.nju.edu.cn"
]
}systemctl daemon-reload
systemctl restart docker4.成功解决问题
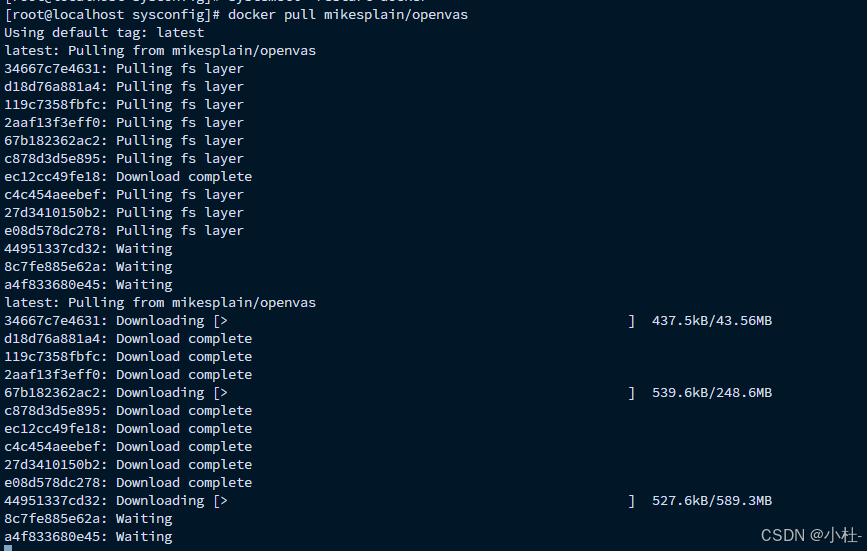
5.不针对所有用户可以解决问题((未解决的用户可尝试以下可能会有帮助))
以下是我的排查经验最终还是以上方法能解决我的问题
6.通过dig @114.114.114.114 registry-1.docker.io找到IP地址
dig @114.114.114.114 registry-1.docker.io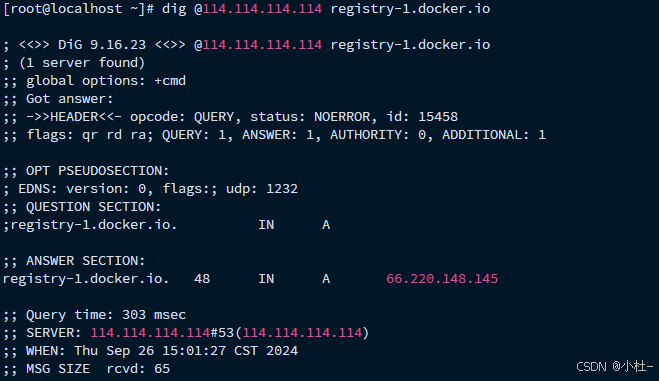
7.修改hosts解析
不要纠结我的IP对不对(我排过的问题没解决而已变过了)
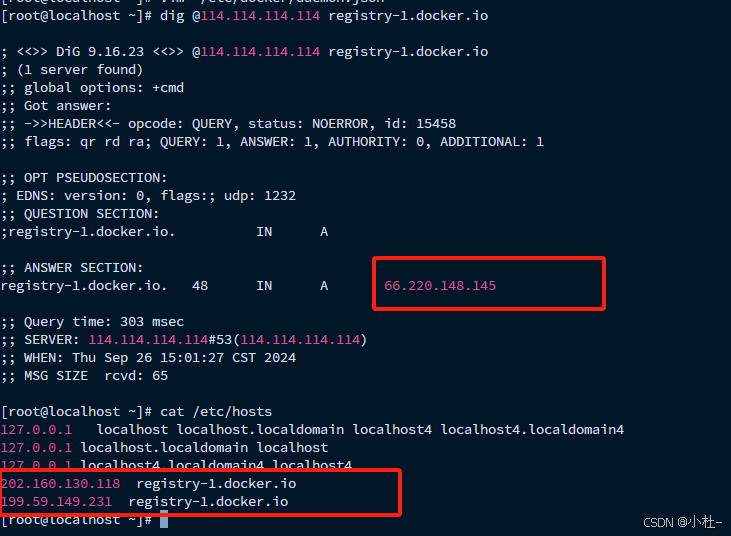
8.清理构建缓存
docker builder prune9.更改过Docker Engine
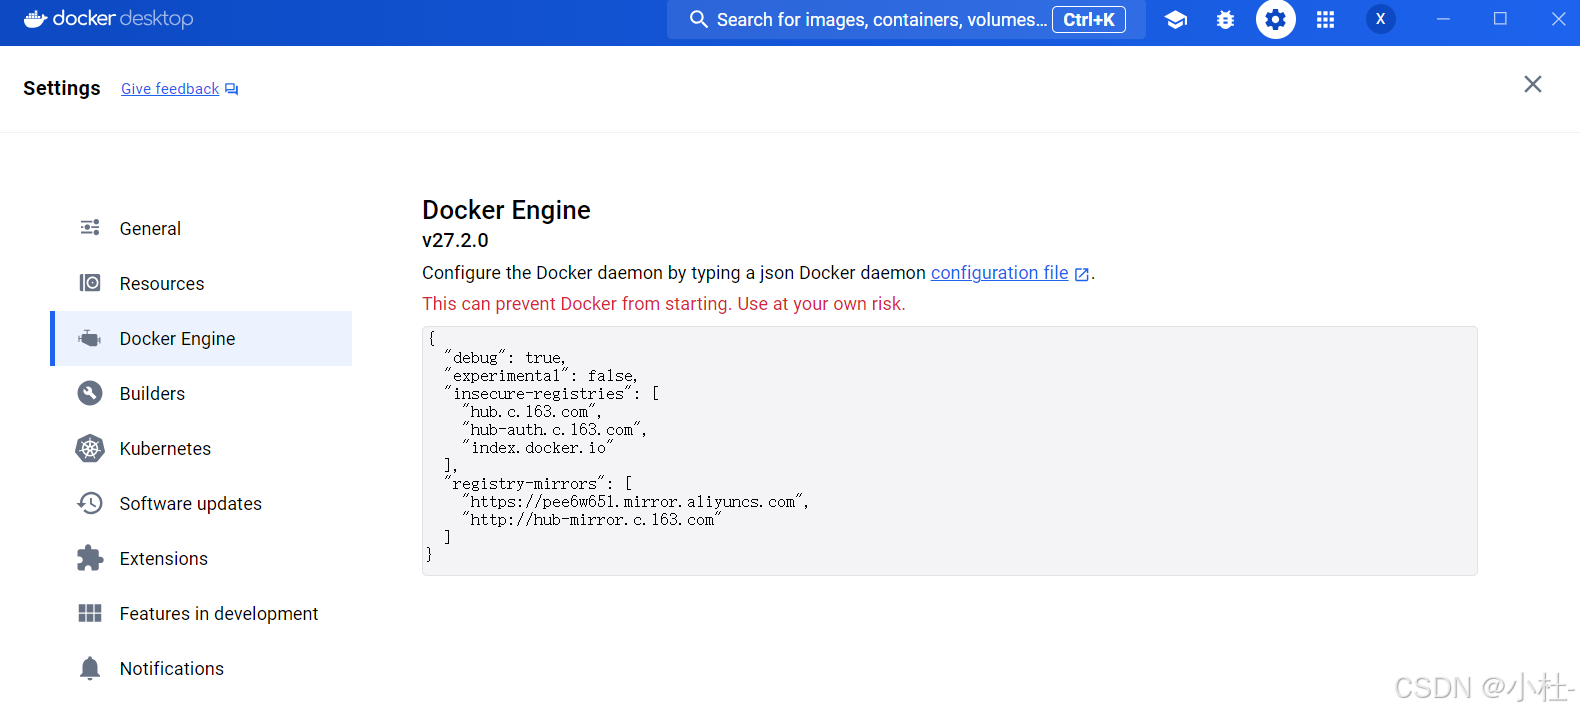
{
  "debug": true,
  "experimental": false,
  "insecure-registries": [
    "hub.c.163.com",
    "hub-auth.c.163.com",
    "index.docker.io"
  ],
  "registry-mirrors": [
    "https://pee6w651.mirror.aliyuncs.com",
    "http://hub-mirror.c.163.com"
  ]
}
10.阿里后台
https://cr.console.aliyun.com/cn-hangzhou/instances/mirrors 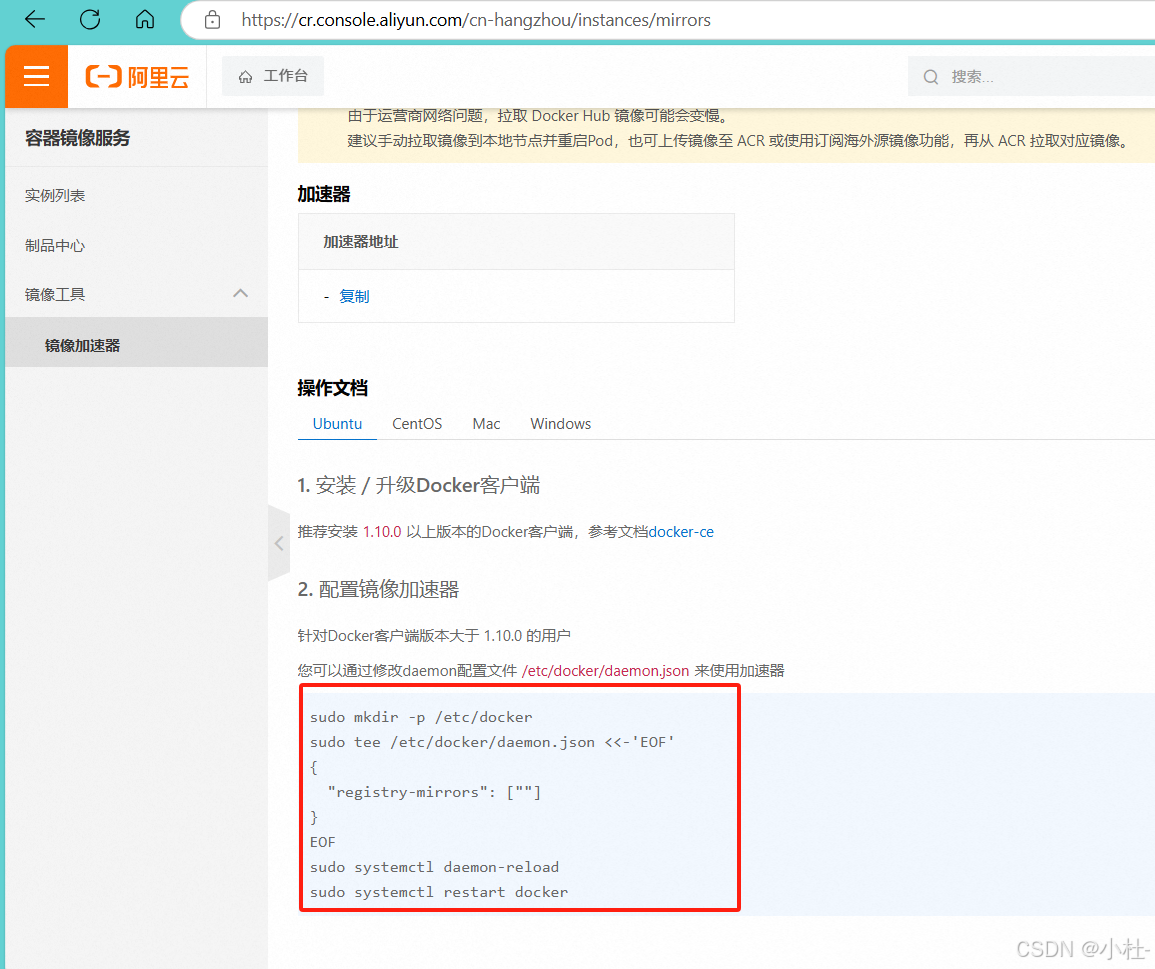

腾讯云面向开发者汇聚海量精品云计算使用和开发经验,营造开放的云计算技术生态圈。
更多推荐
 32
32 0
0- 0


 已为社区贡献8条内容

所有评论(0)