在debian12上使用源码部署ThingsPanel开源物联网平台
ThingsPanel在debian系统上使用源码安装
一、最低测试配置
ThingsPanel整体内存的占用约100M以下,安装必要服务后会达到几百M。最小可使用1G内存设备进行测试,适合设备数量较少的测试环境。
| 项目 | 配置要求 |
|---|---|
| CPU | 1核心 2.0GHz+ |
| 内存 | 1GB |
| 硬盘 | 20G |
二、环境安装
环境要求
| 依赖 | 版本要求 |
|---|---|
| Go | 1.22.9 |
| Redis | 7.2 |
| Pgsql |
14 |
| Node.js | 20.11.0 |
redis安装
sudo apt update
sudo apt install -y redis-server
sudo systemctl enable redis-server.service #设置redis开机自启动
修改redis配置
/etc/redis/redis.conf
bind 127.0.0.1 #绑定IP(修改绑定IP可能会存在安全隐患)
port 6379 #绑定端口
timeout 0 #空闲连接超时时间,0表示不断开
maxclients 10000 #最大连接数
databases 16 #数据库数量
requirepass 123456 #redis密码,留空代表没有设置密码
maxmemory 0 #MB,最大使用内存,0表示不限制
修改完成后重启
sudo systemctl restart redis
git安装
sudo apt install -y gitcmake安装
# Linux 操作系统,源码安装 TimescaleDB 2.5.0
# 安装构建工具和依赖项
sudo apt-get install -y wget gcc make readline-devel zlib-devel
# 需要最新 CMake 3.x 编译工具,下载 cmake 源码包
wget https://github.com/Kitware/CMake/releases/download/v3.20.0/cmake-3.20.0.tar.gz
# 解压到 /usr/local 目录下
sudo tar -zxvf cmake-3.20.0.tar.gz -C /usr/local/
# 编译安装 CMake
cd /usr/local/cmake-3.20.0
./bootstrap
make
make install
pgsql安装
sudo apt update
sudo apt install -y wget gnupg
wget -qO - https://www.postgresql.org/media/keys/ACCC4CF8.asc | sudo apt-key add -
echo "deb http://apt.postgresql.org/pub/repos/apt $(lsb_release -cs)-pgdg main" | sudo tee /etc/apt/sources.list.d/pgdg.list
sudo apt update
sudo apt install -y postgresql-14
版本确认
/usr/lib/postgresql/14/bin/pg_config --version
PolarDB安装
若需要国产化部署,可将pgsql替换为阿里云下的polardb for pgsql
1、安装:
在以下网站下载合适的版本
https://github.com/ApsaraDB/PolarDB-for-PostgreSQL2
2、解压:
解压到指定文件夹中
3、编译:
cd /home/PolarDB-for-PostgreSQL-REL_14_STABLE
./configure --prefix=/usr/local/polardb14 --enable-cassert --enable-debug
./configure --prefix=/usr/local/polardb14 --enable-cassert --enable-debug
make -j$(nproc)
sudo make install
说明:
--prefix:安装目录
--enable-cassert:启用断言
--enable-debug:启用调试信息,方便排错
-j$(nproc)会使用所有 CPU 核心加速编译编译完成后,PolarDB PG14 安装到
/usr/local/polardb14目录下包含
bin、lib、share等4、 初始化数据库:
注意:以下操作不能用root用户进行操作
创建普通用户:
#在root下操作
mkdir -p /data/polardb14
chown polardb:polardb /data/polardb14
chmod 700 /data/polardb14
sudo useradd -m polardb
sudo passwd polardb    # 设置登录密码
su - polardb
初始化数据库:
/usr/local/polardb14/bin/initdb -D /data/polardb14 --username=postgres --pwfile=<(echo "123456")
#设置默认密码为123456
检查是否安装成功:
ls /usr/local/polardb14/bin应该能看到类似文件:
psql
initdb
pg_ctl
postgres
createdb
createuser
✅ 如果这些文件存在,说明程序已经安装到
/usr/local/polardb14。5、查看版本:
/usr/local/polardb14/bin/postgres --version
/usr/local/polardb14/bin/psql --version
示例输出:
postgres (PostgreSQL) 14.19
psql (PostgreSQL) 14.19
TimescaleDB安装配置
# 下载 TimescaleDB 源代码包
wget -O timescaledb-2.5.0.tar.gz https://github.com/timescale/timescaledb/archive/2.5.0.tar.gz
# 解压到 /usr/local 目录下
sudo tar -zxvf timescaledb-2.5.0.tar.gz -C /usr/local/
# 进入TimescaleDB目录:
cd /usr/local/timescaledb-2.5.0
# 设置临时环境变量PG_CONFIG,指向已经安装的PostgreSQL二进制文件的路径,这里记得修改
export PG_CONFIG=/usr/lib/postgresql/14/bin/pg_config
# 构建和安装TimescaleDB扩展
./bootstrap -DREGRESS_CHECKS=OFF -DPG_CONFIG=/usr/lib/postgresql/14/bin/pg_config -DUSE_OPENSSL=0 -DTAP_CHECKS=OFF
#安装 PostgreSQL 14 的开发包
sudo apt install postgresql-server-dev-14


# 如果是polar运行以下两行:
#设置 PolarDB 的 pg_config
export PG_CONFIG=/usr/local/polardb14/bin/pg_config
./bootstrap -DUSE_OPENSSL=0


cd ./build && make
make install
修改pgsql配置
/etc/postgresql/14/main/postgresql.conf
#启用网络访问服务
listen_addresses = '*'
#启用 TimescaleDB 时序数据库扩展支持
shared_preload_libraries = 'timescaledb'
#关闭日志收集器(可选)
logging_collector = off
/etc/postgresql/14/main/pg_hba.conf
# 添加客户端认证方式
host all all all md5
创建一个新数据库,并启用 TimescaleDB 时序数据库扩展。
#由于刚刚修改了pgsql配置现在需要重启pgsql
sudo systemctl restart postgresql


# 登录 PostgreSQL 管理员控制台,如果是 Windows 打开 SQL Shell (psql)
sudo su - postgres
psql
# 为新数据库创建一个“iot”新用户,并设置其密码为“123456”(在PostgreSQL中也被称为角色)
CREATE USER iot WITH PASSWORD '123456';
# 创建一个新的数据库“iot”
CREATE DATABASE iot;
# 赋予新创建的用户对新数据库的权限
GRANT ALL PRIVILEGES ON DATABASE iot TO iot;
# 为“iot”数据库启用TimescaleDB扩展
\c iot
CREATE EXTENSION IF NOT EXISTS timescaledb;
# 退出
\q
exit
go 环境安装
#下载GO安装包
wget https://dl.google.com/go/go1.22.9.linux-amd64.tar.gz
#解压到/usr/local目录下
sudo tar -zxvf go1.22.9.linux-amd64.tar.gz -C /usr/local/
#编辑变量配置文件/etc/profile添加变量
vi /etc/profile
export PATH=$PATH:/usr/local/go/bin
#使环境变量⽣效
source /etc/profile
#配置代理源七牛云
go env -w GO111MODULE=on
go env -w GOPROXY=https://goproxy.cn
Node.js20.11.0安装
# 下载 Node 程序包
wget https://nodejs.org/download/release/v20.11.0/node-v20.11.0-linux-x64.tar.gz
#解压到/usr/local目录下
sudo tar -zxvf node-v20.11.0-linux-x64.tar.gz -C /usr/local/
#编辑系统变量配置文件,添加变量
vi /etc/profile
export PATH=/usr/local/node-v20.11.0-linux-x64/bin:$PATH
#重新加载变量配置
source /etc/profile
#使用阿里云 淘宝 NPM 镜像
npm config set registry https://registry.npmmirror.com
安装pnpm
npm install -g pnpm三、GMQTT服务
git clone https://github.com/ThingsPanel/thingspanel-gmqtt.git修改配置
./thingspanel-gmqtt/cmd/gmqttd/thingspanel.yml
db:
  redis:
    # redis 连接字符串
    conn: 127.0.0.1:6379
    # redis 数据库号
    db_num: 1
    # redis 密码
    password: "123456"
  psql:
    psqladdr: "127.0.0.1"
    psqlport: 5432 # 默认5432
    psqldb: iot
    psqluser: iot
    psqlpass: 123456

mqtt:
  # root用户的密码
  broker: localhost:1883
  password: "root"
  plugin_password: "plugin"
启动GMQTT服务
cd thingspanel-gmqtt/cmd/gmqttd,在这个目录下创建gmqtt.sh
将go run . start -c default_config.yml写入gmqtt.sh
chmod 777 gmqtt.sh
pm2 start gmqtt.sh即可启动gmqtt(pm2 save后会保存进程状态(运行或停止),在系统重启后会自动恢复到保存状态)
四、后端部署
git clone https://github.com/ThingsPanel/thingspanel-backend-community.git修改配置
/configs/conf.yml
# 如需在系统变量中设置配置项,可使用GOTP_开头的变量名,如:GOTP_DB_PSQL_DBTYPE为db.psql.dbType

service:
  http:
    host: 0.0.0.0 # 默认localhost
    port: # 默认9999

log:
  # 0-控制台输出 1-文件输出 2-文件和控制台输出
  adapter_type: 0
  # 文件最多保存多少天
  maxdays: 7
  # 日志级别 (panic fatal error warn info debug trace)
  level: debug # 默认info
  # 每个文件保存的最大行数
  maxlines: 10000

jwt:
  key: 1hj5b0sp9


db:
  psql:
    host: 127.0.0.1 # 默认localhost
    port: 5432 # 默认5432
    dbname: iot#数据库名
    username: iot#数据库用户名
    password: 123456#数据库密码
    time_zone: Asia/Shanghai # 默认Asia/Shanghai

    idle_conns: 5 # 空闲连接池中的最大连接数,建议为open_conns的百分之5-20之间
    open_conns: 50 # 最大打开连接数,timescaledb默认为100,考虑到其他服务也会使用数据库,建议这里设置为50
    # SQL日志级别 (1-静音 2-错误 3-警告 4-信息)
    log_level: 4 # 默认1
    # 慢SQL阈值(毫秒)。慢SQL会在sqlloglevel大于等于3时输出。
    slow_threshold: 200 # 默认200毫秒

  redis:
    addr: 127.0.0.1:6379 # 默认localhost:6379
    db: 1 # 默认0
    password: "123456"

grpc:
  tptodb_server: 127.0.0.1:50052
  tptodb_type: NONE

# mqtt服务:gmqtt、vernemq
mqtt_server: gmqtt

mqtt:
  access_address: 47.92.253.145:1883
  broker: 127.0.0.1:1883 # 默认localhost:1883
  user: root # 默认root
  pass: root # 默认root
  channel_buffer_size: 10000 # 默认10000
  write_workers: 1 # 消息队列入库线程数,默认10
  #消息服务质量 0:消息最多传递一次,如果当时客户端不可用,则会丢失该消息。1:消息传递至少 1 次。2:消息仅传送一次。
  # 以下主题都为默认主题
  telemetry: #遥测相关
    # devices/telemetry/control/{device_number}
    # 如果发给协议插件,则是devices/telemetry/control/{device_id}
    publish_topic: devices/telemetry/control/  #平台发布遥测主题
    subscribe_topic: devices/telemetry   #平台订阅遥测主题
    gateway_subscribe_topic: gateway/telemetry #平台订阅网关遥测主题
    #gateway/telemetry/{device_number}/+
    gateway_publish_topic: gateway/telemetry/control/%s  #平台发布网关遥测主题
    pool_size: 10 # 消息处理线程池,默认100
    batch_size: 100 # 默认100 最大一次批量写入数据库的数据量
    qos: 0
  attributes: #属性相关
    # 订阅属性:+位置是{message_id}
    subscribe_topic: devices/attributes/+
    # 发布接收属性响应:devices/attributes/response/{device_number}/{message_id}
    publish_response_topic: devices/attributes/response/
    # 发布设置属性请求:devices/attributes/set/{device_number}/{message_id}
    publish_topic: devices/attributes/set/
    # 订阅设置属性响应:+位置是{message_id}
    subscribe_response_topic: devices/attributes/set/response/+
    # 发布获取属性请求:devices/attributes/get/{device_number}
    publish_get_topic: devices/attributes/get/

    # 设备属性上报 gateway/attributes/{message_id}
    gateway_subscribe_topic: gateway/attributes/+
    # 订阅平台收到属性的响应  gateway/attributes/response/{device_number}/+
    gateway_publish_response_topic: gateway/attributes/response/%s/%s
    # 平台设置设备属性 gateway/attributes/set/{device_number}/+
    gateway_publish_topic: gateway/attributes/set/%s/%s
    # 平台设置属性 设备响应 gateway/attributes/set/response/{message_id}
    gateway_subscribe_response_topic: gateway/attributes/set/response/+
    # 平台下发请求获取属性 gateway/attributes/get/{device_number}
    gateway_publish_get_topic: gateway/attributes/get/%s

    qos: 1
  commands: #命令相关
    # devices/command/{device_number}/{message_id}
    publish_topic: devices/command/
    subscribe_topic: devices/command/response/+
    # 设备接受命令回应 gateway/command/response/{message_id}
    gateway_subscribe_topic: gateway/command/response/+
    # 下发命令 gateway/command/{device_number}/+
    gateway_publish_topic: gateway/command/%s/%s
    # 测试
    # gateway_publish_topic: devices/command/%s/%s
    qos: 1
  events: #事件相关
    # 订阅事件:+位置是message_id
    subscribe_topic: devices/event/+
    # 发布事件响应:devices/event/response/{device_number}/{message_id}
    publish_topic: devices/event/response/

    # 设备上报事件 gateway/event/{message_id}
    gateway_subscribe_topic: gateway/event/+
    # 平台接受到事件响应 gateway/event/response/{device_number}/+
    gateway_publish_topic: gateway/event/response/%s/%s

    qos: 1
  ota: #OTA升级相关
    # ota升级包消息推送:ota/devices/infrom/{device_number}
    publish_topic: ota/devices/infrom/
    subscribe_topic: ota/devices/progress
    qos: 1


mqtts:
  broker: 127.0.0.1:8883
  user: root
  pass: root
  caPath : ./conf/certificate/ca.crt
  crtPath: ./conf/certificate/client.crt
  keyPath : ./conf/certificate/client.key

automation_task_confg:
  once_task_limit: 100
  periodic_task_limit: 100

ota:
 # 推送到设备端的ota升级包下载地址,
  download_address: http://demo.thingspanel.cn
运行后端
cd thingspanel-backend-community
go run .
运行成功如下 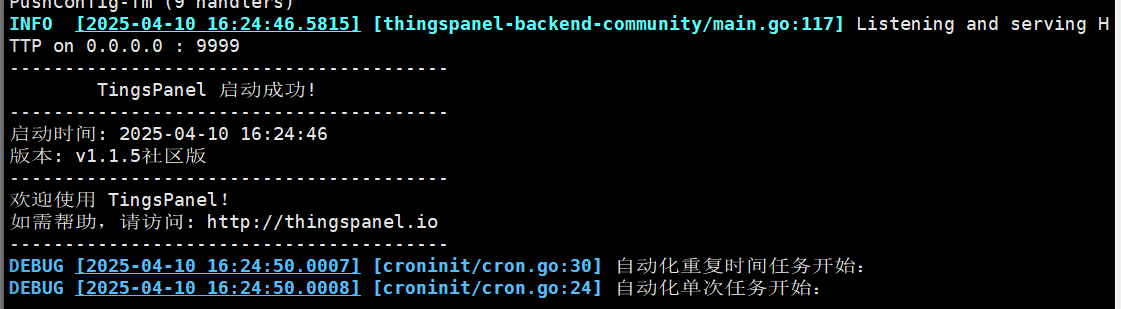
五、前端部署
编译生成dist文件夹
  git clone https://github.com/ThingsPanel/thingspanel-frontend-community.git
  npm install -g pnpm
  pnpm install
  pnpm build
使用nginx代理发布
由于我的虚拟机使用了宝塔面板进行统一管控,所以在nginx下载及发布上更加便捷。下面展示一下使用宝塔面板进行网站发布的过程步骤。
✅ 在宝塔中创建站点
-
打开宝塔面板 → 进入 网站 → 点击右上角的【添加站点】
-
填写如下信息:
-
域名:
xxx -
根目录:
/www/wwwroot/xxx -
PHP版本:如果是纯前端,选择静态即可(关闭PHP)
-
-
确认创建站点。
✅ 上传前端 dist 目录内容
-
使用 SFTP 或宝塔的文件管理器,进入
/www/wwwroot/xxx -
把打包后的
dist文件夹里的 所有内容(不是整个 dist 文件夹)复制到根目录中。
✅ 修改站点配置文件
-
进入宝塔 → 网站 → 找到你刚才创建的站点
-
点击【设置】→【配置文件】
-
替换原有的
server{}内容或插入如下内容(注意路径需与你服务器实际一致):
server
{
    listen 9800;
    server_name xxx;#换成你自己域名

    charset utf-8;
    client_max_body_size 10m;

    index index.php index.html index.htm default.php default.htm default.html;
    root /www/wwwroot/xxx;

    gzip on;
    gzip_min_length 1k;
    gzip_comp_level 6;
    gzip_types text/plain application/javascript application/x-javascript text/css application/xml text/javascript application/x-httpd-php image/jpeg image/gif image/png;
    gzip_vary on;
    gzip_disable "MSIE [1-6]\.";

    #CERT-APPLY-CHECK--START
    # 用于SSL证书申请时的文件验证相关配置 -- 请勿删除
    include /www/server/panel/vhost/nginx/well-known/xxx.conf;
    #CERT-APPLY-CHECK--END

    #SSL-START SSL相关配置,请勿删除或修改下一行带注释的404规则
    #error_page 404/404.html;
    #SSL-END

    #ERROR-PAGE-START  错误页配置,可以注释、删除或修改
    error_page 404 /404.html;
    #error_page 502 /502.html;
    #ERROR-PAGE-END

    #PHP-INFO-START  PHP引用配置,可以注释或修改
    include enable-php-00.conf;
    #PHP-INFO-END

    #REWRITE-START URL重写规则引用,修改后将导致面板设置的伪静态规则失效
    include /www/server/panel/vhost/rewrite/xxx.conf;
    #REWRITE-END

    #禁止访问的文件或目录
    location ~ ^/(\.user.ini|\.htaccess|\.git|\.env|\.svn|\.project|LICENSE|README.md)
    {
        return 404;
    }

    #一键申请SSL证书验证目录相关设置
    location ~ \.well-known{
        allow all;
    }

    #禁止在证书验证目录放入敏感文件
    if ( $uri ~ "^/\.well-known/.*\.(php|jsp|py|js|css|lua|ts|go|zip|tar\.gz|rar|7z|sql|bak)$" ) {
        return 403;
    }

    location ~ .*\.(gif|jpg|jpeg|png|bmp|swf)$
    {
        expires      30d;
        error_log /dev/null;
        access_log /dev/null;
    }

    location ~ .*\.(js|css)?$
    {
        expires      12h;
        error_log /dev/null;
        access_log /dev/null;
    }
    location /api {
        proxy_http_version 1.1;
        proxy_set_header Upgrade $http_upgrade;
        proxy_set_header Connection "upgrade";
        proxy_set_header X-real-ip $remote_addr;
        proxy_set_header X-Forwarded-For $remote_addr;
        proxy_pass http://127.0.0.1:9999;
    }

    location /ws {
        proxy_http_version 1.1;
        proxy_set_header Upgrade $http_upgrade;
        proxy_set_header Connection "upgrade";
        proxy_set_header X-real-ip $remote_addr;
        proxy_set_header X-Forwarded-For $remote_addr;
        proxy_pass http://127.0.0.1:9999;
    }

    location /files {
        proxy_http_version 1.1;
        proxy_set_header Upgrade $http_upgrade;
        proxy_set_header Connection "upgrade";
        proxy_set_header X-real-ip $remote_addr;
        proxy_set_header X-Forwarded-For $remote_addr;
        proxy_pass http://127.0.0.1:9999;

        # CORS Headers
        add_header 'Access-Control-Allow-Origin' '*';
        add_header 'Access-Control-Allow-Credentials' 'true';
        add_header 'Access-Control-Allow-Methods' 'GET, POST, OPTIONS';
        add_header 'Access-Control-Allow-Headers' 'DNT,User-Agent,X-Requested-With,If-Modified-Since,Cache-Control,Content-Type,Range';
        add_header 'Access-Control-Expose-Headers' 'Content-Length,Content-Range';
    }

    location /visual {
        alias /home/visual-editor/dist;
        index index.html index.htm;
        try_files $uri $uri/ /visual/index.html;
    }
    access_log  /www/wwwlogs/xxx.cn.log;
    error_log  /www/wwwlogs/xxx.error.log;
}
注意点:
-
修改
root为你前端部署路径(一般为/www/wwwroot/xxx)。 -
修改
proxy_pass地址为你后端接口监听地址。
✅重启 Nginx 服务
-
修改配置保存后,在宝塔首页点击【重启 Nginx】或【重载配置】
-
确认前端页面是否可以通过
http://xxx:9800访问 -
后端接口通过
/api、WebSocket 接口通过/ws进行代理
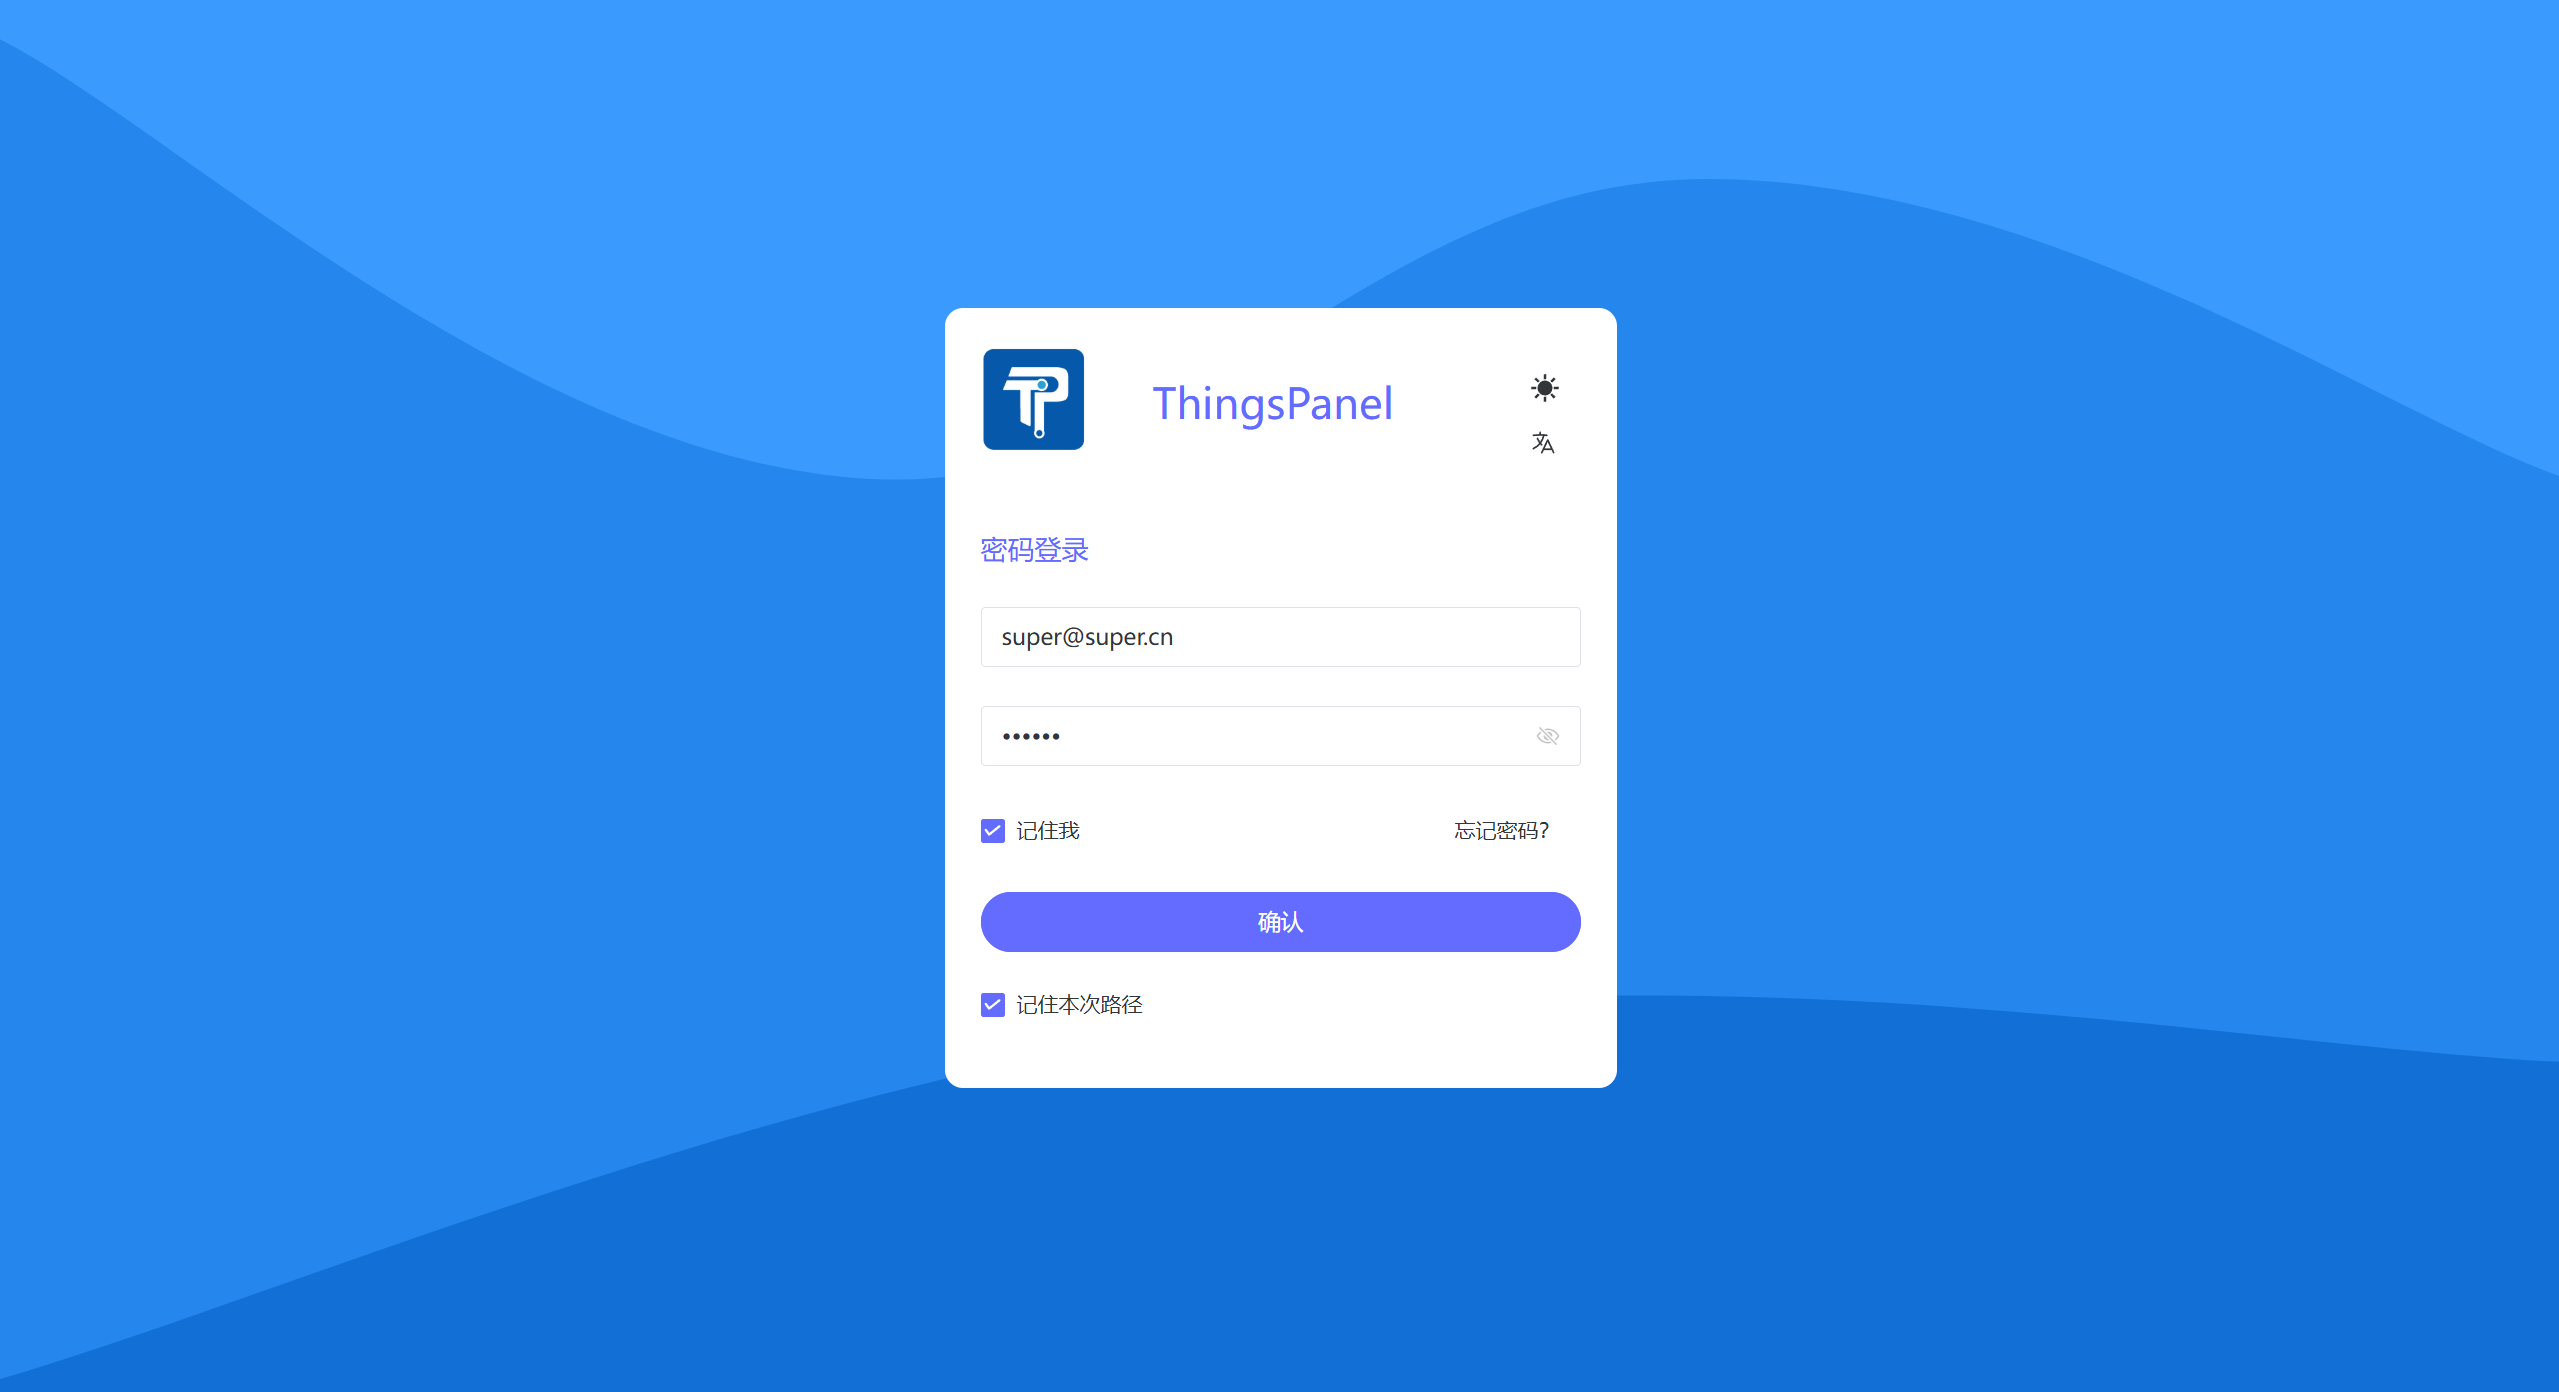
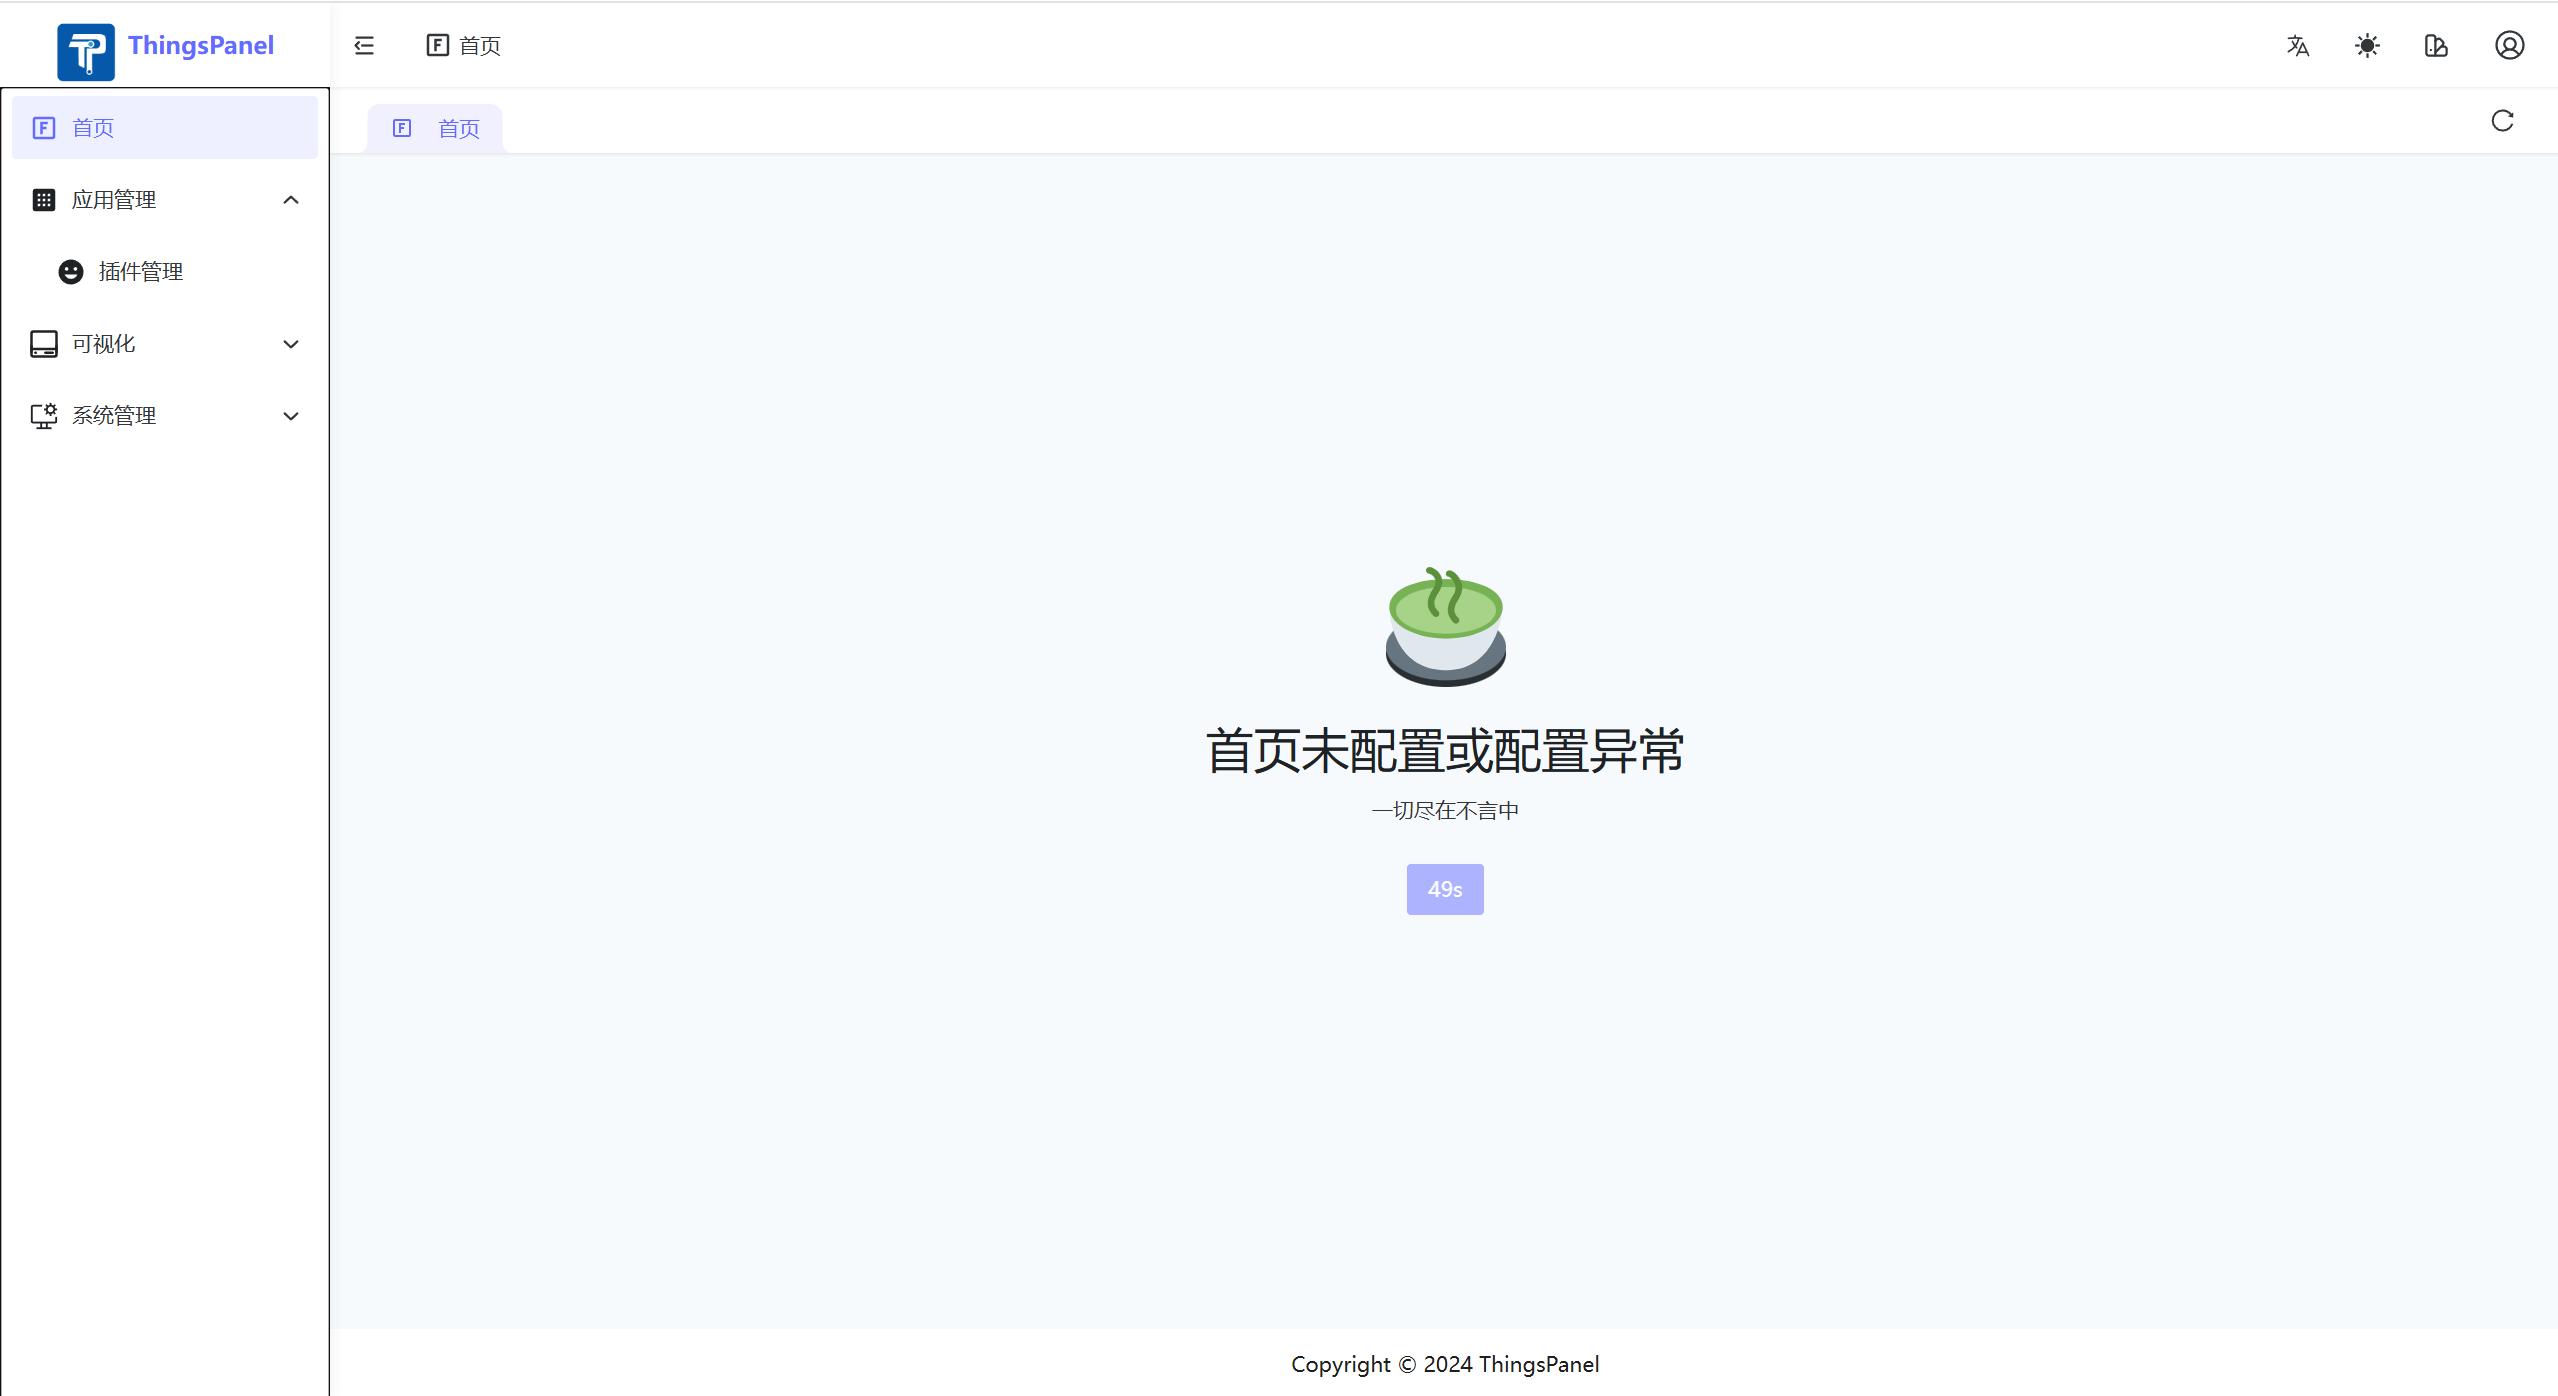
六、完成安装
默认密码为
- 系统管理员 super@super.cn / 123456
- 租户管理员 tenant@tenant.cn / 123456

腾讯云面向开发者汇聚海量精品云计算使用和开发经验,营造开放的云计算技术生态圈。
更多推荐
 6
6 0
0- 0


 已为社区贡献1条内容

所有评论(0)