vscode连接Linux云服务器部署Fastapi项目
FastAPI系列:Ubuntu部署FastAPI项目实战

文章目录
1. 项目准备
首先需要创建一个目录来存储代码。执行以下命令:
mkdir /home/fastapi_example
cd /home/fastapi_example
创建了目录,就需要设置虚拟环境。在Ubuntu中,你必须安装Python虚拟环境包:
sudo apt update
sudo apt install python3-venv
下一步是初始化并激活虚拟环境来运行你的代码:
python3 -m venv venv
source venv/bin/activate
现在,安装必要的python依赖包:
pip install fastapi uvicorn gunicorn
安装了必要的包,就需要创建应用程序文件。运行如下命令:
sudo nano main.py
也可以直接鼠标右键新建main.py文件
现在将我的Python代码添加到main.py文件中:
from fastapi import FastAPI, HTTPException
from pydantic import BaseModel
import uvicorn


class ComplexNumber(BaseModel):
    real: float
    imag: float

    def __add__(self, other):
        return ComplexNumber(real=self.real + other.real, imag=self.imag + other.imag)

    def __sub__(self, other):
        return ComplexNumber(real=self.real - other.real, imag=self.imag - other.imag)

    def __mul__(self, other):
        real = self.real * other.real - self.imag * other.imag
        imag = self.real * other.imag + self.imag * other.real
        return ComplexNumber(real=real, imag=imag)

    def __truediv__(self, other):
        if other.real == 0 and other.imag == 0:
            raise HTTPException(status_code=400, detail="Cannot divide by zero")
        real = (self.real * other.real + self.imag * other.imag) / (other.real ** 2 + other.imag ** 2)
        imag = (self.imag * other.real - self.real * other.imag) / (other.real ** 2 + other.imag ** 2)
        return ComplexNumber(real=real, imag=imag)


app = FastAPI()


@app.post("/add", response_model=ComplexNumber)
async def add_complex_numbers(num1: ComplexNumber, num2: ComplexNumber):
    return num1 + num2


@app.post("/subtract", response_model=ComplexNumber)
async def subtract_complex_numbers(num1: ComplexNumber, num2: ComplexNumber):
    return num1 - num2


@app.post("/multiply", response_model=ComplexNumber)
async def multiply_complex_numbers(num1: ComplexNumber, num2: ComplexNumber):
    return num1 * num2


@app.post("/divide", response_model=ComplexNumber)
async def divide_complex_numbers(num1: ComplexNumber, num2: ComplexNumber):
    if num2.real == 0 and num2.imag == 0:
        raise HTTPException(status_code=400, detail="Cannot divide by zero")
    return num1 / num2
2. 运行项目
Gunicorn是Python WSGI HTTP服务器,旨在为你的FastAPI应用程序提供服务。为了验证一切正常,在fastapi_example目录下使用以下命令运行临时API:
gunicorn main:app -k uvicorn.workers.UvicornWorker
接下来,打开另一个终端窗口
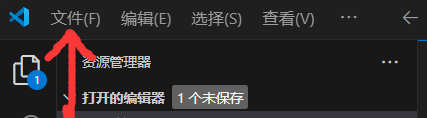
A`AP0X(5CW[_}23XD2%]4-1.png>)
点击新建窗口
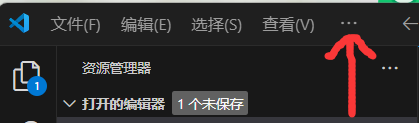
点击这三个点,新建终端,执行如下命令:
curl http://localhost:8000
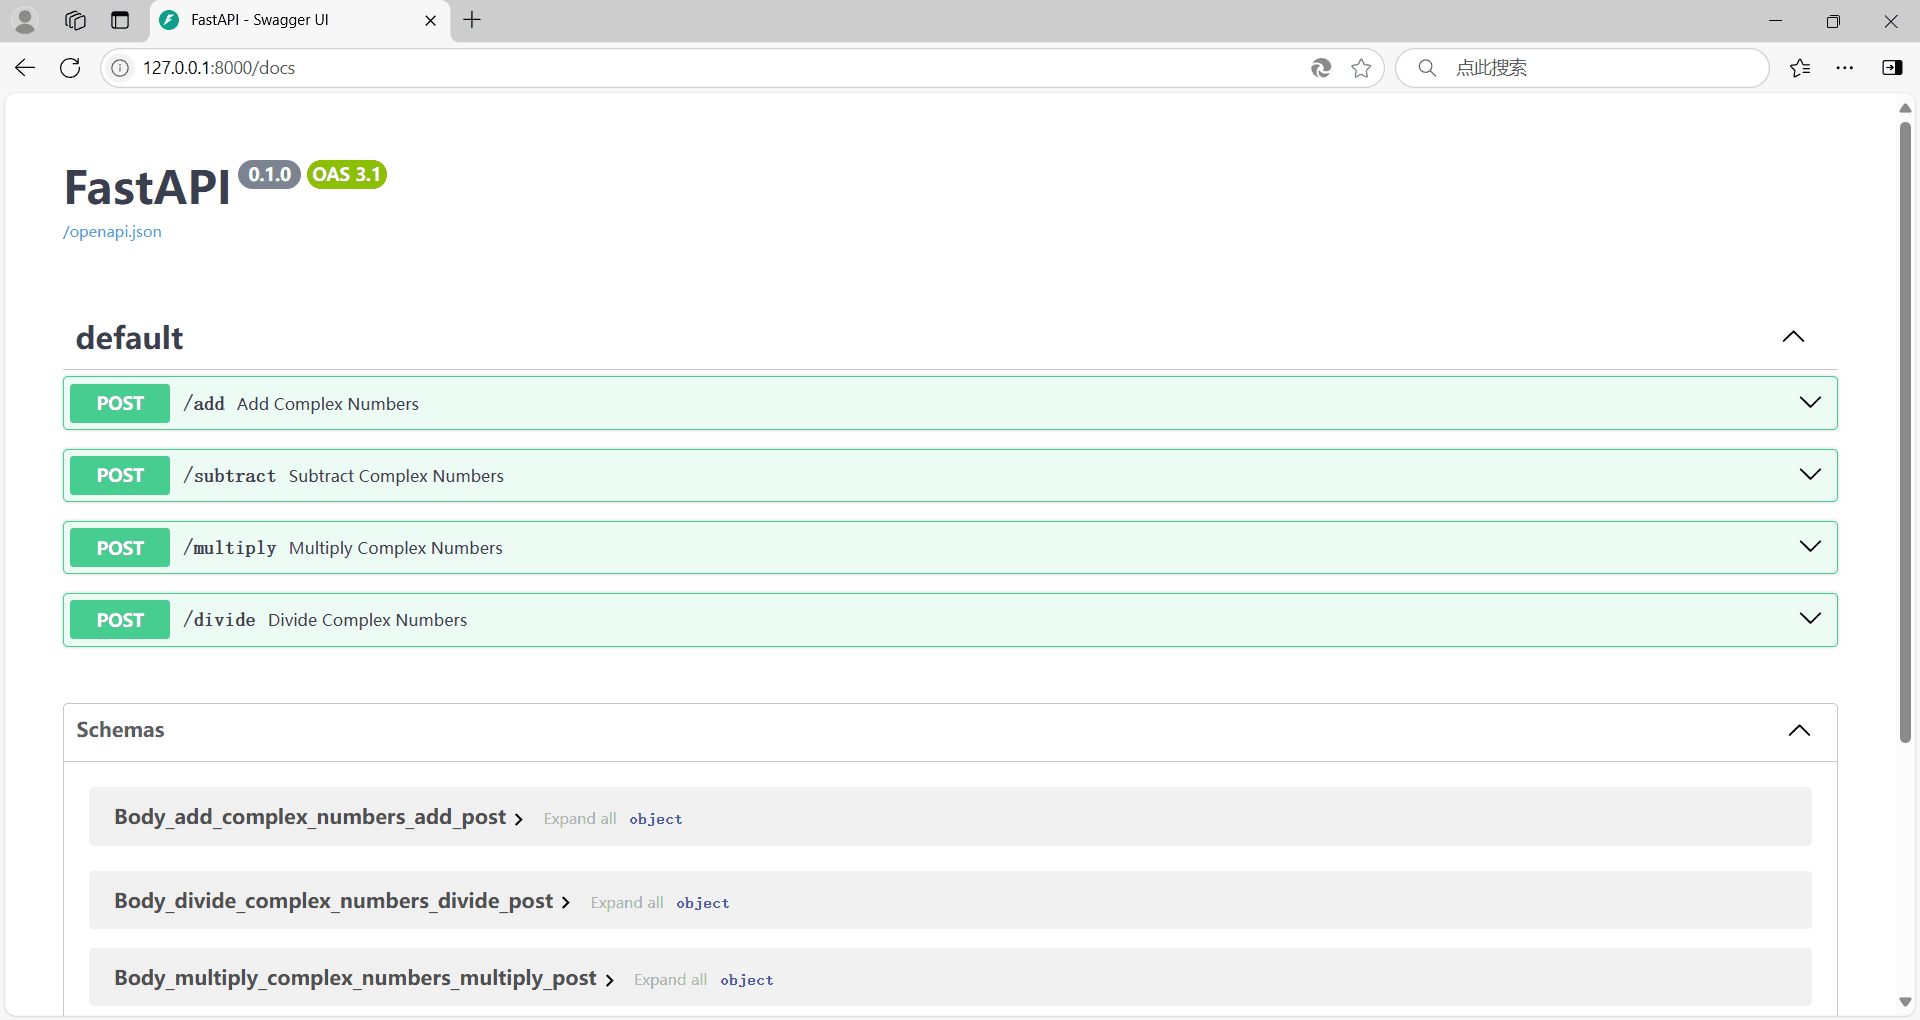
打开网址http://127.0.0.1:8000/docs,可以加载出界面如下:
3. 创建系统服务
创建系统服务来管理应用程序。这样做的好处是你可以轻松地启动、重新启动和停止应用程序。此外,当系统重新启动时,您的应用程序将自动启动。
仍然,在fastapi_example目录中,为Gunicorn创建一个配置文件:
sudo nano gunicorn_conf.py
在文件中粘贴下面代码:
# gunicorn_conf.py
from multiprocessing import cpu_count

bind = "127.0.0.1:8000"

# Worker Options
workers = cpu_count() + 1
worker_class = 'uvicorn.workers.UvicornWorker'

# Logging Options
loglevel = 'debug'
accesslog = '/home/fastapi_example/access_log'
errorlog =  '/home/fastapi_example/error_log'
除此之外,你需要新建两个日志文件access_log和error_log,不需要添加内容。
保存并退出该文件。现在我们必须在/etc/systemd/system目录中创建一个systemd单元文件。执行以下命令:
sudo nano /etc/systemd/system/fastapi_example.service
创建服务后,向其添加以下内容:
[Unit]
Description=Gunicorn Daemon for FastAPI example
After=network.target

[Service]
User=ubuntu
Group=www-data
WorkingDirectory=/home/fastapi_example
ExecStart=/home/fastapi_example/venv/bin/gunicorn -c gunicorn_conf.py main:app -k uvicorn.workers.UvicornWorker

[Install]
WantedBy=multi-user.target
保存并关闭文件。
4. 配置自动运行
4.1. 启动并启用fastapi_example服务(以便在服务器重启时自动启动)
在终端输入:
sudo systemctl start fastapi_example
sudo systemctl enable fastapi_example
4.2. 运行这个命令,检查服务是否正常工作
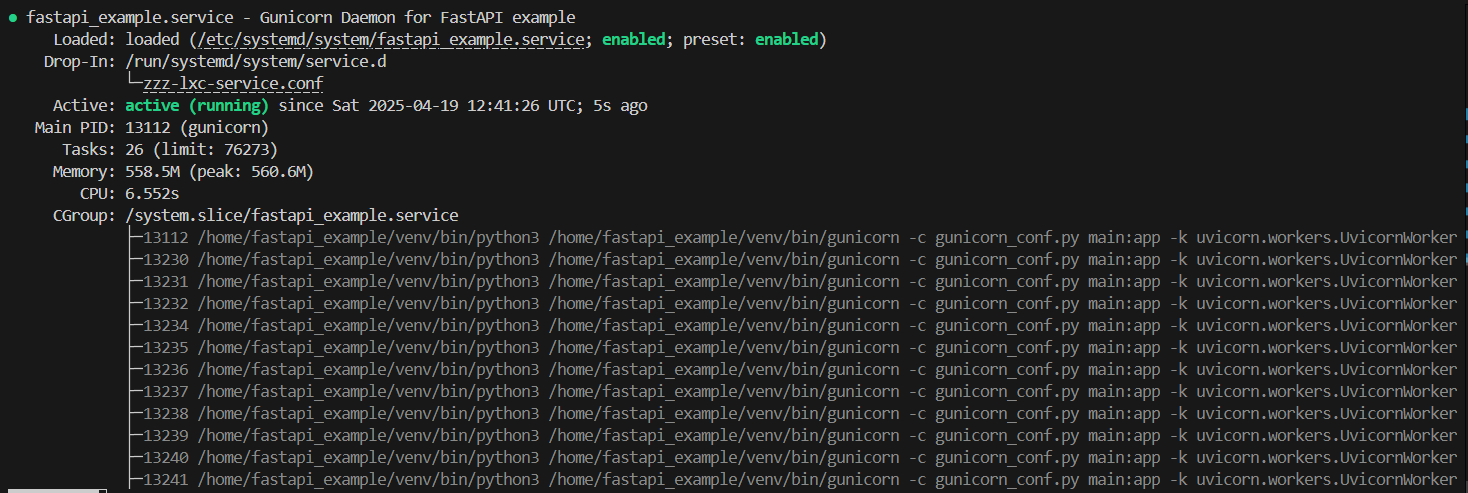
sudo systemctl status fastapi_example
这时候可能会报错,可能因为没有权限无法写入前面的两个日志文件access_log和error_log,报错如下:


这两个错误是一样的,终端运行下面的命令:
sudo chmod a+w /home/fastapi_example/access_log
sudo chmod a+w /home/fastapi_example/error_log
现在应该没什么问题了,再次运行步骤4.1和4.2:
5. 更改main.py的代码
此时,如果想要更改代码,或者换成另一个API项目,直接更改main.py的内容是不行的,还需要重新释放8000端口,或者部署别的端口。因为上一个代码的API还在占用8000端口,而且内容还和之前一样,并没有更改。下面是更改的方法:
首先,在终端运行下面的代码,目的是获取此时占用8000端口进程的PID号:
netstat -tunlp | grep 8000
结果如图:

此时端口号是15175,终端执行下面的命令释放端口:
sudo kill -9 13112
000端口,而且内容还和之前一样,并没有更改。下面是更改的方法:
首先,在终端运行下面的代码,目的是获取此时占用8000端口进程的PID号:
netstat -tunlp | grep 8000
结果如图:
[外链图片转存中…(img-ZVwJNly4-1747464260254)]
此时端口号是15175,终端执行下面的命令释放端口:
sudo kill -9 13112
再次执行4.1和4.2的命令,更改完成。

腾讯云面向开发者汇聚海量精品云计算使用和开发经验,营造开放的云计算技术生态圈。
更多推荐
 31
31 0
0- 0


 已为社区贡献3条内容

所有评论(0)