nextjs项目使用docker镜像部署
本文介绍了如何将Next.js项目容器化并部署到服务器的完整流程。首先需要准备Docker环境并推荐使用landing-page-boilerplate模板项目。主要步骤包括:修改next.config.mjs配置文件、创建Dockerfile和.dockerignore文件、添加docker相关命令到package.json。然后通过npm命令生成docker镜像并导出为tar文件。最后详细说明
环境准备
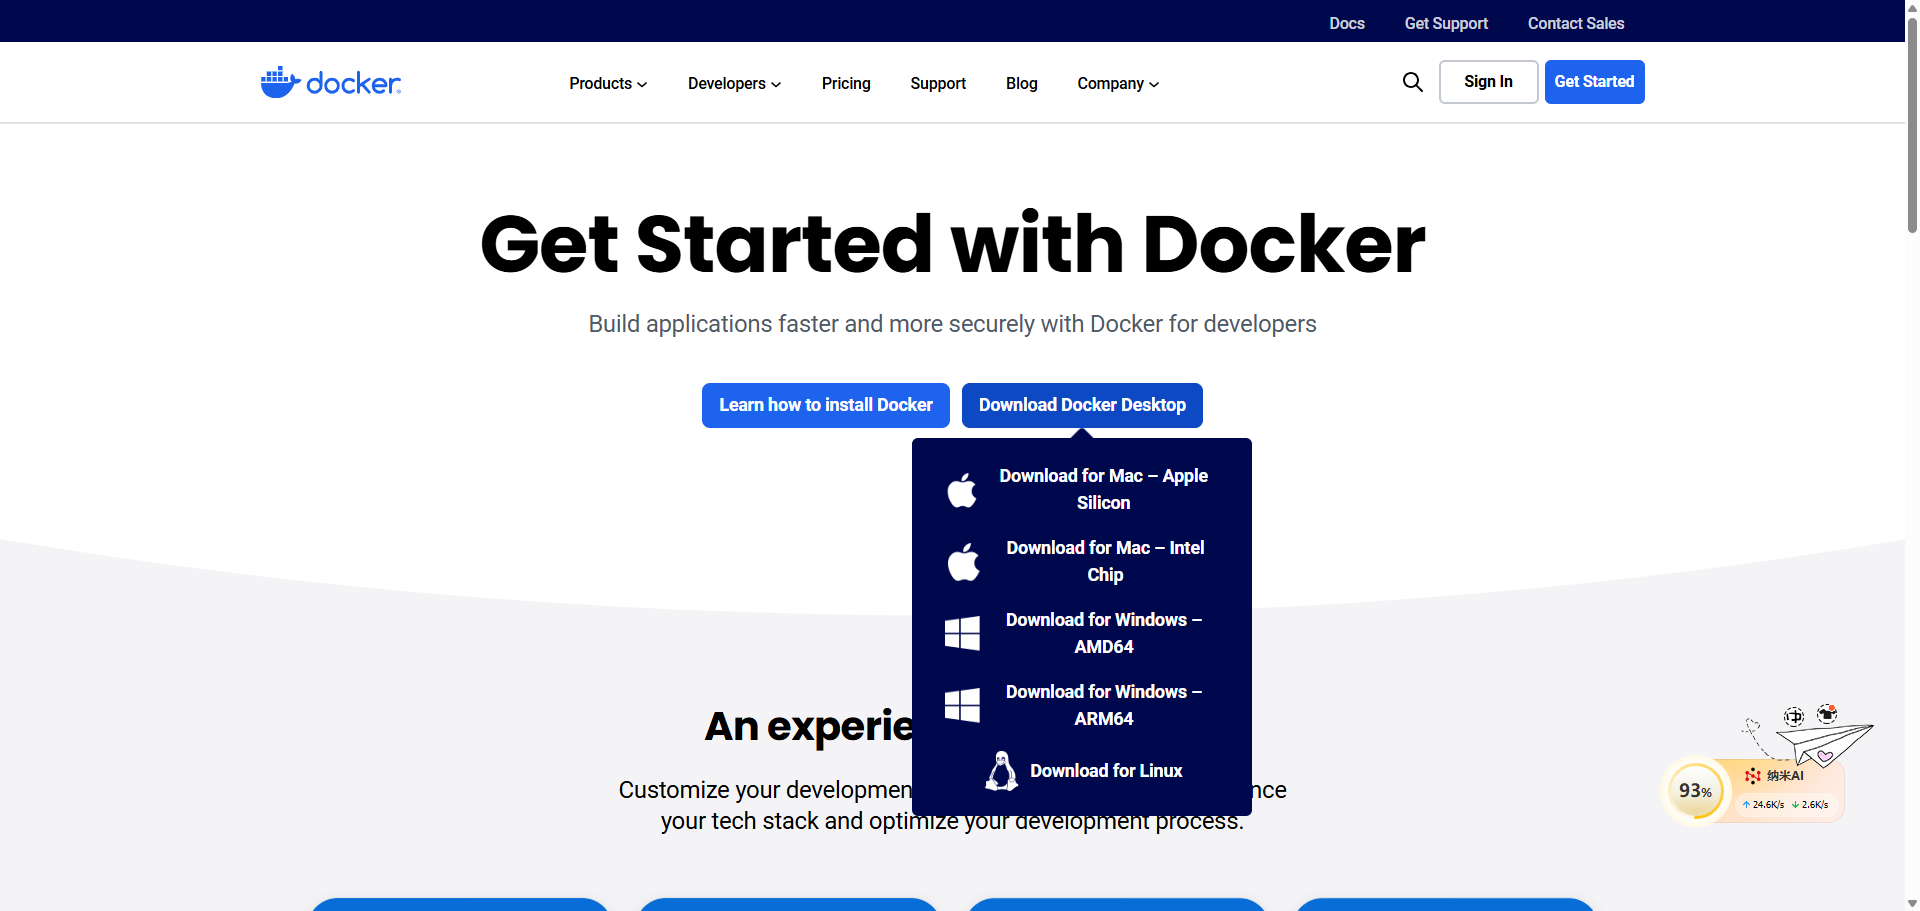
1、Docker Desktop软件下载,按需取对应系统的包
2、nextjs项目推荐使用landing-page-boilerplate,我已经在fork项目,把本次的改动提MR。不知道该库的own会不会采纳
本文中涉及的docker命令可以参看下面的链接
回归正文
nextjs项目修改
1、next.config.mjs需要添加 “output: “standalone””
/** @type {import('next').NextConfig} */
const nextConfig = {
  output: "standalone",
};

export default nextConfig;
2、新增 Dockerfile 文件文件内容如下
文件搜索“FROM node:18-alpine AS base”,可以把 18-alpine换成你想要的对应node版本
除了你想支持适配于自己项目的node外,其他的不用改
简单的介绍下这个文件,你可以理解为就是自动化工具,执行docker build的时候,会按照里面写的步骤系统会逐步执行,而且文件内容里也对无论习惯使用npm还是yarn还是pnpm做了兼容,而且其他的源工具cli照着写也会很好的支持
# syntax=docker/dockerfile:1.4

FROM node:18-alpine AS base

# Install dependencies only when needed
FROM base AS deps
# Check https://github.com/nodejs/docker-node/tree/b4117f9333da4138b03a546ec926ef50a31506c3#nodealpine to understand why libc6-compat might be needed.
RUN apk add --no-cache libc6-compat
WORKDIR /app

# Install dependencies based on the preferred package manager
COPY package.json yarn.lock* package-lock.json* pnpm-lock.yaml* .npmrc* ./
RUN \
  if [ -f yarn.lock ]; then yarn --frozen-lockfile; \
  elif [ -f package-lock.json ]; then npm ci; \
  elif [ -f pnpm-lock.yaml ]; then corepack enable pnpm && pnpm i --frozen-lockfile; \
  else echo "Lockfile not found." && exit 1; \
  fi


# Rebuild the source code only when needed
FROM base AS builder
WORKDIR /app
COPY --from=deps /app/node_modules ./node_modules
COPY . .

# Next.js collects completely anonymous telemetry data about general usage.
# Learn more here: https://nextjs.org/telemetry
# Uncomment the following line in case you want to disable telemetry during the build.
# ENV NEXT_TELEMETRY_DISABLED=1

RUN \
  if [ -f yarn.lock ]; then yarn run build; \
  elif [ -f package-lock.json ]; then npm run build; \
  elif [ -f pnpm-lock.yaml ]; then corepack enable pnpm && pnpm run build; \
  else echo "Lockfile not found." && exit 1; \
  fi

# Production image, copy all the files and run next
FROM base AS runner
WORKDIR /app

ENV NODE_ENV=production
# Uncomment the following line in case you want to disable telemetry during runtime.
# ENV NEXT_TELEMETRY_DISABLED=1

RUN addgroup --system --gid 1001 nodejs
RUN adduser --system --uid 1001 nextjs

COPY --from=builder /app/public ./public

# Automatically leverage output traces to reduce image size
# https://nextjs.org/docs/advanced-features/output-file-tracing
COPY --from=builder --chown=nextjs:nodejs /app/.next/standalone ./
COPY --from=builder --chown=nextjs:nodejs /app/.next/static ./.next/static

USER nextjs

EXPOSE 3000

ENV PORT=3000

# server.js is created by next build from the standalone output
# https://nextjs.org/docs/pages/api-reference/config/next-config-js/output
ENV HOSTNAME="0.0.0.0"
CMD ["node", "server.js"]
3、新增 .dockerignore 文件
这个文件直接照抄就行,因为我会在package.json中添加命令涉及的目录是根目录,所以要忽略些文件,可以简单的理解和.gitignore的作用一样,过滤掉不想构建到生产包中的文件
# Logs
pnpm-debug.log
README.md

.next
node_modules

.dockerignore
Dockerfile

# Editor directories and files
.vscode
.github
.git
.DS_Store

# ignore docker saved images
*.tar
4、.gitignore 添加 “*.tar”
生成的docker镜像是 .tar文件,不需要上传到github等其他的代码仓
# ignore docker saved images
*.tar
5、package.json的script添加自定义命令
 # 创建镜像
"create-docker-image": "docker build -t landing-page-boilerplate .",
# 将创建好的镜像导出到本地,也就是命令执行完最后生成的压缩文件,针对于本文会生成landing-page-boilerplate.tar文件
"save-docker-image": "docker save -o landing-page-boilerplate.tar landing-page-boilerplate",
# 一键生成 docker 镜像并且导出到本地生成landing-page-boilerplate.tar文件
"docker": "npm run build && npm run postbuild && npm run create-docker-image && npm run save-docker-image"
6、 执行命令
执行命令中遇到的docker问题可以参考个人常用的docker命令汇总(备忘录),或者也可以给我留言
npm run docker
生成的产物如下图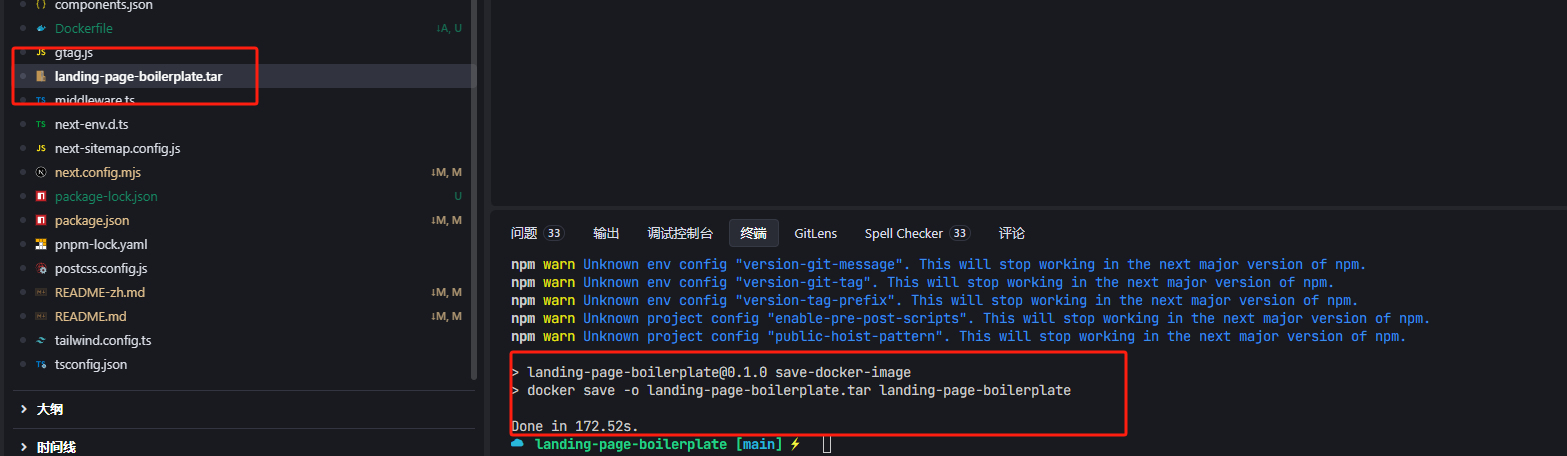
服务部署
推荐使用xshell8和xftp8,针对个人学习这俩个工具已经开源不需要再购买秘钥了
Xshell国内官网
1、使用 xftp工具上传生成的docker镜像
可以先使用xftp8链接到服务器,通过可视化的方式把文件上传到目录中
谨记千万不要传入到/var/目录下
谨记千万不要传入到/var/目录下
谨记千万不要传入到/var/目录下
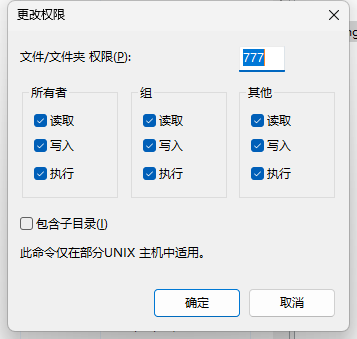
建议在home目录下新建个www文件夹用于存放上面生成的docker镜像,然后将文件的权限改成可读写,如下图: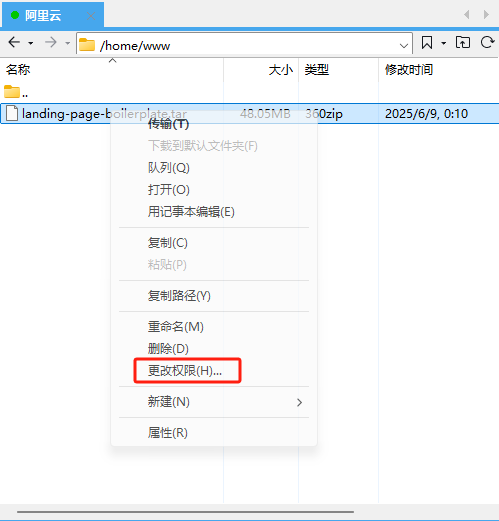
2、使用Xshell 将上传好的docker镜像导入到服务器的docker images中
导入命令
docker load -i /home/www/landing-page-boilerplate.tar
可以使用 docker images查看如下图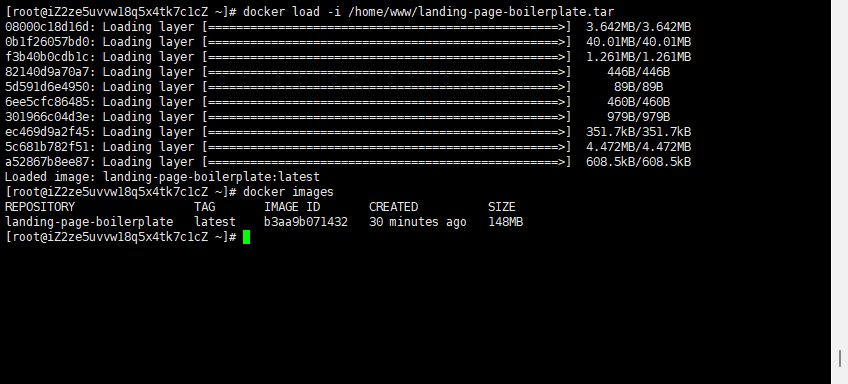
3、运行容器
docker run -d --name landing-page-boilerplate -p 3000:3000 landing-page-boilerplate
可以使用 docker ps 查看如下图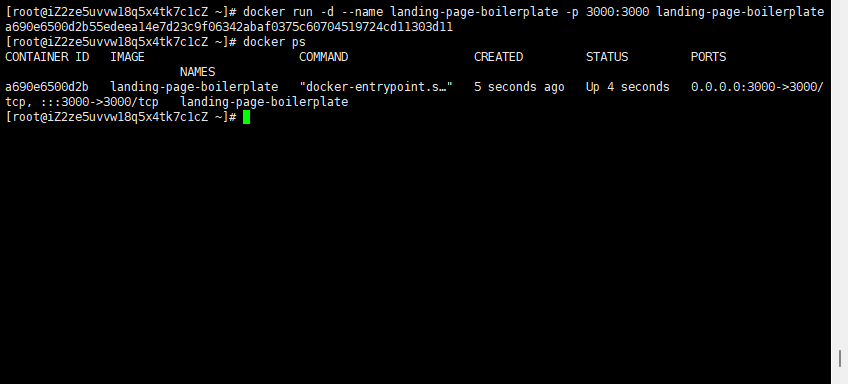
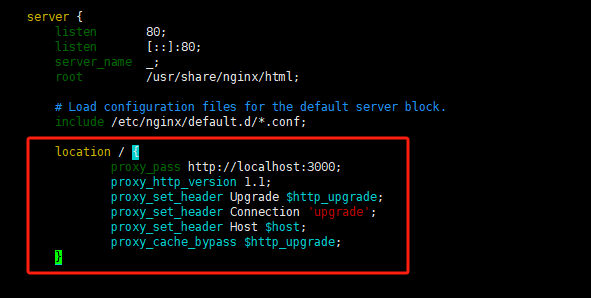
4、修改Nginx配置添加全路径正向代理
添加完成后,使用nginx -t 检查没有问题,执行nginx -s reload 重启nginx服务即可
location / {
       proxy_pass http://localhost:3000;
       proxy_http_version 1.1;
       proxy_set_header Upgrade $http_upgrade;
       proxy_set_header Connection 'upgrade';
       proxy_set_header Host $host;
       proxy_cache_bypass $http_upgrade;
   }
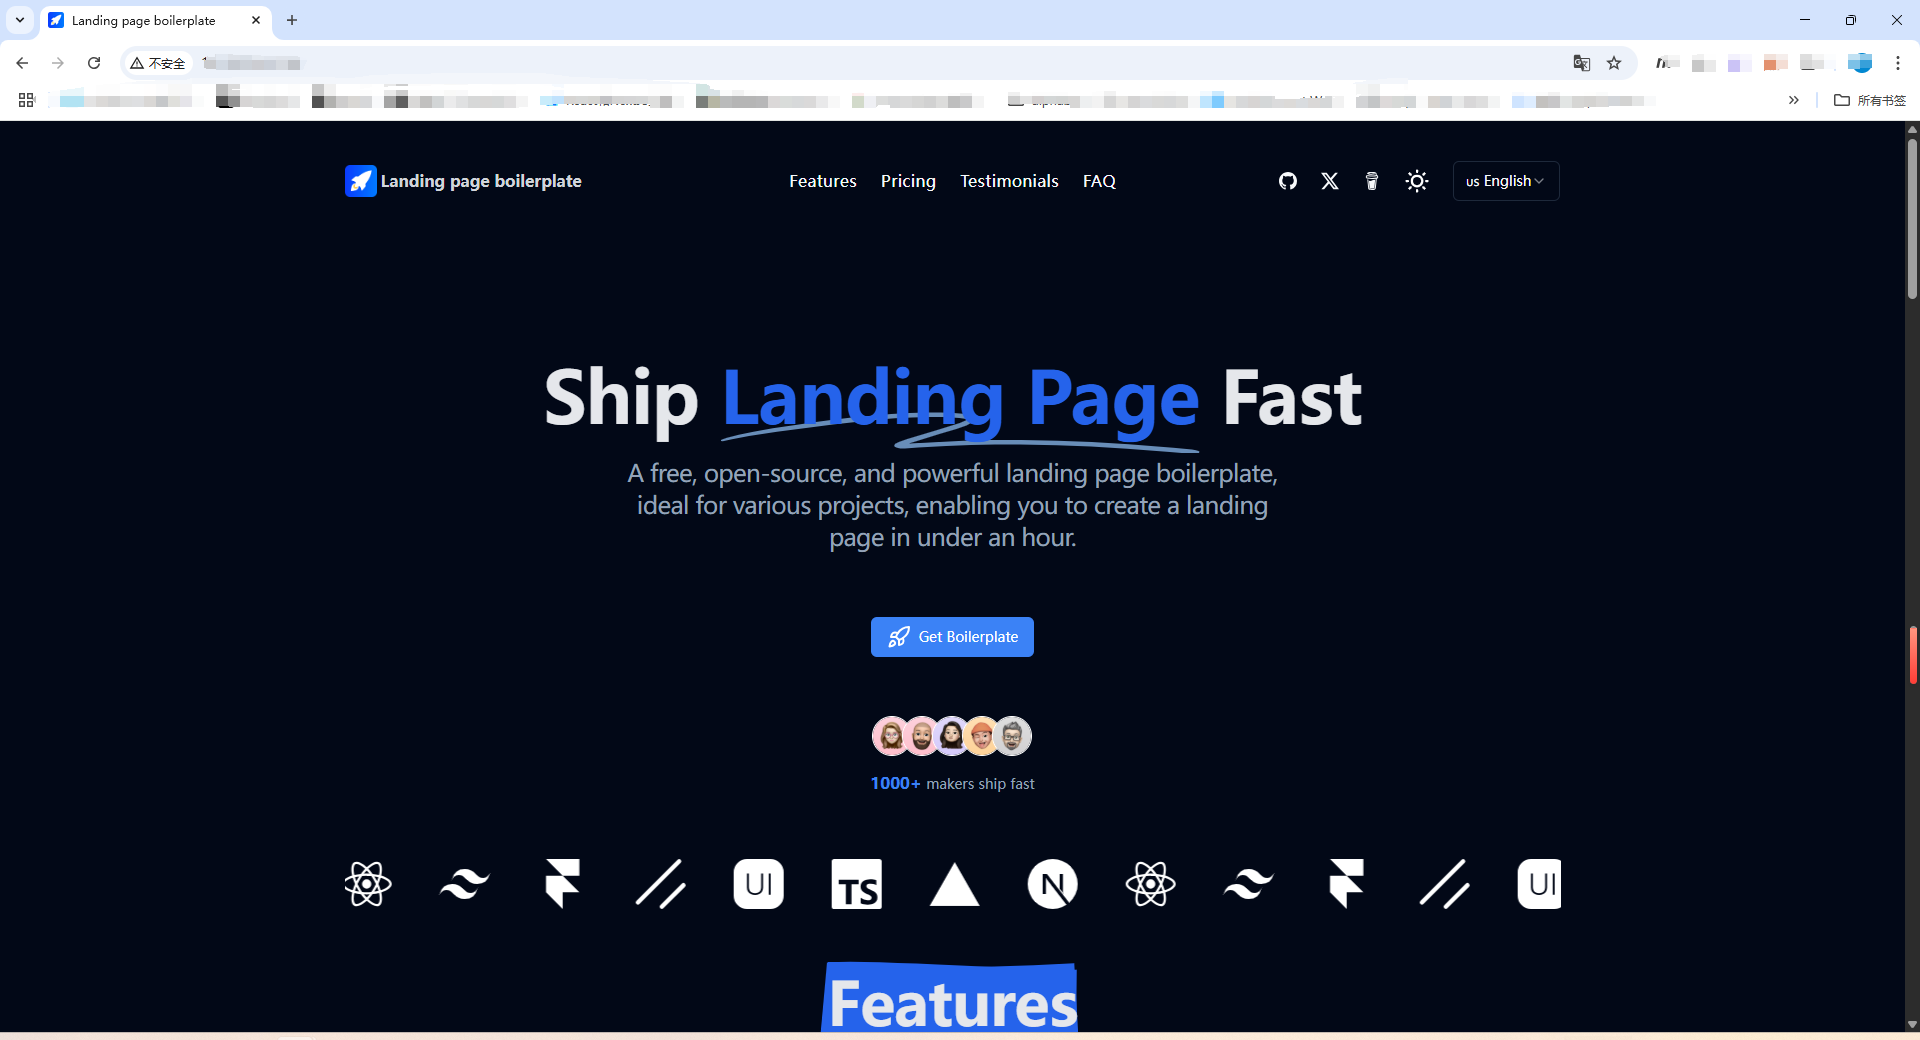
5、访问地址成功如下图
如果你想使用免费的https证书可以参看下面的文章
使用Let‘s Encrypt配置nginx免费的Https

腾讯云面向开发者汇聚海量精品云计算使用和开发经验,营造开放的云计算技术生态圈。
更多推荐
 15
15 0
0- 0


 已为社区贡献1条内容

所有评论(0)