docker方式部署pip2pi
·
1.启动http服务
#python3 -m http.server
2.配置文件
/data/pipsvr
docker-compose.yaml
version: '2.4'
services:
  pipsvr:
    container_name: pipsvr
    image: pipsvr:v1.0
    volumes:
      - /data/pipsvr/wheelhouse:/data/wheelhouse
      - /etc/localtime:/etc/localtime:ro
    privileged: true
    ports:
      - "81:80"
    networks:
      - monitor
    restart: 'always'
networks:
  monitor:
    external: true
3.启动
docker-compose up -d

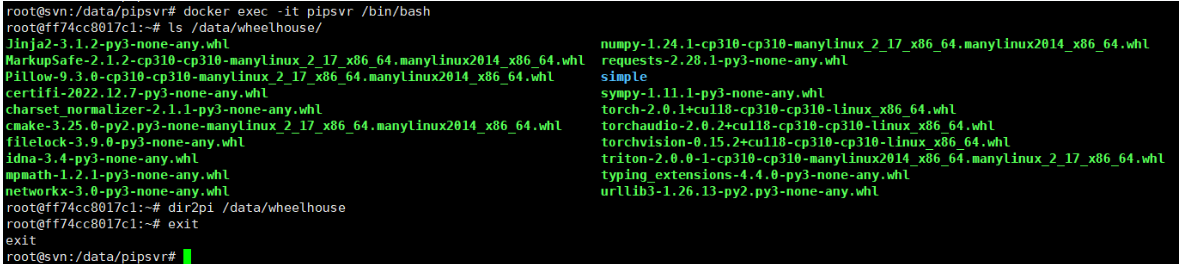
4.拷贝文件
把相关的库文件拷贝到 磁盘映射目录 /data/wheelhouse
5.建立索引
dir2pi /data/wheelhouse
6.页面访问验证
http://192.168.102.237:81/simple/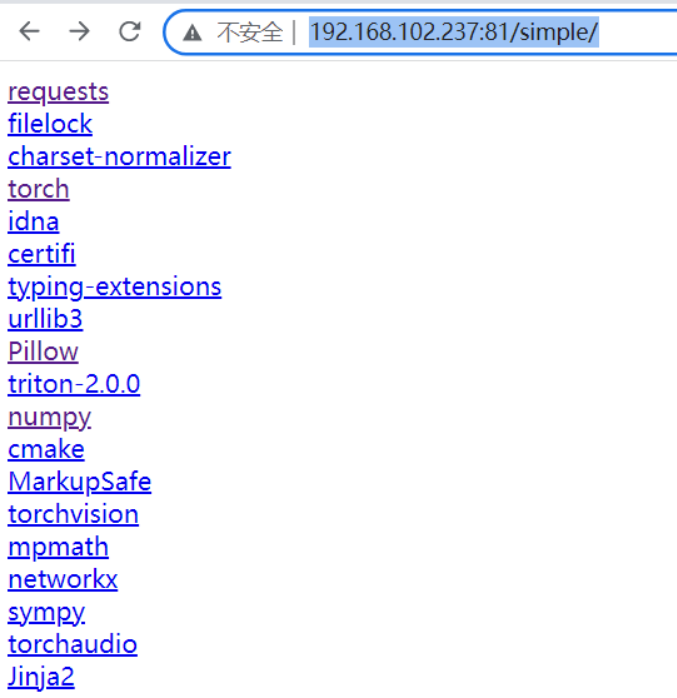
7.客户端安装部署使用
pip install Pillow -i http://192.168.102.237:81/simple/ --trusted-host 192.168.102.237
8.配置https
conf/pipsvr.umi.com.conf
server {
    listen       443 ssl;
    server_name  pipsvr.umi.com;

    access_log  /var/log/nginx/pipsvr.umi.com.access.log  main;
    error_log   /var/log/nginx/pipsvr.umi.com.error.log   notice;


    client_max_body_size 200m;

    location / {
        proxy_pass http://192.168.102.237:81;
    }


    error_page   500 502 503 504  /50x.html;
    location = /50x.html {
        root   /usr/share/nginx/html;
    }
}9.在client安装部署使用
pip install Pillow -i https://pipsvr.umi.com/simple
pip install torch -i https://pipsvr.umi.com/simple

腾讯云面向开发者汇聚海量精品云计算使用和开发经验,营造开放的云计算技术生态圈。
更多推荐
 5
5 0
0- 0


 已为社区贡献10条内容

所有评论(0)