井盖、电线杆、电箱、标石目标检测数据集 智慧城市市政设施巡 城市基础设施建设 中的井盖数据集 电线杆数据集 电箱及标石
·
井盖、线杆、电箱、标石数据集,每种类别各500张,2000张图片,全都打好了标注,xml格式。
适合目标检测等领域的AI模型训练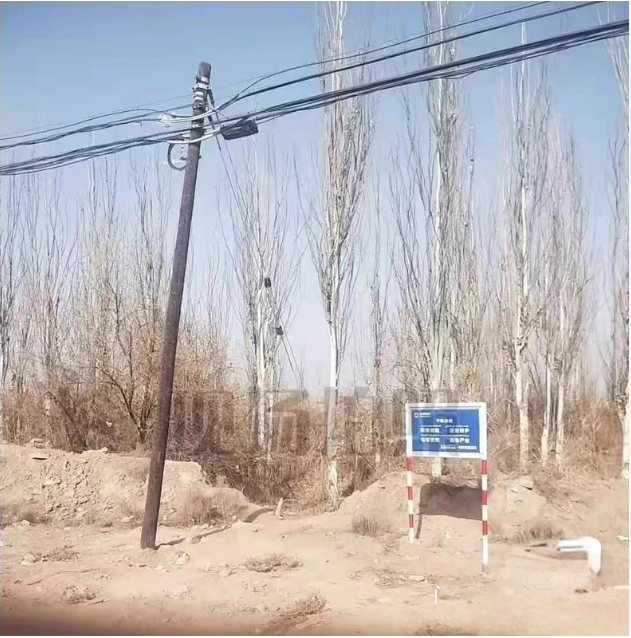
1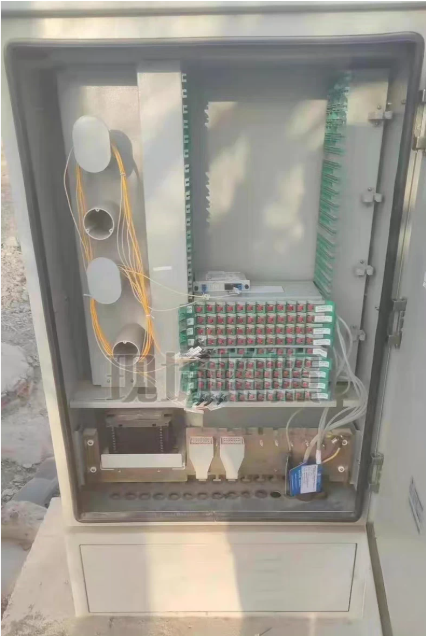
1
1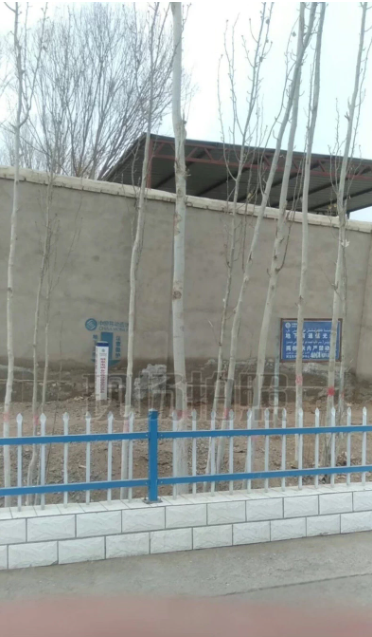
以下是 井盖、电线杆、电箱、标石目标检测数据集 的表格化描述:
| 项目 | 描述 |
|---|---|
| 数据集名称 | 城市基础设施目标检测数据集(Manhole, Pole, Junction Box, Marker Stone Dataset) |
| 任务类型 | 目标检测(Object Detection) |
| 图像总数 | 2,000 张 |
| 类别数量 | 4 类 |
| 各类别图像数量 | - 井盖(manhole):500 张 - 电线杆(pole):500 张 - 电箱(junction_box):500 张 - 标石(marker_stone):500 张 |
| 标注格式 | PASCAL VOC XML 格式 每个图像对应一个 .xml 文件,包含目标边界框(xmin, ymin, xmax, ymax)及类别标签 |
| 图像特点 | - 场景涵盖城市道路、人行道、小区、工地等真实环境 - 包含不同光照、天气、遮挡和视角变化 - 部分目标尺度较小或密集出现,具有实际检测挑战性 |
| 适用模型框架 | - YOLO 系列(需转换为 TXT 格式) - Faster R-CNN / SSD / RetinaNet(原生支持 XML) - 支持使用 LabelImg、Roboflow、MMDetection 等工具处理 |
| 典型应用场景 | - 智慧城市市政设施巡检 - 自动化资产普查与管理 - 高精地图构建辅助 - AI+城市管理科研项目与竞赛 |
以下是基于 井盖、电线杆、电箱、标石目标检测数据集(2000张,PASCAL VOC XML 格式) 的完整训练方案,使用 PyTorch + torchvision(Faster R-CNN) 实现。代码包含:
✅ XML 标注解析
✅ 自定义数据集加载
✅ Faster R-CNN 模型定义与训练
✅ 支持模型保存与推理
✅ 可轻松转换为 YOLO 等其他框架
📁 一、项目结构
infrastructure_detection/
├── data/
│   ├── images/                 # 2000张图像 (.jpg/.png)
│   └── annotations/            # 对应的 .xml 标注文件
├── train.py                    # 主训练脚本
├── dataset.py                  # 数据集类
├── utils.py                    # 工具函数(含 XML 解析)
├── model.py                    # 模型定义
├── convert_to_yolo.py          # (可选)XML 转 YOLO TXT 脚本
└── requirements.txt
📄 二、环境依赖 requirements.txt
torch==2.0.1
torchvision==0.15.2
opencv-python==4.8.0
numpy==1.24.3
lxml==4.9.3
matplotlib==3.6.3
scikit-learn==1.3.0
安装命令:
pip install -r requirements.txt
🔧 三、工具函数 utils.py(XML 解析)
# utils.py
import xml.etree.ElementTree as ET
from typing import List, Tuple

def parse_voc_xml(xml_path: str) -> Tuple[List[dict], int, int]:
    """
    解析 PASCAL VOC XML 文件
    返回: [{'bbox': [xmin, ymin, xmax, ymax], 'label': class_id}, ...], width, height
    """
    tree = ET.parse(xml_path)
    root = tree.getroot()

    size = root.find('size')
    width = int(size.find('width').text)
    height = int(size.find('height').text)

    objects = []
    for obj in root.findall('object'):
        name = obj.find('name').text
        bndbox = obj.find('bndbox')
        xmin = int(float(bndbox.find('xmin').text))
        ymin = int(float(bndbox.find('ymin').text))
        xmax = int(float(bndbox.find('xmax').text))
        ymax = int(float(bndbox.find('ymax').text))

        # 类别映射(按字母排序或自定义)
        class_mapping = {
            'manhole': 0,
            'pole': 1,
            'junction_box': 2,
            'marker_stone': 3
        }
        label = class_mapping.get(name, -1)
        if label == -1:
            continue  # 跳过未知类别

        objects.append({
            'bbox': [xmin, ymin, xmax, ymax],
            'label': label
        })
    return objects, width, height
🗃️ 四、自定义数据集 dataset.py
# dataset.py
import os
import cv2
import torch
from torch.utils.data import Dataset
from utils import parse_voc_xml
from torchvision.transforms import functional as F

class InfrastructureDataset(Dataset):
    def __init__(self, image_dir: str, annotation_dir: str, transforms=None):
        self.image_dir = image_dir
        self.annotation_dir = annotation_dir
        self.transforms = transforms
        self.image_files = [f for f in os.listdir(image_dir) if f.endswith(('.jpg', '.png'))]

    def __len__(self):
        return len(self.image_files)

    def __getitem__(self, idx):
        img_name = self.image_files[idx]
        img_path = os.path.join(self.image_dir, img_name)
        xml_path = os.path.join(self.annotation_dir, img_name.replace('.jpg', '.xml').replace('.png', '.xml'))

        # 读取图像
        image = cv2.imread(img_path)
        image = cv2.cvtColor(image, cv2.COLOR_BGR2RGB)

        # 解析标注
        targets, _, _ = parse_voc_xml(xml_path)
        boxes = [t['bbox'] for t in targets]
        labels = [t['label'] for t in targets]

        # 转为 Tensor
        boxes = torch.as_tensor(boxes, dtype=torch.float32)
        labels = torch.as_tensor(labels, dtype=torch.int64)

        target = {}
        target["boxes"] = boxes
        target["labels"] = labels
        target["image_id"] = torch.tensor([idx])

        if self.transforms:
            image = self.transforms(image)

        return image, target
🧠 五、模型定义 model.py
# model.py
import torchvision
from torchvision.models.detection.faster_rcnn import FastRCNNPredictor

def get_faster_rcnn_model(num_classes: int):
    """
    加载预训练 Faster R-CNN (ResNet50-FPN),修改分类头
    """
    model = torchvision.models.detection.fasterrcnn_resnet50_fpn(weights="DEFAULT")
    in_features = model.roi_heads.box_predictor.cls_score.in_features
    model.roi_heads.box_predictor = FastRCNNPredictor(in_features, num_classes)
    return model
🚀 六、主训练脚本 train.py
# train.py
import torch
import torch.optim as optim
from torch.utils.data import DataLoader, random_split
from torchvision.transforms import ToTensor
from dataset import InfrastructureDataset
from model import get_faster_rcnn_model
import os

def collate_fn(batch):
    return tuple(zip(*batch))

def main():
    device = torch.device('cuda') if torch.cuda.is_available() else torch.device('cpu')
    print(f"🚀 使用设备: {device}")

    # 数据路径
    image_dir = 'data/images'
    annotation_dir = 'data/annotations'

    # 创建数据集
    full_dataset = InfrastructureDataset(
        image_dir=image_dir,
        annotation_dir=annotation_dir,
        transforms=ToTensor()
    )

    # 划分训练集/验证集 (8:2)
    train_size = int(0.8 * len(full_dataset))
    val_size = len(full_dataset) - train_size
    train_dataset, val_dataset = random_split(full_dataset, [train_size, val_size])

    train_loader = DataLoader(train_dataset, batch_size=4, shuffle=True, collate_fn=collate_fn, num_workers=4)
    val_loader = DataLoader(val_dataset, batch_size=4, shuffle=False, collate_fn=collate_fn, num_workers=4)

    # 模型:4类 + 背景 = 5
    model = get_faster_rcnn_model(num_classes=5)
    model.to(device)

    # 优化器
    params = [p for p in model.parameters() if p.requires_grad]
    optimizer = optim.SGD(params, lr=0.005, momentum=0.9, weight_decay=0.0005)
    lr_scheduler = torch.optim.lr_scheduler.StepLR(optimizer, step_size=3, gamma=0.1)

    # 训练循环
    num_epochs = 10
    for epoch in range(num_epochs):
        model.train()
        total_loss = 0
        for i, (images, targets) in enumerate(train_loader):
            images = [img.to(device) for img in images]
            targets = [{k: v.to(device) for k, v in t.items()} for t in targets]

            loss_dict = model(images, targets)
            losses = sum(loss for loss in loss_dict.values())
            total_loss += losses.item()

            optimizer.zero_grad()
            losses.backward()
            optimizer.step()

            if i % 20 == 0:
                print(f"Epoch {epoch+1}, Batch {i}, Loss: {losses.item():.4f}")

        # 验证(简化版,仅前向)
        model.eval()
        with torch.no_grad():
            val_loss = 0
            for images, targets in val_loader:
                images = [img.to(device) for img in images]
                targets = [{k: v.to(device) for k, v in t.items()} for t in targets]
                loss_dict = model(images, targets)
                val_loss += sum(loss for loss in loss_dict.values()).item()
        print(f"Epoch {epoch+1} | Train Loss: {total_loss/len(train_loader):.4f} | Val Loss: {val_loss/len(val_loader):.4f}")

        # 学习率调度
        lr_scheduler.step()

        # 保存模型
        torch.save(model.state_dict(), f'model_epoch_{epoch+1}.pth')

    print("✅ 训练完成!")

if __name__ == '__main__':
    main()
🔍 七、推理示例(预测单图)
# infer.py
import torch
import cv2
from model import get_faster_rcnn_model
from torchvision.transforms import ToTensor

def predict(image_path, model_path='model_epoch_10.pth'):
    device = torch.device('cuda' if torch.cuda.is_available() else 'cpu')
    model = get_faster_rcnn_model(num_classes=5)
    model.load_state_dict(torch.load(model_path))
    model.to(device)
    model.eval()

    image = cv2.imread(image_path)
    rgb_image = cv2.cvtColor(image, cv2.COLOR_BGR2RGB)
    tensor = ToTensor()(rgb_image).unsqueeze(0).to(device)

    with torch.no_grad():
        outputs = model(tensor)

    boxes = outputs[0]['boxes'].cpu().numpy()
    labels = outputs[0]['labels'].cpu().numpy()
    scores = outputs[0]['scores'].cpu().numpy()

    class_names = ['manhole', 'pole', 'junction_box', 'marker_stone']
    for box, label, score in zip(boxes, labels, scores):
        if score > 0.5:
            x1, y1, x2, y2 = map(int, box)
            cv2.rectangle(image, (x1, y1), (x2, y2), (0, 255, 0), 2)
            cv2.putText(image, f"{class_names[label-1]} {score:.2f}", (x1, y1-10),
                        cv2.FONT_HERSHEY_SIMPLEX, 0.6, (0, 255, 0), 2)

    cv2.imshow('Prediction', image)
    cv2.waitKey(0)
    cv2.destroyAllWindows()
🔄 八、(可选)XML 转 YOLO 格式脚本
如需用于 YOLO 训练,可运行以下脚本生成 .txt 标签:
# convert_to_yolo.py
import os
import xml.etree.ElementTree as ET
from utils import parse_voc_xml

def convert_one(xml_path, img_width, img_height, output_dir):
    objects, _, _ = parse_voc_xml(xml_path)
    txt_name = os.path.basename(xml_path).replace('.xml', '.txt')
    with open(os.path.join(output_dir, txt_name), 'w') as f:
        for obj in objects:
            cls_id = obj['label']
            xmin, ymin, xmax, ymax = obj['bbox']
            x_center = ((xmin + xmax) / 2) / img_width
            y_center = ((ymin + ymax) / 2) / img_height
            width = (xmax - xmin) / img_width
            height = (ymax - ymin) / img_height
            f.write(f"{cls_id} {x_center:.6f} {y_center:.6f} {width:.6f} {height:.6f}\n")

# 批量转换
annotation_dir = 'data/annotations'
output_dir = 'data/labels_yolo'
os.makedirs(output_dir, exist_ok=True)

for xml_file in os.listdir(annotation_dir):
    if xml_file.endswith('.xml'):
        xml_path = os.path.join(annotation_dir, xml_file)
        # 获取图像尺寸(需对应图像存在)
        img_path = xml_path.replace('annotations', 'images').replace('.xml', '.jpg')
        if not os.path.exists(img_path):
            img_path = img_path.replace('.jpg', '.png')
        img = cv2.imread(img_path)
        h, w = img.shape[:2]
        convert_one(xml_path, w, h, output_dir)
✅ 九、训练建议
| 项目 | 建议 |
|---|---|
| Batch Size | 图像较大时设为 2~4(GPU 显存限制) |
| 数据增强 | 可加入 torchvision.transforms.ColorJitter, RandomHorizontalFlip |
| 小目标优化 | 使用 FPN 多尺度特征,或改用 RetinaNet/YOLOv8 |
| 评估指标 | 训练后计算 mAP@0.5(可用 torchvision.ops.box_iou 实现) |
该系统可直接用于 智慧城市市政设施自动识别、道路资产普查、AI巡检机器人 等场景。如需提供 YOLOv8 版本训练代码 或 Web API 接口,请继续提问!

腾讯云面向开发者汇聚海量精品云计算使用和开发经验,营造开放的云计算技术生态圈。
更多推荐
 8
8 0
0- 0


 已为社区贡献35条内容

所有评论(0)