用vite快速搭建react+js项目脚手架
·
用vite快速搭建react+js项目脚手架
仅用于个人学习
- 用管理员打开cmd并进入项目文件夹
- 输入npm create vite@latest
- 依次输入y 项目名 包名
- 选 react
- 选js
- 根据提示完成
- 输入npm install antd
- npm install react-router-dom
- 编辑器打开刚刚创建好的项目
- 进入main.jsx改用hashrouter包裹app
import { createRoot } from 'react-dom/client'
import { ConfigProvider} from 'antd'
import zhCN from 'antd/locale/zh_CN'
import './index.css'
import App from './App.jsx'
import {HashRouter as Router,Routes,Route,Navigate} from 'react-router-dom'


createRoot(document.getElementById('root')).render(
    <Router>
      <ConfigProvider locale={zhCN}>
        <Routes>
          <Route path='/' element={<Navigate to='/tmy/check' replace />}/>
          <Route path='/tmy/*' element={<App />}/>
        </Routes>
      </ConfigProvider>
    </Router>
)
- 进入app.jsx用lauout和routes和route写路由
import MyLayout from "./components/MyLayout";
import { Routes, Route, Navigate } from "react-router-dom";
import {ConfigProvider } from "antd"

function App() {
  return (
    <ConfigProvider
      theme={{
        components: {
          Card: {
            headerBg: "rgb(196, 221, 245)", // 标题背景色
            lineType: "solid",
            lineWidth: 1,
            colorBorderSecondary: "rgb(198, 219, 238)"
          },
        },
      }}
    >
      <MyLayout>
        <Routes>
          <Route path="/" element={<Navigate to="/tmy/check" replace />} />
          <Route path="/check" element={<Check />} />
        </Routes>
      </MyLayout>
    </ConfigProvider>
  );
}

export default App;
- 打开index.css,替换为
.logoImg img{
  width:50%;
  display: block;
  border-radius: 15px;
  margin: 20px auto;
}

.titleDiv{
  font-size: 1.2rem;
  margin-left: 1rem;
}
- 在scr下建立两个文件夹 分别为page(用于放页面)、components(用于放组件)
- 在components新建一个文件,命名为MyLayout.jsx
import React, { useEffect, useState, useRef } from "react";
import {
  MenuFoldOutlined,
  MenuUnfoldOutlined,
  VideoCameraOutlined,
} from "@ant-design/icons";
import {
  Button,
  Layout,
  Menu,
  theme,
  Dropdown,
  Space,
  Divider,
} from "antd";
import logo from "../assets/logo.jpg";
import { useNavigate, useLocation } from "react-router-dom";
const { Header, Sider, Content } = Layout;
import "antd/dist/reset.css";
import { Footer } from "antd/es/layout/layout";

//下拉菜单的manue数据
const items = [
  {
    key: "help",
    label: <a>帮助</a>,
  }
];

const menuSaiItems = [
  {
    key: "/tmy/check",
    icon: <VideoCameraOutlined />,
    label: "运单查询系统",
  }
];
const MyLayout = ({ children }) => {
  const [collapsed, setCollapsed] = useState(false);
  const [selectedKeys, setSelectedKeys] = useState([]);
  const [menuData, setmMnuData] = useState([]);
  const {
    token: { colorBgContainer, borderRadiusLG },
  } = theme.useToken();
  //路由跳转
  const navigate = useNavigate();
  const location = useLocation();
  const path = location.pathname;
  const firstSegment = path.split("/")[1];

  const getMenuItems = () => {
    const path = location.pathname;
    if (path.startsWith("/tmy")) {
      setmMnuData(menuSaiItems);
    }
    return [];
  };

  useEffect(() => {
    getMenuItems();
  }, [location.pathname]);


  //下拉菜单
  const onClick = ({ key }) => {
    if (key == "help") {
      navigate("/" + firstSegment + "/help");
    }
  };

  return (
    <Layout style={{ width: "100vw", height: "100vh" }}>
      <Sider trigger={null} collapsible collapsed={collapsed}>
        <div className="logoImg">
          <img src={logo} />
        </div>
        <Menu
          theme="dark"
          mode="inline"
          selectedKeys={selectedKeys}
          onClick={({ key, item, keyPath }) => {
            navigate(key);
            setSelectedKeys([key]);
            console.log(key, item, keyPath);
            // trackPage({ key, label: item.props.label });
          }}
          items={menuData}
        />
      </Sider>
      <Layout>
        <Header
          style={{
            padding: 0,
            background: colorBgContainer,
            height: 50,
            display: "flex",
            alignItems: "center",
          }}
        >
          <Button
            type="text"
            icon={collapsed ? <MenuUnfoldOutlined /> : <MenuFoldOutlined />}
            onClick={() => setCollapsed(!collapsed)}
            style={{ marginRight: 16 }}
          />
          <span className="titleDiv" style={{ fontSize: 17, fontWeight: 600 }}>
            麒麟运单查询系统
          </span>
          <div
            style={{
              marginLeft: "auto",
              display: "flex",
              alignItems: "center",
            }}
          >
            <Dropdown menu={{ items, onClick }}>
              <img
                src={logo}
                style={{
                  width: "30px",
                  borderRadius: "100",
                  margin: "0 30px 0 0",
                }}
              />
            </Dropdown>
          </div>
        </Header>
        <Content
          ref={contentRef}
          style={{
            margin: "8px 12px",
            // padding: "12px 0px 0px 16px",
            minHeight: 280,
            background: "#F5F5F5",
            borderRadius: borderRadiusLG,
          }}
        >
          {children}
        </Content>
        <Footer
          style={{
            textAlign: "center",
            background: "#F5F5F5",
            color: "rgba(0, 0, 0, 0.65)",
            padding: "8px 60px",
            height: 50,
          }}
        >
          <div style={{ paddingBottom: "6px" }}>
            @贵阳麒麟芯通信息技术有限公司
          </div>
          <Space
            size={"large"}
            split={
              <Divider
                type="vertical"
                style={{ borderColor: "rgba(0, 0, 0, 0.65)" }}
              />
            }
          >
            <div>联系电话:111111111</div>
            <div>地址:贵州省贵阳市观山湖区</div>
          </Space>
        </Footer>
      </Layout>
    </Layout>
  );
};
export default MyLayout;
- 在page文件夹下新建一个Check.jsx文件
function Check(){
    return(
        <div>已进入运单查询系统</div>
    )
}
export default Check
- 在src\assets下放一张头像图片,命名logo.jpg
- 在编辑器的终端中输入npm run dev 即可运行
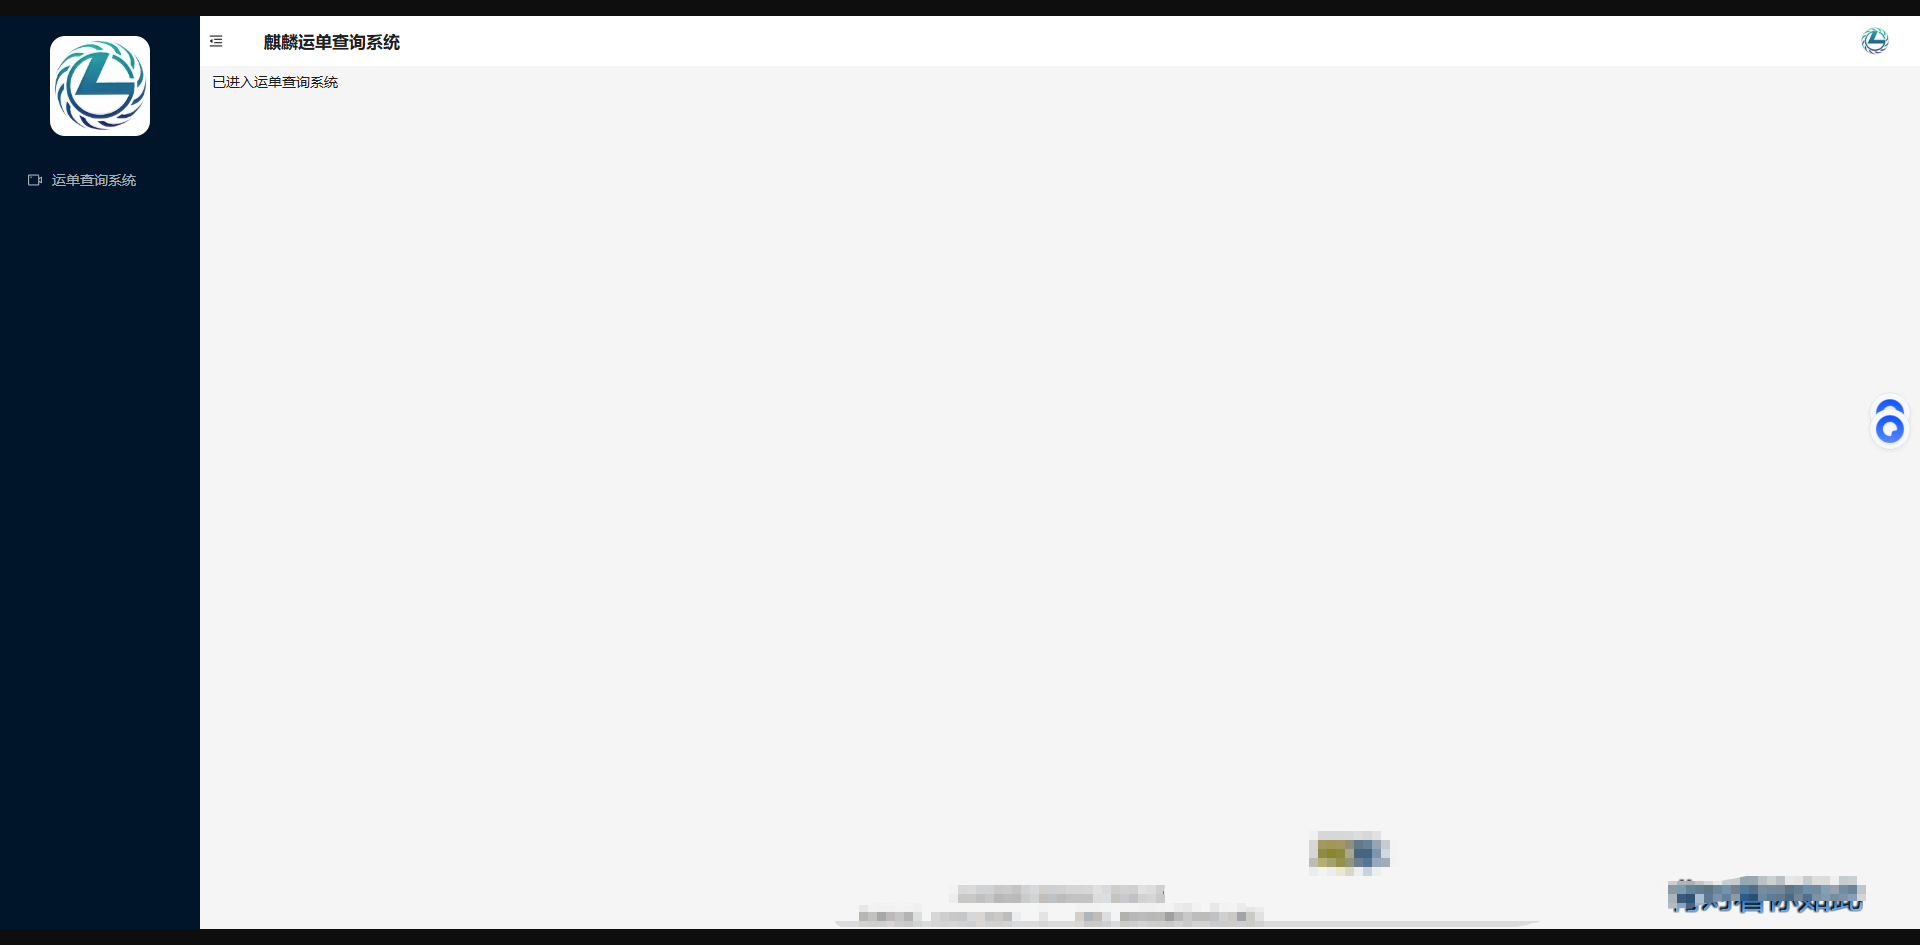
然后就可以用ai编辑器在Check中写你想要的页面了

腾讯云面向开发者汇聚海量精品云计算使用和开发经验,营造开放的云计算技术生态圈。
更多推荐
 3
3 0
0- 0


 已为社区贡献1条内容

所有评论(0)