救命!FastAPI 测试三大坑:密码哈希、异步报错、认证失败,Pytest 一站式解决(附完整代码)
文章目录
救命!FastAPI 测试三大坑:密码哈希、异步报错、认证失败,Pytest 一站式解决(附完整代码)
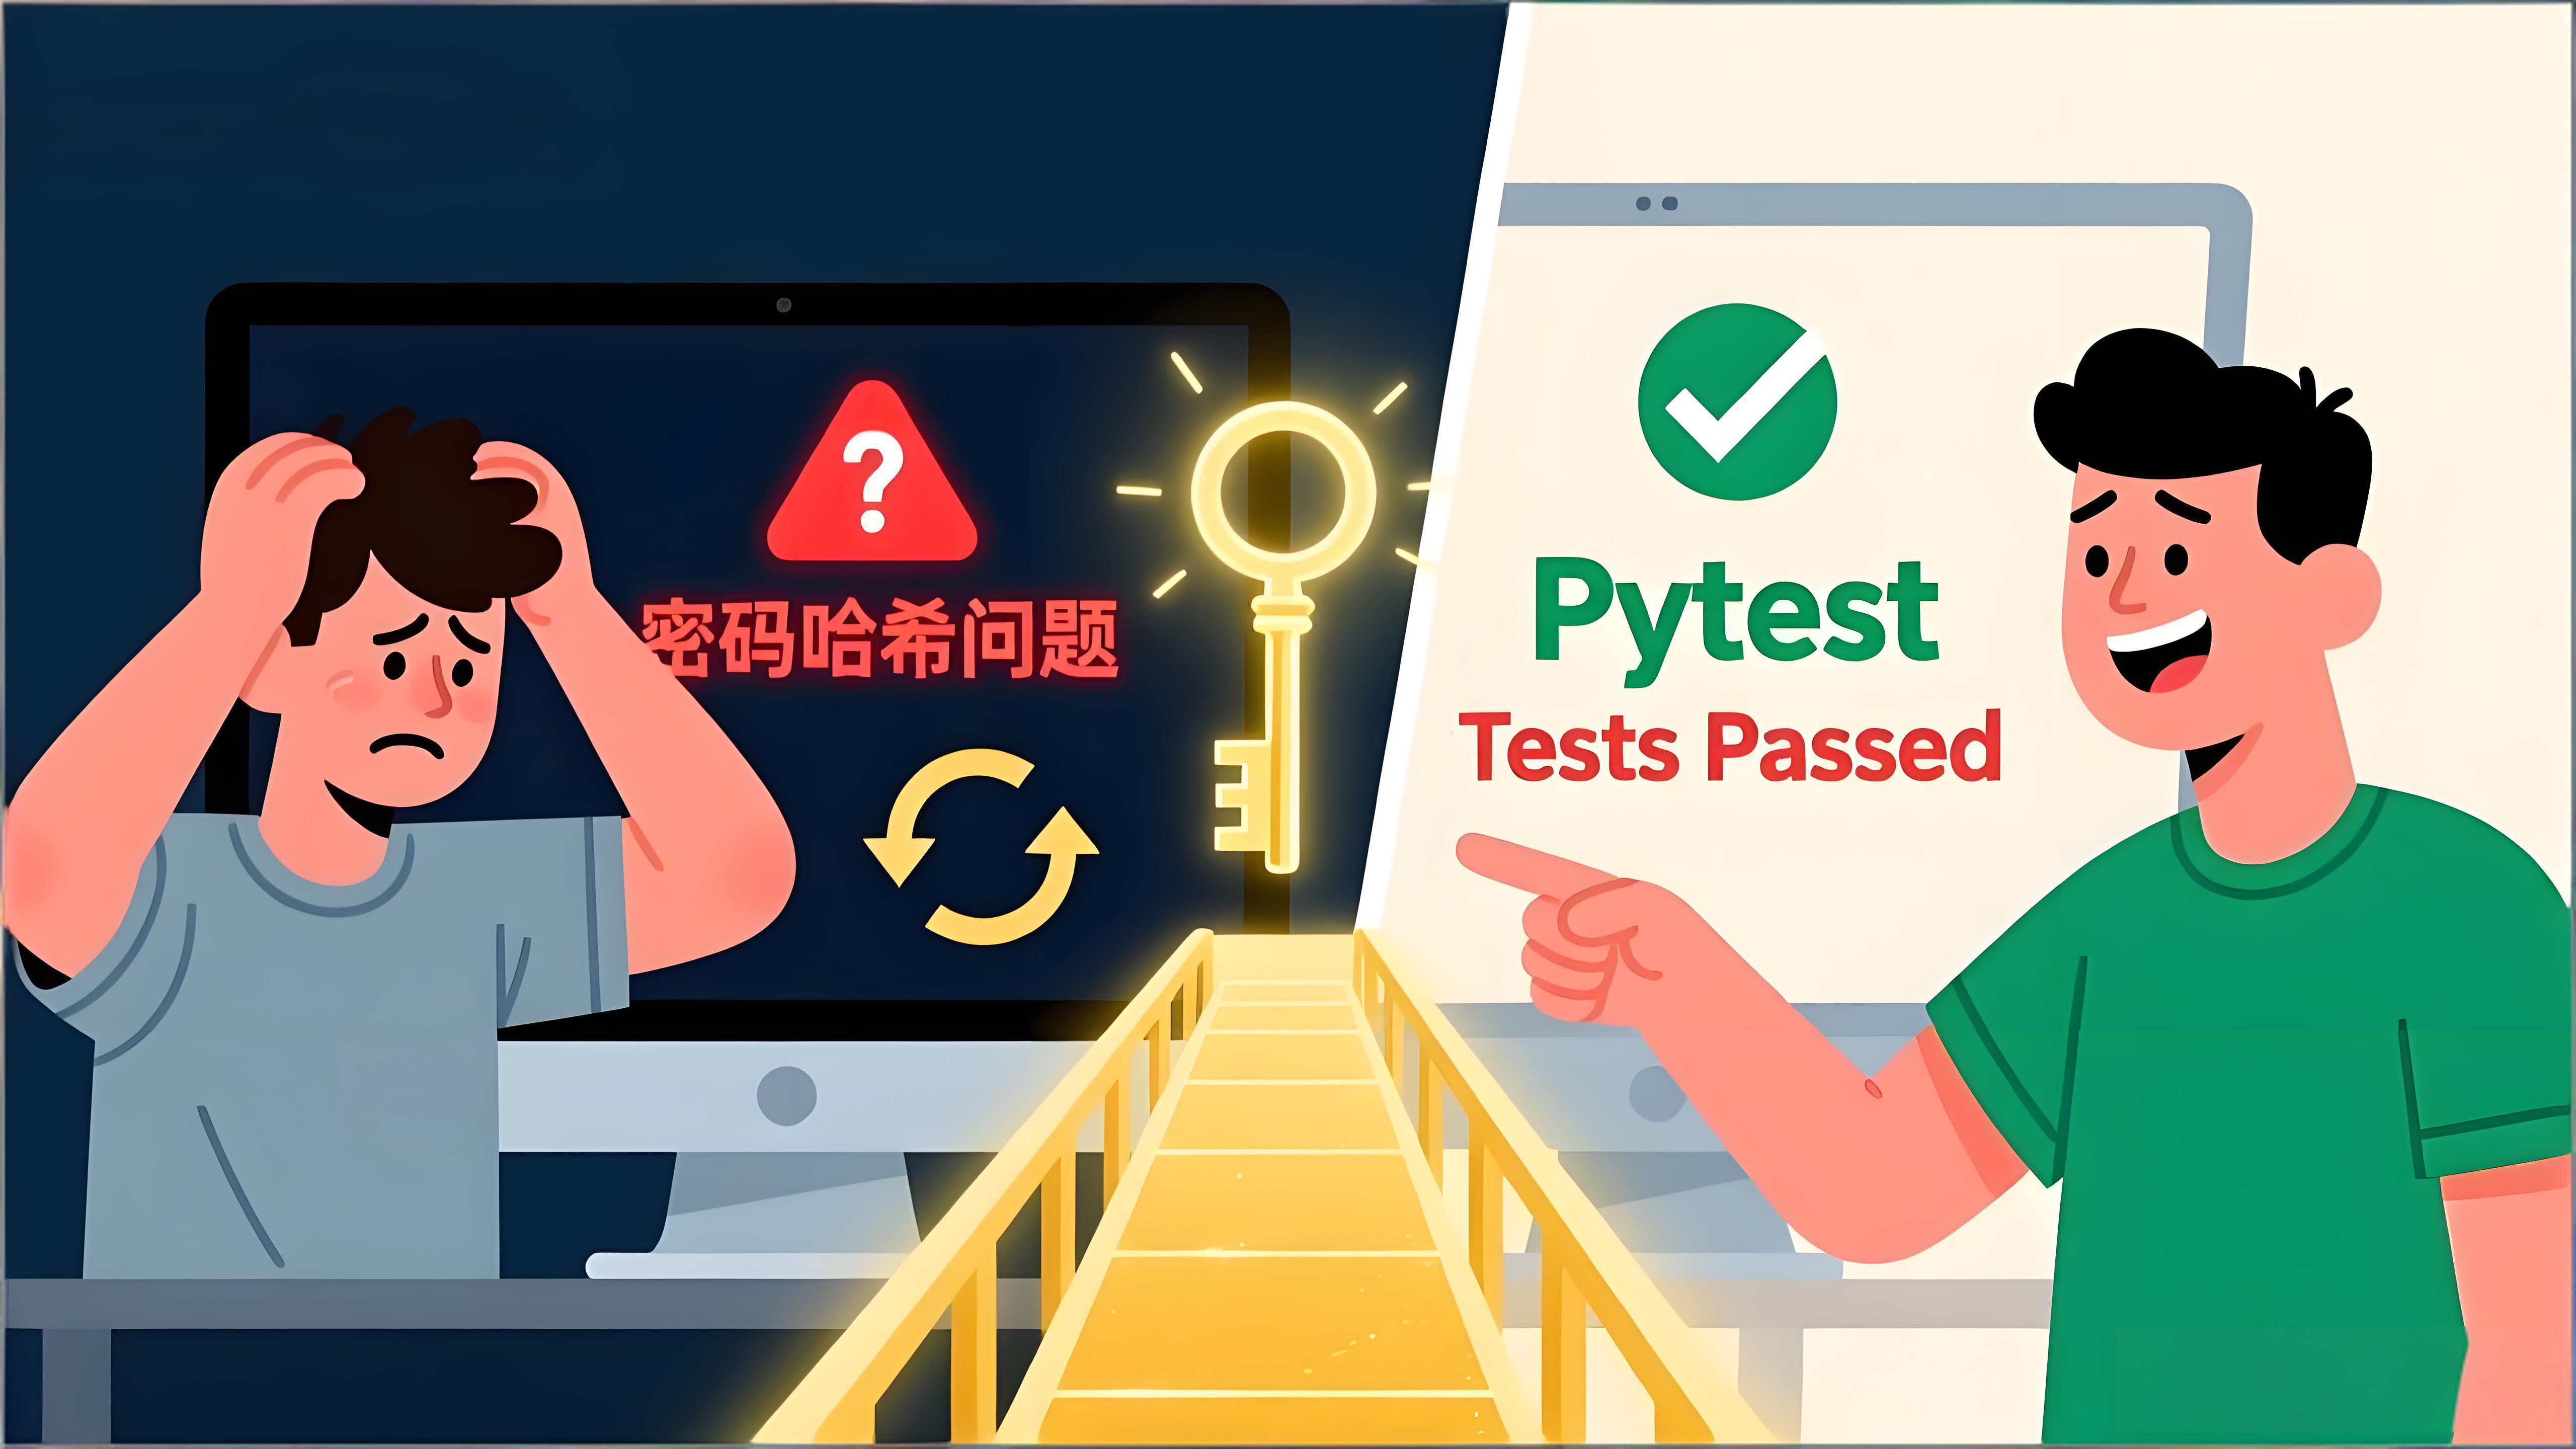
你写认证逻辑明明没问题,但测试就是跑不通。
用户密码的哈希值每次都不一样,根本无法直接断言。
如果你也曾被 FastAPI 的认证测试和异步测试折磨得怀疑人生。恭喜你,这篇文章将带你一次型搞清楚:
- 用户测试的密码哈希难题:如何在不暴露密码的情况下验证用户?
- 异步依赖注入的测试陷阱:为什么你的
get_current_user测试总是失败? - 认证逻辑的全面覆盖策略:从成功场景到异常场景,一个都不能少
用户测试的密码哈希问题
当你测试用户接口时,第一个拦路虎就是密码哈希。
原始密码经过bcrypt哈希后,每次都会生成不同的字符串。意味着你不能像测试其他字段那样直接断言。
01、创建用户测试的 Fixture
在test/utils.py中添加用户Fixture:
@pytest.fixture
def test_user():
    user = Users(
        username='wangerge',
        first_name='erge',
        last_name='wang',
        email='wangerge@mail.com',
        hashed_password=bcrypt_context.hash("test1234"),
        role='admin',
        is_active=True,
        phone_number='18301033629'
    )

    db = TestSessionLocal()
    db.add(user)
    db.commit()
    yield user

    with engine.connect() as connection:
        connection.execute(text("DELETE FROM users;"))
        connection.commit()
密码在创建时就已经哈希,测试中我们无法获取原始值,也不应该获取。
02、正确测试用户信息接口
在test/test_users.py中,测试获取用户信息:
def test_return_user(test_user):
    response = client.get("/user/")
    # 断言状态码
    assert response.status_code == status.HTTP_200_OK
    # 验证所有非密码字段
    assert response.json()["username"] == 'wangerge'
    assert response.json()["first_name"] == 'erge'
    assert response.json()["last_name"] == 'wang'
    assert response.json()["email"] == 'wangerge@mail.com'
    assert response.json()["role"] == 'admin'
    assert response.json()["is_active"] is True
    assert response.json()["phone_number"] == '18301033629'

	# 特别注意:不验证密码字段,因为它已经被哈希
    # 实际上接口不应该返回密码哈希值,这是安全常识
重要安全原则:用户接口永远不应该返回密码哈希值。如果你的接口返回了,请立即修改!
03、测试密码修改功能
测试密码修改需要覆盖:成功修改、当前密码错误要求。
在test/test_users.py中,
# 成功修改
def test_change_password_success(test_user):
    response = client.put("/user/password", json={
        "password": "test1234",
        "new_password": "newtest1234"})
    assert response.status_code == status.HTTP_204_NO_CONTENT

# 密码错误
def test_change_password_invalid_current_password(test_user):
    response = client.put("/user/password", json={
        "password": "wrong_password",
        "new_password": "newtest1234"})
    assert response.status_code == status.HTTP_401_UNAUTHORIZED
    assert response.json() == {"detail": "Error on password change"}
04、测试修改手机号
在test/test_users.py中,
def test_change_phone_number_success(test_user):
    response = client.put("/user/phonenumber/222222")
    assert response.status_code == status.HTTP_204_NO_CONTENT

    # 验证手机号已更新
    db = TestSessionLocal()
    updated_user = db.query(Users).filter(Users.username == test_user.username).first()
    assert updated_user.phone_number == test_user.phone_number
为什么你的认证测试总是失败
最让开发者头疼的,可能就是FastAPI的异步依赖注入测试。
当你测试get_current_user这样的依赖函数时,会发现pytest根本不知道如何处理async def。
01、安装异步支持插件
当你直接运行包含异步函数的测试时,会看到这样的错误:
async def functions are not natively supported.
You need to install a suitable plugin...
解决方案:安装pytest-asyncio插件。
pip install pytest-asyncio -i https://pypi.tuna.tsinghua.edu.cn/simple
02、测试认证逻辑
在test/test_auth.py中,我们需要用正确的方式测试认证逻辑:
# 测试获取当前用户(异步函数)
@pytest.mark.asyncio
async def test_get_current_user_valid_token():
    """测试有效Token能正确解析用户信息"""
    # 创建测试Token
    encode = {"sub": "testuser", "id": 1, "role": "admin"}
    token = jwt.encode(encode, SECRET_KEY, algorithm=ALGORITHM)

    # 调用异步依赖函数
    user = await get_current_user(token)

    # 验证结果
    assert user is not None
    assert user == {"username": "testuser", "id": 1, "user_role": "admin"}
关键点:
- 使用
@pytest.mark.asyncio装饰器标记异步测试 - 用
await调用异步函数 - 测试Token时,可以跳过签名验证来简化测试
03、测试用户认证
在test/test_auth.py中,
# 测试用户认证
def test_authentication_user(test_user):
    db = TestSessionLocal()

    # 测试正确的用户名和密码
    authenticated_user = authenticate_user(test_user.username, "test1234", db)
    assert authenticated_user is not None
    assert authenticated_user.username == test_user.username

    # 测试错误的用户名
    not_exist_authentication_user = authenticate_user("wrong_user", "test1234", db)
    assert not_exist_authentication_user is False

    # 测试错误的密码
    wrong_password_user = authenticate_user(test_user.username, "wrong_password!", db)
    assert wrong_password_user is False
04、测试Token创建
在test/test_auth.py中,
def test_create_access_token(test_user):
    username = "wangerge"
    user_id = 1
    role = "admin"
    expires_delta = timedelta(hours=1)
	# 创建Token
    token = create_access_token(username, user_id, role, expires_delta)
	# 解码Token(跳过签名验证,仅用于测试)
    decoded_token = jwt.decode(token, SECRET_KEY,
                               algorithms=[ALGORITHM],
                               options={"verify_signature": False})

    # {'sub': 'wangerge', 'id': 1, 'role': 'admin', 'exp': 1769149466}
    assert decoded_token is not None
    assert decoded_token.get("sub") == username
    assert decoded_token.get("role") == role
    assert decoded_token.get("id") == user_id
05、测试 Token 缺少必要字段
认证测试不仅要测成功场景,更要测失败场景。Token缺少必要字段时,应该正确处理。
在test/test_auth.py中
@pytest.mark.asyncio
async def test_get_current_user_missing_payload():
    # 创建缺少sub字段的Token(这是必须的)
    encode = {"role": "admin"}
    token = jwt.encode(encode, SECRET_KEY, algorithm=ALGORITHM)
	# 验证会抛出HTTPException
    with pytest.raises(HTTPException) as exc_info:
        await get_current_user(token)
	# 验证异常详情
    assert exc_info is not None
    assert exc_info.value.status_code == status.HTTP_401_UNAUTHORIZED
    assert exc_info.value.detail == "Could not validate user."
执行测试,并输出结果
测试命令解析
# -v 查看详细测试信息
# --disable-warnings 禁用警告
# TodoApp/test/test_users.py TodoApp/test/test_auth.py 指定运行的测试文件

pytest -v --disable-warnings TodoApp/test/test_users.py TodoApp/test/test_auth.py
执行测试
(.venv) wangerge_notes: Chapter_14$ pytest -v --disable-warnings TodoApp/test/test_users.py TodoApp/test/test_auth.py
================== test session starts ==================
collected 8 items

TodoApp/test/test_users.py::test_return_user PASSED                                                    [ 12%]
TodoApp/test/test_users.py::test_change_password_success PASSED                                        [ 25%]
TodoApp/test/test_users.py::test_change_password_invalid_current_password PASSED                       [ 37%]
TodoApp/test/test_users.py::test_change_phone_number_success PASSED                                    [ 50%]
TodoApp/test/test_auth.py::test_authentication_user PASSED                                             [ 62%]
TodoApp/test/test_auth.py::test_create_access_token PASSED                                             [ 75%]
TodoApp/test/test_auth.py::test_get_current_user_valid_token PASSED                                    [ 87%]
TodoApp/test/test_auth.py::test_get_current_user_missing_payload PASSED                                [100%]

================== 8 passed, 2 warnings in 7.64s ==================
(.venv) wangerge_notes: Chapter_14$
写在最后
经过这番折腾,你现在应该掌握了:
- 用户测试的完整方案:从基础信息到密码修改,覆盖所有场景
- 异步测试的正确姿势:再也不用怕
async def函数的测试了 - 认证逻辑的全面验证:Token创建、解析、异常处理一个不漏
- 测试数据自动管理:每个测试都在干净环境中运行
接下来,我们将讨论如何搭建版本管理?如何进行代码的版本管理?如何管理分支与团队协作?
下期,我将掰开了,揉碎了,把它们一次性讲清楚。
想要获取本章完整代码,请在评论区回复 【FastAPI】,代码直接复制就能跑。
关于 FastAPI 的其他疑问
别堆代码了!Pytest Fixture优雅搞定测试数据管理,附 CURD 全接口代码直接抄
测试别踩坑!FastAPI隔离数据库+Mock用户,守住职场安全线
新功能上线就崩?Pytest三步测试法,让你的FastAPI稳如老狗,Bug率直降80%
加个字段,服务崩了?FastAPI新手避坑,Alembic三步搞定表结构变更!方案闭眼抄
别等着被骂:API上线前,一定要把SQLite换成MySQL,附 FastAPI对接代码
相关内容我都给大家做好了,感兴趣的朋友来「我的主页」找一找,直接就可以看到。
欢迎关注 「王二哥的技术笔记」,每天分享「Python」、「职场」有趣干货,千万不要错过!

腾讯云面向开发者汇聚海量精品云计算使用和开发经验,营造开放的云计算技术生态圈。
更多推荐
 19
19 0
0- 0


 已为社区贡献24条内容

所有评论(0)