“YOLO26-OBB+语音控制” 机械臂抓取方案(三、语音控制+简易版调度中心)
我们前两章节介绍了数据采集和数据训练及模型验证,就在昨天我才刚刚跑通最简易版本的语音控制机械臂抓取的流程,今天我把步骤分享一下。
相机服务端这里可以参考我先前的SAM3+点云的那套方案
https://blog.csdn.net/m0_56498637/article/details/159671697?spm=1001.2014.3001.5502
那么在这里我们只需要新增一个yolo识别的函数及接口即可
detect_yolo函数
def detect_yolo():
    global latest_color_frame, latest_depth_frame
    global processed_frame, intr, depth_scale

    with frame_lock:
        if latest_color_frame is None or latest_depth_frame is None:
            return None

        color = latest_color_frame.copy()
        depth = latest_depth_frame.copy()

    results = model(color, verbose=False)

    best_target = None
    best_score = 0

    for r in results:
        if r.obb is None:
            continue

        boxes = r.obb.xyxyxyxy.cpu().numpy()
        cls_ids = r.obb.cls.cpu().numpy()
        scores = r.obb.conf.cpu().numpy()

        for box, cls_id, score in zip(boxes, cls_ids, scores):

            if score < 0.4:
                continue

            pts = box.reshape((4, 2))

            # =========================
            # 像素中心
            # =========================
            cx = int(np.mean(pts[:, 0]))
            cy = int(np.mean(pts[:, 1]))

            # =========================
            # 深度(米)
            # =========================
            depth_value = depth[cy, cx] * depth_scale

            # =========================
            # 相机坐标
            # =========================
            cam_point = pixel2point3d(cx, cy, depth_value, intr)

            # =========================
            # 转工具坐标系
            # =========================
            tool_point = cam_to_tool(cam_point, T_cam_to_tool)

            # =========================
            # 角度
            # =========================
            angle = get_grasp_angle(pts)

            # =========================
            # 打印调试信息
            # =========================
            print("\n========== YOLO DETECT ==========")
            print(f"类别: {int(cls_id)}  置信度: {score:.3f}")
            print(f"像素坐标: (u, v) = ({cx}, {cy})")
            print(f"深度: {depth_value:.4f} m")

            print("\n--- 相机坐标系 (Camera) ---")
            print(f"X: {cam_point[0]:.4f}  Y: {cam_point[1]:.4f}  Z: {cam_point[2]:.4f}")

            print("\n--- 工具坐标系 (Tool) ---")
            print(f"X: {tool_point[0]:.4f}  Y: {tool_point[1]:.4f}  Z: {tool_point[2]:.4f}")

            print(f"\n抓取角度: {angle:.2f}°")
            print("================================\n")

            # =========================
            # 画图
            # =========================
            pts_int = pts.astype(int)
            cv2.polylines(color, [pts_int], True, (0, 255, 0), 2)

            label = f"{int(cls_id)} {score:.2f} {angle:+.1f}"
            cv2.putText(color, label, (cx, cy),
                        cv2.FONT_HERSHEY_SIMPLEX,
                        0.5, (0, 255, 0), 1)

            cv2.circle(color, (cx, cy), 4, (0, 0, 255), -1)

            # =========================
            # 选最优目标
            # =========================
            if score > best_score:
                best_target = {
                    "cam_x": cam_point[0],
                    "cam_y": cam_point[1],
                    "cam_z": cam_point[2],
                    "tool_x": tool_point[0],
                    "tool_y": tool_point[1],
                    "tool_z": tool_point[2],
                    "angle": angle,
                    "cls": int(cls_id),
                    "conf": float(score)
                }
                best_score = score

    # 更新画面
    with frame_lock:
        processed_frame = color

    save_path = save_processed_image(color)
    clean_old_images()

    return best_target, save_path
在这里我们针对机械臂的控制代码也进行一下改造,分为机械臂服务端及客户端
我们新增一个robot_task函数的flask接口,新增状态机判断
def robot_task():
    global is_running,stop_flag

    if is_running:
        return jsonify({
            "status": "busy",
            "msg": "机械臂正在执行任务"
        })

    is_running = True
    result = False
    cmd = None

    try:
        cmd = request.args.get("cmd")
        print(f"收到任务: {cmd}")

        if cmd == "grasp":
            result = execute_grasp()

        elif cmd == "reset":
            result = move_to_pose(PHOTO_POS)

        elif cmd == "open":
            result = open_gripper()

        elif cmd == "close":
            result = close_gripper()

        elif cmd == "stop":
            stop_flag = True
            return jsonify({"status": "ok", "msg": "停止信号已发送"})

        else:
            return jsonify({
                "status": "error",
                "msg": "未知指令"
            })

        return jsonify({
            "status": "ok",
            "cmd": cmd,
            "result": result
        })

    except Exception as e:
        print(f"任务执行异常: {e}")

        return jsonify({
            "status": "error",
            "msg": str(e)
        })

    finally:
        is_running = False
客户端这里就相对简单了
import requests

ROBOT_URL = "http://127.0.0.1:6000/robot_task"


def send_robot_cmd(cmd):
    try:
        resp = requests.get(ROBOT_URL, params={"cmd": cmd}, timeout=60)
        print("机械臂响应:", resp.json())
    except Exception as e:
        print("机械臂请求失败:", e)
那么做好这两个服务端的代码后,我们设计一个简易的调度中心
scheduler.py
import queue
import threading
from robot_client import send_robot_cmd

task_queue = queue.Queue()


def add_task(cmd):
    print(f"加入任务: {cmd}")
    task_queue.put(cmd)


def worker():
    print("调度线程启动")
    while True:
        cmd = task_queue.get()
        print(f"执行任务: {cmd}")

        send_robot_cmd(cmd)

        task_queue.task_done()


def start_scheduler():
    t = threading.Thread(target=worker, daemon=True)
    t.start()
接下来我们就接入语音,这里我尝试了两个本地离线的语音识别模型,一个是Vosk,一个是FunASR,这里我推荐使用FunASR语音识别功能
首先是Vosk的方案
我们首先访问Vosk Model的官网:https://alphacephei.com/vosk/models
进入后,我们下拉选择中文版本模型进行下载
下载完成后,我们将解压后的文件夹直接放在我们的项目目录里,重命名为Voice_model_Vosk,接下来开始设计语音识别及关键词对应的Command
Voice_vosk.py
import queue
import sounddevice as sd
from vosk import Model, KaldiRecognizer
import json
from scheduler import add_task
q = queue.Queue()
def callback(indata, frames, time, status):
q.put(bytes(indata))
model = Model("Voice_model_Vosk")
rec = KaldiRecognizer(model, 16000)
def handle_voice(text):
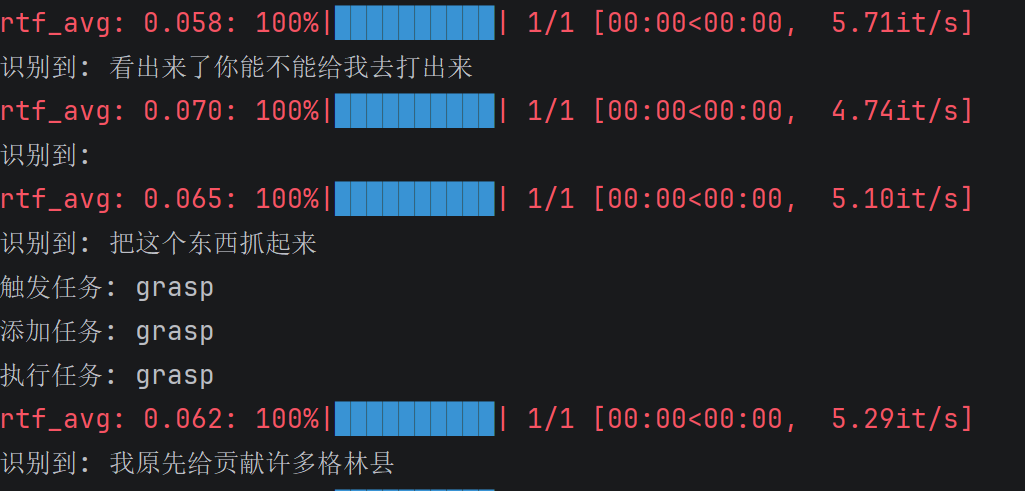
print(f"识别到: {text}")
if "抓取" in text or "抓起来" in text:
add_task("grasp")
elif "复位" in text or "回去" in text:
add_task("reset")
elif "打开夹爪" in text:
add_task("open")
elif "关闭夹爪" in text:
add_task("close")
elif "停止" in text:
add_task("stop")
def voice_loop():
with sd.RawInputStream(
samplerate=16000,
blocksize=8000,
dtype='int16',
channels=1,
callback=callback
):
print("🎤 语音系统已启动...")
while True:
data = q.get()
if rec.AcceptWaveform(data):
result = json.loads(rec.Result())
text = result.get("text", "")
if text:
handle_voice(text)FunASR方案
Voice_FunASR.py
from funasr import AutoModel
import sounddevice as sd
import numpy as np
import time
import threading

from scheduler import add_task
from agent import agent_parse

model = AutoModel(model="paraformer-zh")

last_trigger_time = 0
COOLDOWN = 2


def record_audio(duration=3, fs=16000):
    audio = sd.rec(int(duration * fs), samplerate=fs, channels=1, dtype='float32')
    sd.wait()
    return audio.flatten()


def handle_voice(text):
    global last_trigger_time

    text = text.replace(" ", "")
    print(f"识别: {text}")

    if not text:
        return

    # 防抖
    now = time.time()
    if now - last_trigger_time < COOLDOWN:
        return

    # ======================
    # 优先规则
    # ======================
    if "再" in text or "继续" in text:
        print("继续抓取")
        add_task("grasp")
        last_trigger_time = now
        return

    # ======================
    # 走智能体
    # ======================
    task = agent_parse(text)

    if not task:
        return

    cmd = task.get("cmd")

    if cmd:
        print(f"🚀 执行: {cmd}")
        add_task(cmd)
        last_trigger_time = now


def voice_worker():
    print("语音线程启动")

    while True:
        audio = record_audio()

        try:
            res = model.generate(input=audio)
            text = res[0]["text"]
            handle_voice(text)
        except Exception as e:
            print("语音异常:", e)


def start_voice():
    t = threading.Thread(target=voice_worker, daemon=True)
    t.start()
接下来我们就通过一个main.py来触发,前提要将两个服务端打开
main.py
from scheduler import start_scheduler
from Voice_Vosk import voice_loop
import time

if __name__ == "__main__":
    print("系统启动")

    start_scheduler()
    voice_loop()

    while True:
        time.sleep(1)
好的,这样我们整体的最简易的架构就完成了,我们将两个服务端启动后查看一下结果
那么我们选择FunASR的方式,因为Vosk识别的效果实在是不堪入目,那么我们可以看到语音识别的效果,这里也是成功触发了抓取任务
那么其实这种最终的效果并不是我们想要的,我们希望它能够更智能一点,所以我这里补充了一个最简易的agent智能体,尝试通过介入大模型来帮助我们更好实现效果
我们这里选择qwen大模型,我们登录qwen官网https://bailian.console.aliyun.com/cn-beijing/?spm=5176.29619931.J_SEsSjsNv72yRuRFS2VknO.2.7cf810d7MASOIt&tab=demohouse#/experience/llm
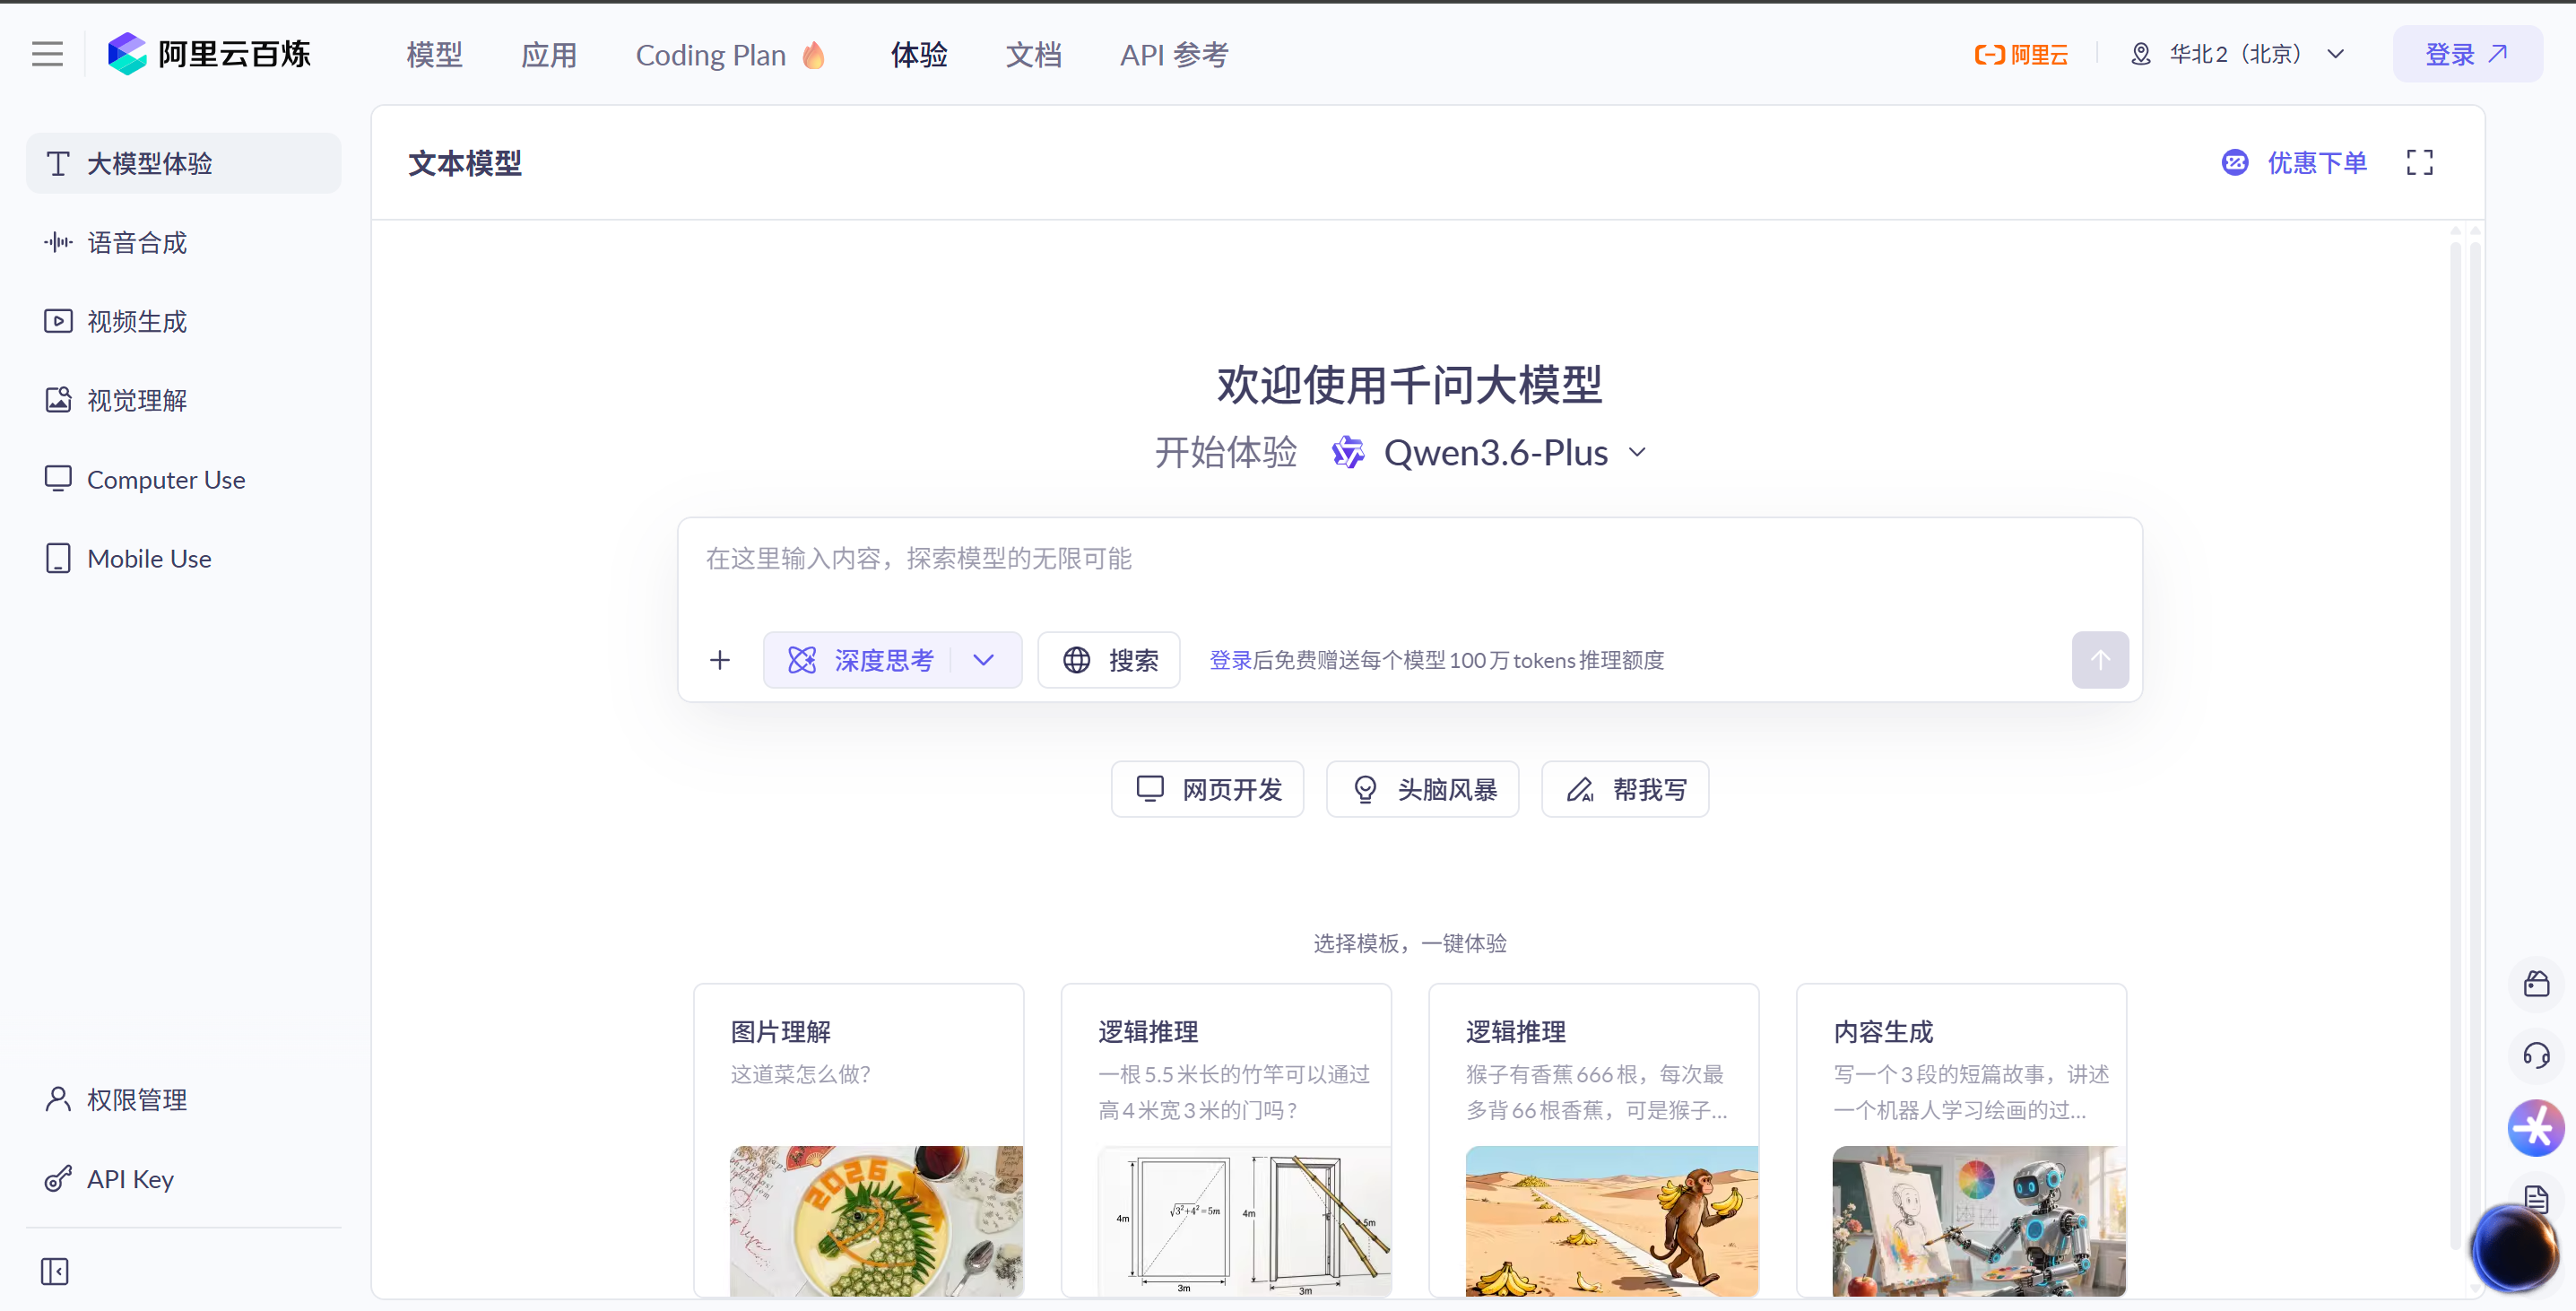
我们选择API Key,生成我们自己的密钥

然后我们设计一下Agent代码
Agent.py
import dashscope
dashscope.api_key = "xxx你自己的API Key"
import json
from dashscope import Generation

# 记忆
memory = []
last_task = None


def agent_parse(text):
    global last_task

    prompt = f"""
你是一个机械臂控制助手。

用户说:{text}

请解析成JSON:
{{
  "cmd": "grasp/reset/open/close/stop/none"
}}

规则:
1. “抓取”“抓起来”“再来一个”“继续” → grasp
2. 无法理解 → none
3. 只返回JSON
"""

    response = Generation.call(
        model="qwen-turbo",
        prompt=prompt
    )

    print("原始返回:", response)

    result = response.output.text.strip()
    print("LLM:", result)

    try:
        data = json.loads(result)
    except:
        return None

    cmd = data.get("cmd")

    # fallback记忆
    if cmd == "none" or cmd is None:
        print("使用上一次任务")
        return last_task

    # 更新记忆
    last_task = data
    memory.append(data)

    return data
总结
当然了,这种效果的提升其实也是微乎其微的,所以权当是一次新鲜的尝试,我也在尝试用一些更为智能的方式,比如近期热度很高的“养龙虾”,确实这种智能体才是我们需要的,才能够让整个的控制变得更有交互感,一旦有了初步成果,我会第一时间给大家进行分享,有兴趣的同学点赞关注一下!

腾讯云面向开发者汇聚海量精品云计算使用和开发经验,营造开放的云计算技术生态圈。
更多推荐
 5
5 0
0- 0


 已为社区贡献2条内容

所有评论(0)