Vue3打包Android Apk 的另一个选择-IonicFramework本地基础使用

将vue 应用打包为apk,除了uniapp,是否还有其他选择,用过uniapp 都知道,它家的生态一切尽在不言中,同时本地不想安装Hbuilderx,在VsCode 进行开发是否也可以,通过互联网查找和AI 问答,找到了ionic framework,官方介绍如下:
Ionic is an open source UI toolkit for building performant, high-quality mobile apps using web technologies — HTML, CSS, and JavaScript — with integrations for popular frameworks like Angular, React, and Vue.
前置安装环境
node
node --version
输出版本号:
v22.22.0
npm
npm --version
输出版本号:
10.9.4
git
后续的app 模板会自动创建本地git 仓库。
git --version
输出版本号:
git version 2.23.0.windows.1
安装客户端
全局安装。
npm install -g @ionic/cli
耐心等待一会,输出如下。
added 208 packages in 1m
查看是否安装成功。
whereis ionic
输出类似如下,表示安装成功。
ionic: /d/nvm/v22.22.0/ionic /d/nvm/v22.22.0/ionic.cmd /d/nvm/v22.22.0/ionic.ps1
可查看版本。
ionic --help
输出如下:
   _             _
  (_) ___  _ __ (_) ___
  | |/ _ \| '_ \| |/ __|
  | | (_) | | | | | (__
  |_|\___/|_| |_|_|\___| CLI 7.2.1
cli创建项目
ionic start 命令用于创建 Ionic 应用并自动安装依赖,支持指定应用名、模板、Git 仓库及框架类型,无参数时则通过交互式引导完成设置。通过ionic start --help 查看运行参数。
ionic start --help
输出相关命令,这里过滤掉部分信息。
  ionic start - Create a new project
  Usage:
    $ ionic start <name> <template> [options]
  Inputs:
    name ............................ The name of your new project (e.g. myApp, "My App")
    template ........................ The starter template to use (e.g. blank, tabs; use --list to see all)
  Options:
    --list, -l ...................... List available starter templates
    --type=<type> ................... Type of project to start (e.g. vue, angular, angular-standalone, react)
    --cordova ....................... (deprecated) Include Cordova integration
    --capacitor ..................... Include Capacitor integration
    --id=<id> ....................... Specify an Ionic App ID to link
  Advanced Options:
    --no-deps ....................... Do not install npm/yarn dependencies
    --no-git ........................ Do not initialize a git repo
    --link .......................... Connect your new app to Ionic
    --project-id=<slug> ............. Specify a slug for your app (used for the directory name and package name)
    --package-id=<id> ............... Specify the bundle ID/application ID for your app (reverse-DNS notation)
  Examples:

    $ ionic start
    $ ionic start --list
    $ ionic start myApp
    $ ionic start myApp blank
    $ ionic start myApp tabs --capacitor
    $ ionic start myApp list --type=vue
    $ ionic start "My App" blank
    $ ionic start "Conference App" https://github.com/ionic-team/ionic-conference-app
其中查看模板使用--list/-l。
ionic start template -l
输出结果如下。
Starters for @ionic/vue (--type=vue)
name     | description
-----------------------------------------------------------------------------
tabs     | A starting project with a simple tabbed interface
sidemenu | A starting project with a side menu with navigation in the content area
blank    | A blank starter project
list     | A starting project with a list

Starters for @ionic/angular (--type=angular)
name         | description
-----------------------------------------------------------------------------
tabs         | A starting project with a simple tabbed interface
sidemenu     | A starting project with a side menu with navigation in the content area
blank        | A blank starter project
list         | A starting project with a list
my-first-app | A template for the "Build Your First App" tutorial

Starters for angular-standalone (--type=angular-standalone)
name         | description
-----------------------------------------------------------------------------
tabs         | A starting project with a simple tabbed interface
sidemenu     | A starting project with a side menu with navigation in the content area
blank        | A blank starter project
list         | A starting project with a list
my-first-app | A template for the "Build Your First App" tutorial

Starters for @ionic/react (--type=react)
name         | description
-----------------------------------------------------------------------------
blank        | A blank starter project
list         | A starting project with a list
my-first-app | A template for the "Build Your First App" tutorial
sidemenu     | A starting project with a side menu with navigation in the content area
tabs         | A starting project with a simple tabbed interface
运行当前项目
运行项目使用ionic serve 命令,可查看具体细节。
ionic serve --help
输出命令说明如下:
Usage:
    $ ionic serve [options]
  Options:
    --external ...................... Host dev server on all network interfaces (i.e. --host=0.0.0.0)
    --no-livereload ................. Do not spin up dev server--just serve files
    --no-open ....................... Do not open a browser window
  Advanced Options:
    --host=<host> ................... Use specific host for the dev server (default: localhost)
    --port=<port>, -p=? ............. Use specific port for the dev server (default: 8100)
    --public-host=<host> ............ The host used for the browser or web view
    --browser=<browser>, -w=? ....... Specifies the browser to use (safari, firefox, chrome)
    --browseroption=<path>, -o=? .... Specifies a path to open to (/#/tab/dash)
  Examples:
    $ ionic serve
    $ ionic serve --external
其中--external 监听当前主机所有ip。
当前运行样例
在本地合适目录,打开命令行控制窗口,使用vue并且模板官方自带使用tabs。创建项目命令如下。
ionic start qrcodeapp tabs --type=vue
初次下载需要等待,需要下载对应依赖,创建过程中会提示是否创建免费的社区账户,可以输入y,也可以输入N,这对项目创建没有任何影响,该项目本身就是Apache 2.0 开源协议,全看读者的兴趣,虽然选择y会打开浏览器跳转到注册页面,但命令行输出正常输出并配置完成。
√ Preparing directory .\qrcodeapp in 2.02ms
√ Downloading and extracting tabs starter in 1.37s
> ionic integrations enable capacitor --quiet -- qrcodeapp io.ionic.starter
> npm.cmd i --save -E @capacitor/core@lates
> git.exe init
Initialized empty Git repository in /qrcodeapp/.git/
? Create free Ionic account? Yes
> git.exe add -A
warning: LF will be replaced by CRLF in tests/e2e/support/commands.ts.
The file will have its original line endings in your working directory
> git.exe commit -m "Initial commit" --no-gpg-sign
Your Ionic app is ready! Follow these next steps:
- Go to your new project: cd .\qrcodeapp
- Run ionic serve within the app directory to see your app in the browser
- Run ionic capacitor add to add a native iOS or Android project using Capacitor
- Generate your app icon and splash screens using cordova-res --skip-config --copy
- Explore the Ionic docs for components, tutorials, and more: https://ion.link/docs
- Building an enterprise app? Ionic has Enterprise Support and Features: https://ion.link/enterprise-edition
其中需要注意的是,脚本会自动创建git 本地仓库,输出提示中会提示LF will be replaced by CRLF 实际是脚本应该是以Linux 系统为蓝本,建议VsCode 打开后,看到git 中大量文件变更提示不用惊讶,撤销回滚就行。
下载完成后,按照末尾输出提示,切换到项目目录。
cd .\qrcodeapp
运行项目。
ionic serve
输出如下,可以看到实际使用的是vite,同时跳转到浏览器,该页面基于模板能够正常访问。
> vite.cmd --host=localhost --port=8100
[vite]   ➜  Local:   http://localhost:8100/
[vite]   ➜  press h + enter to show help
[INFO] Development server running!
       Local: http://localhost:8100
       Use Ctrl+C to quit this process
[INFO] Browser window opened to http://localhost:8100!
使用F12 打开开发者工具,切换到设备仿真模式,效果如下。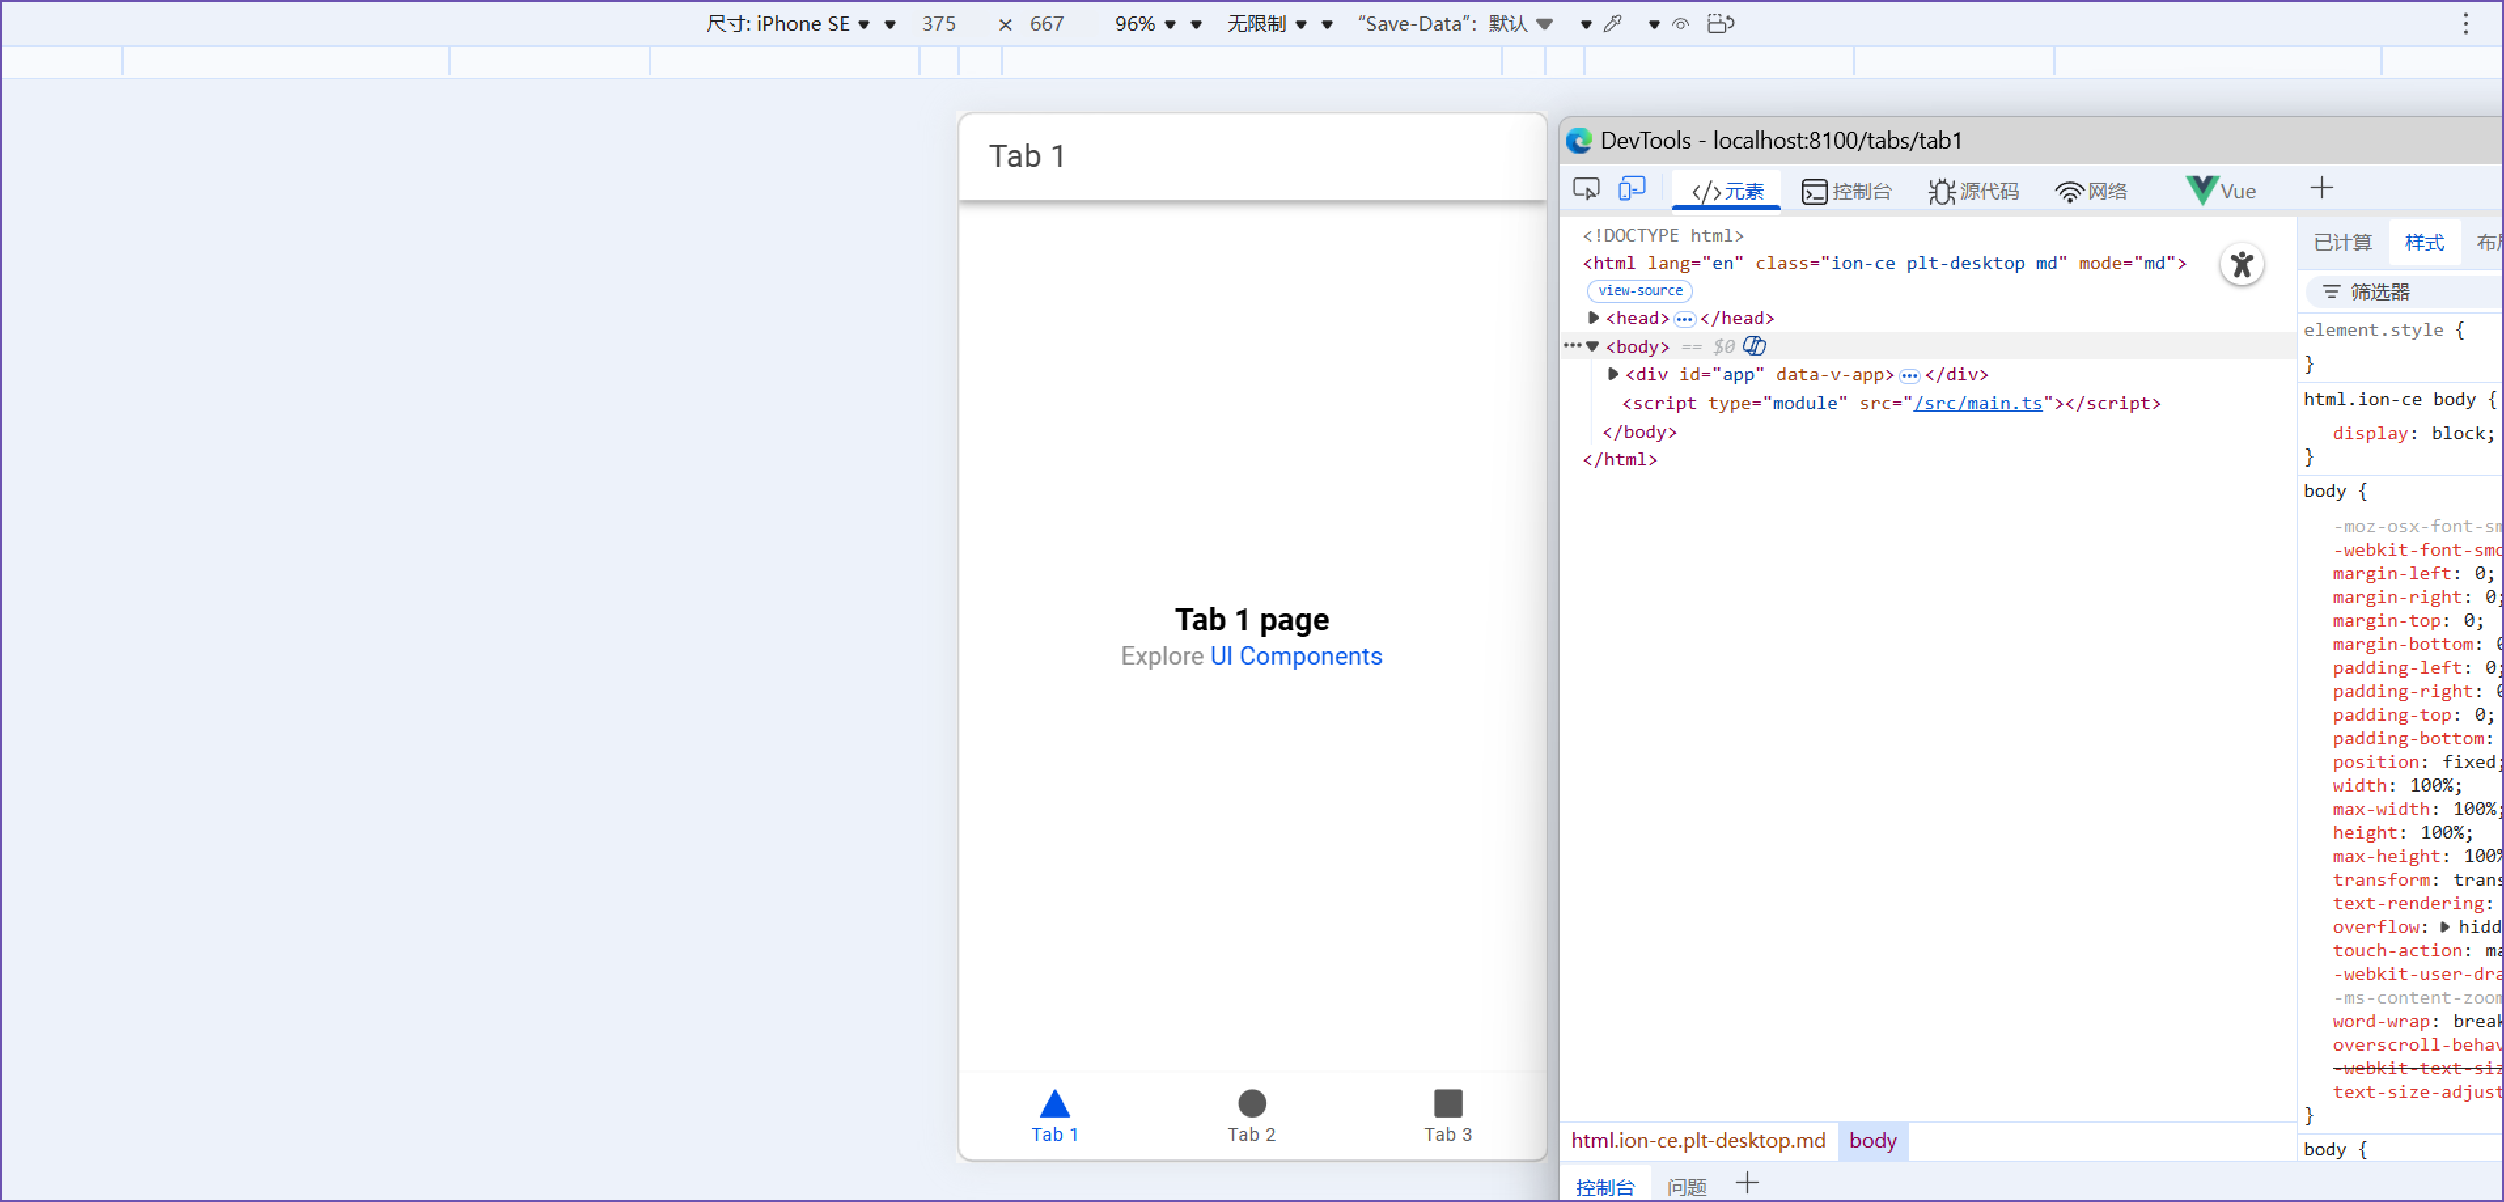
使用VsCode 打开项目源码,目录结构如下: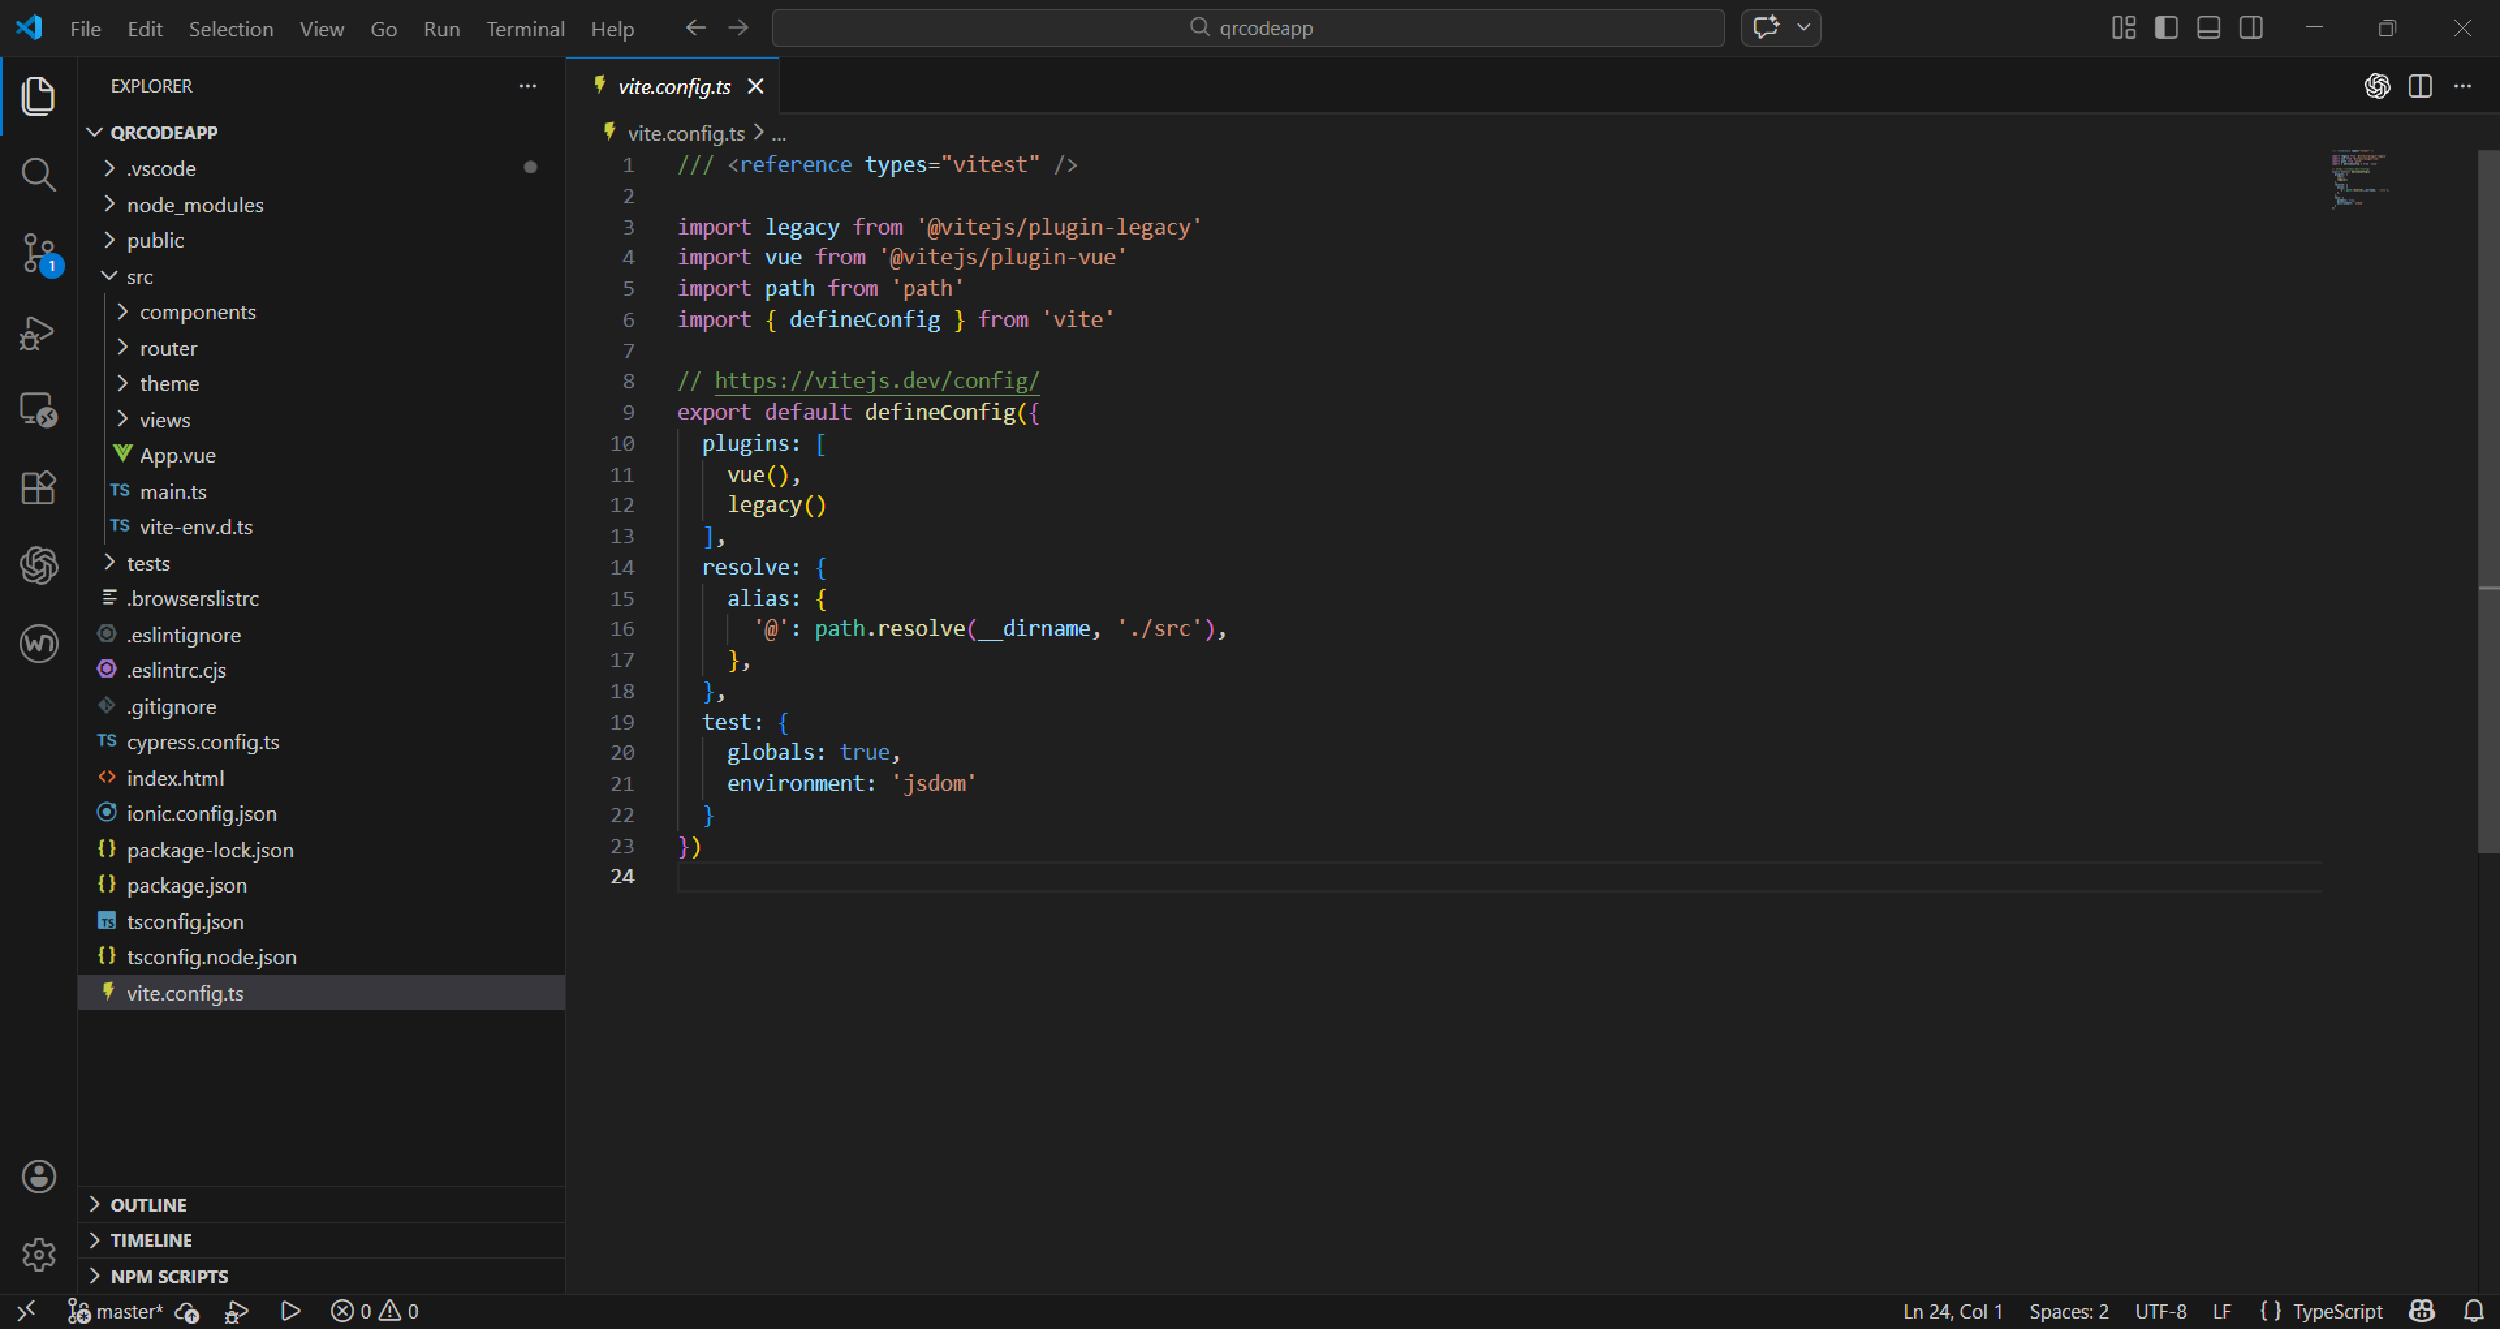
安装官方插件
官方提供了VsCode插件,可以在各个环节减少去硬记命令行,使用插件提供的相关功能进行项目开发和调试。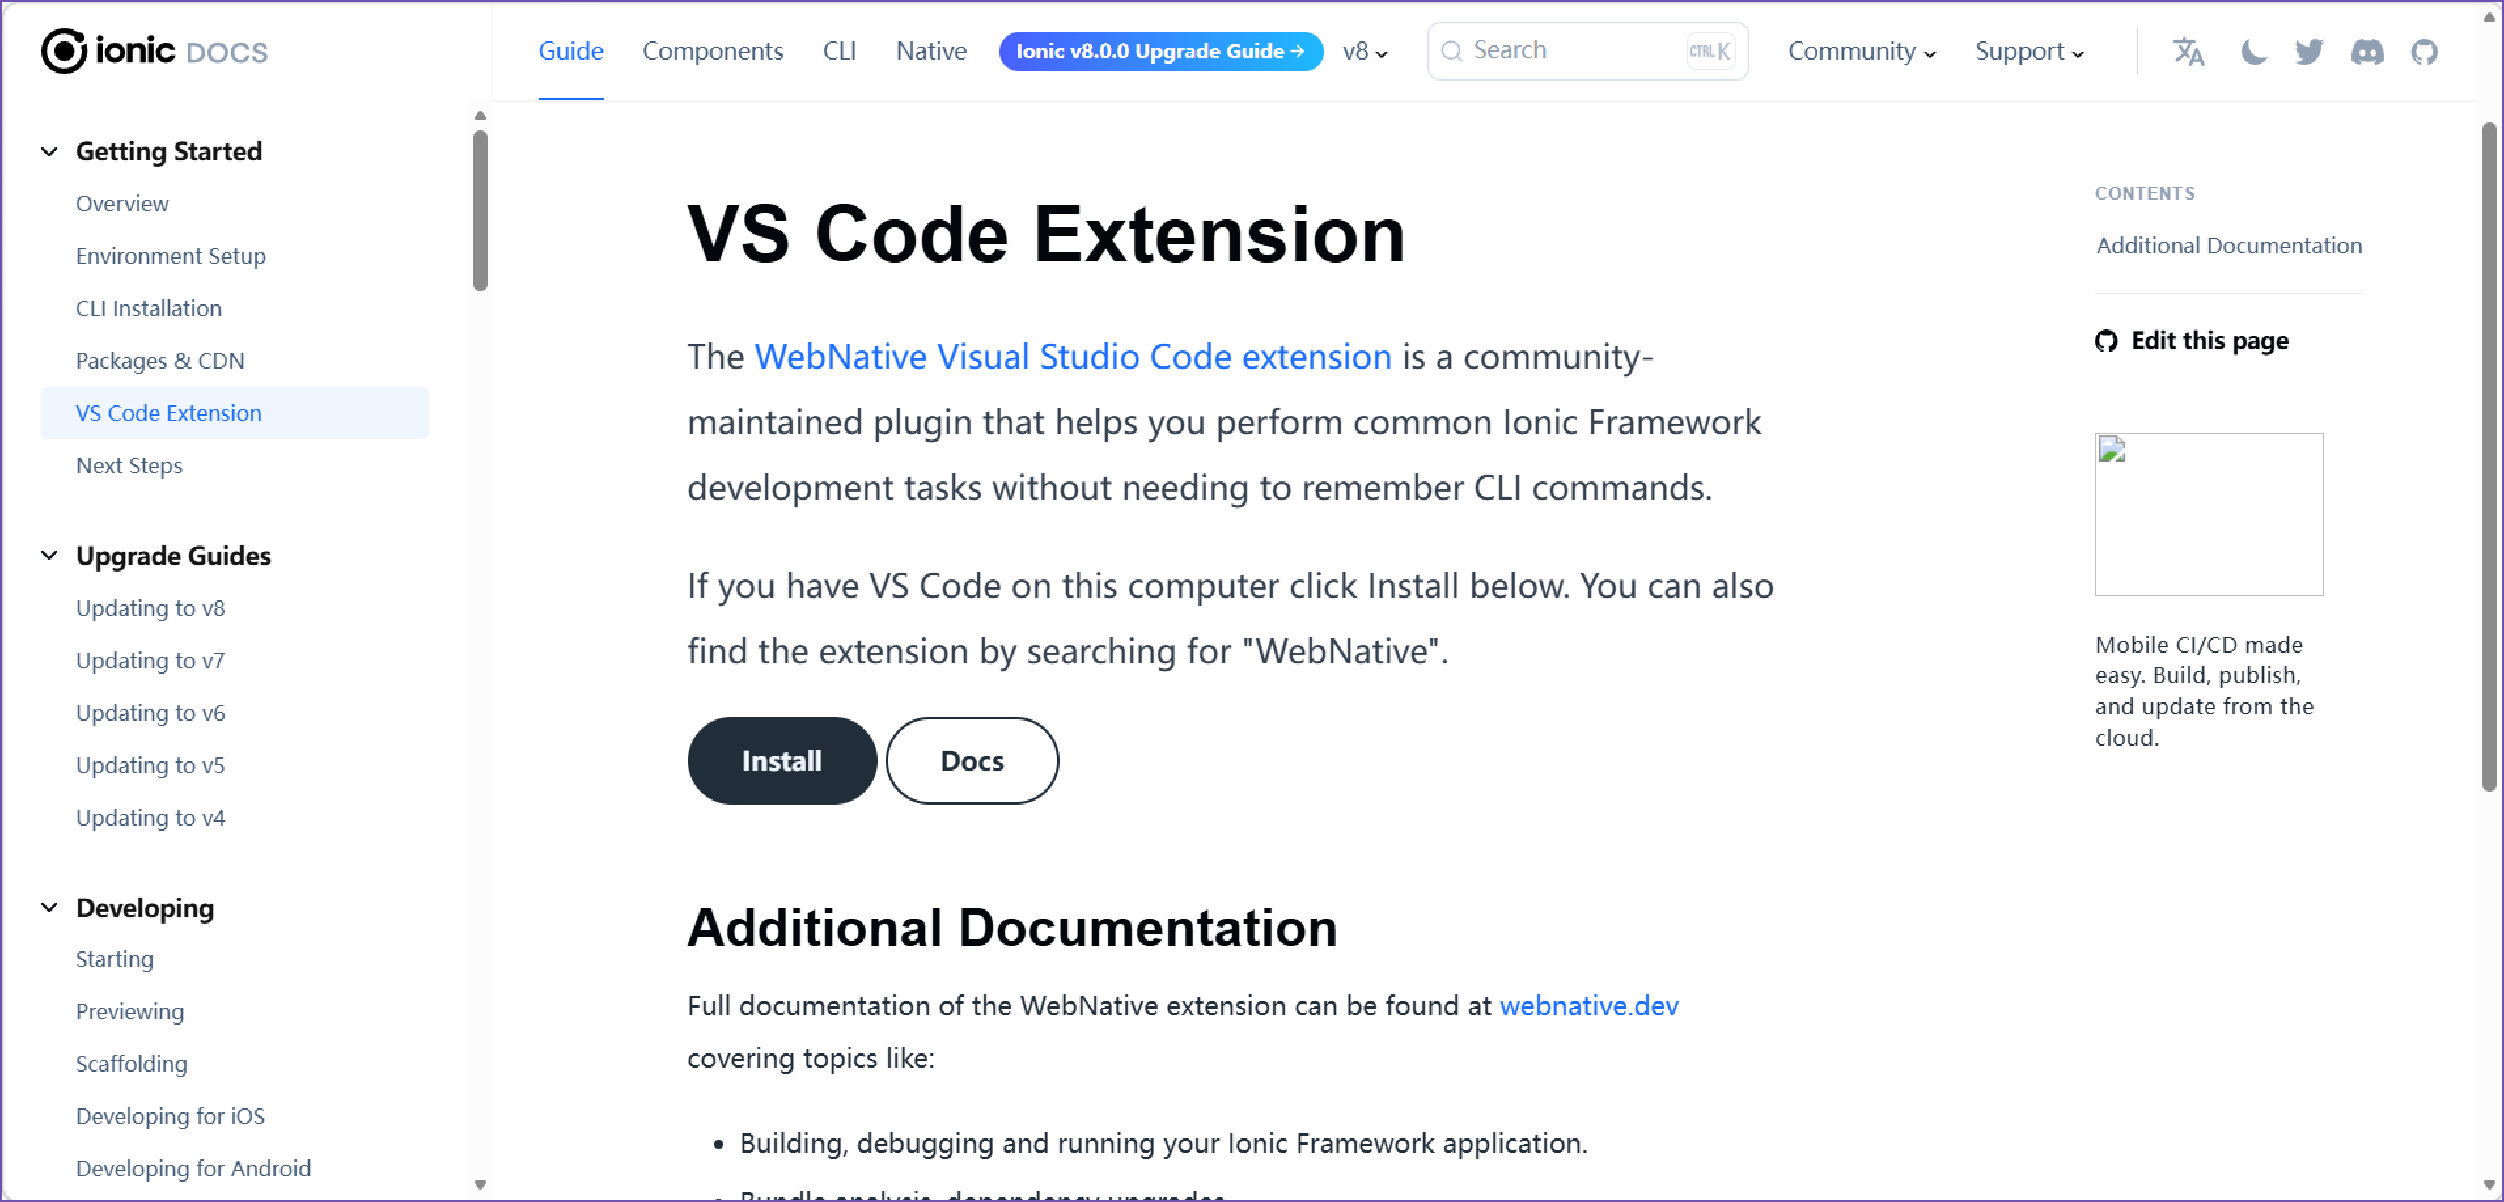
如果是本地安装,可以直接点击教程页面中的Install 按钮,将自动调用本地VsCode 跳转到插件WebNative 下载页面,也可以插件筛选中输入WebNative 进行下载。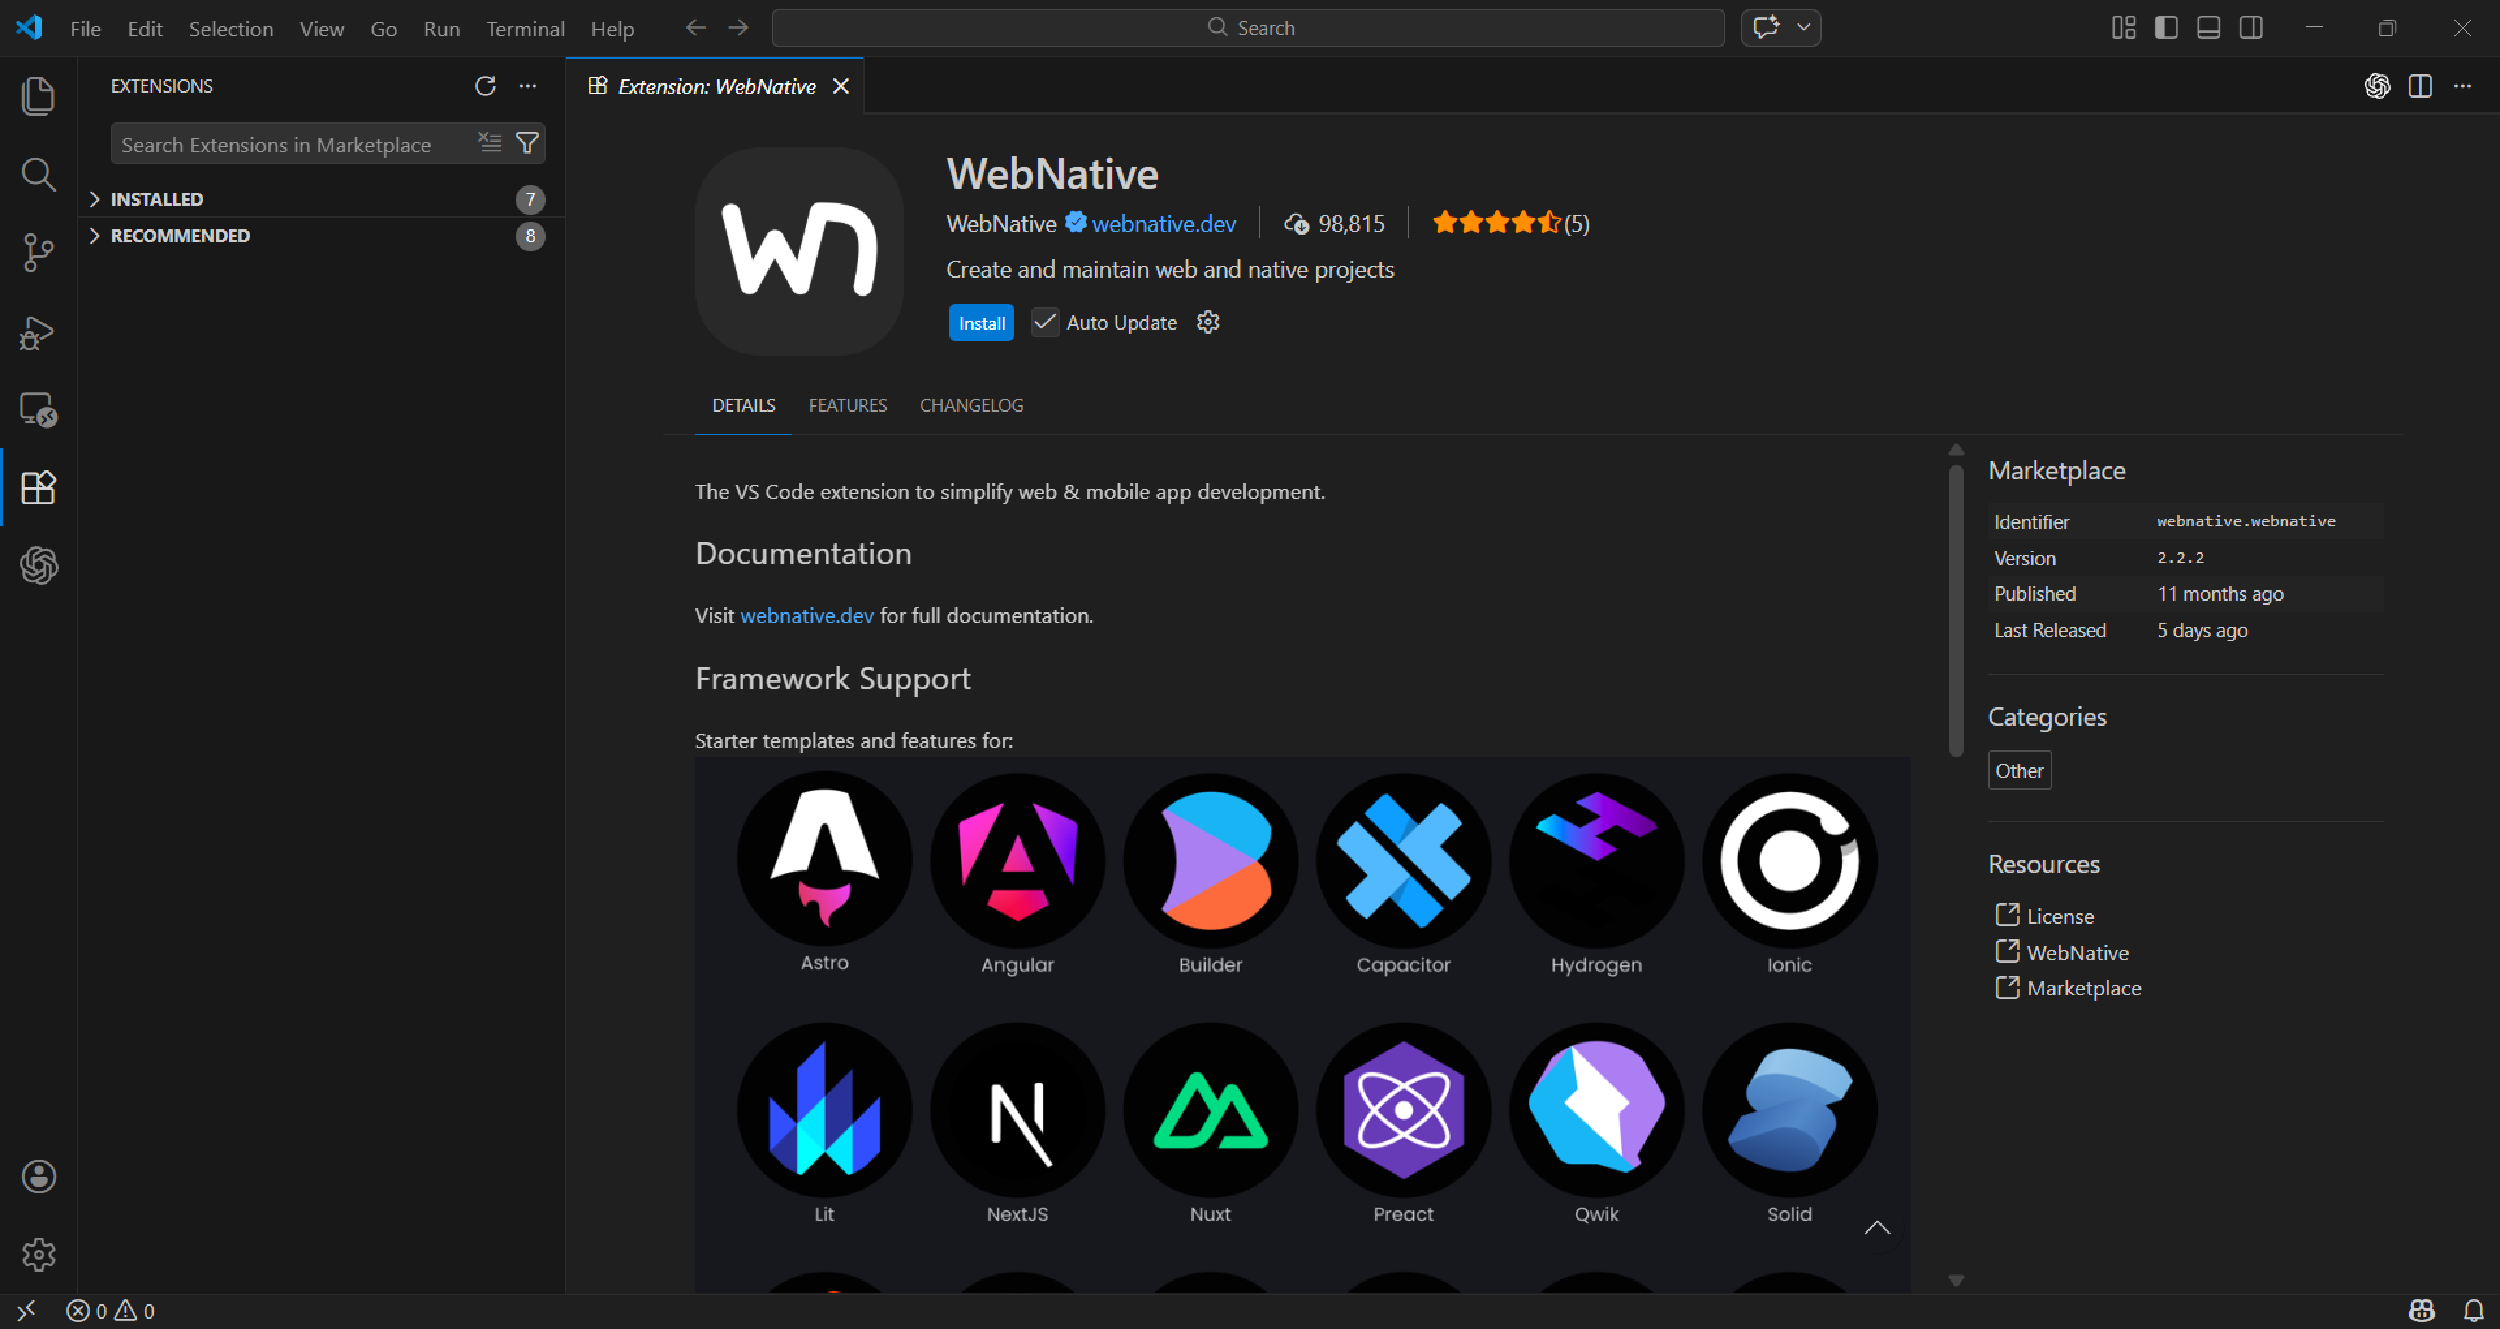
下载安装成功后,左侧功能菜单中将出现对应菜单栏。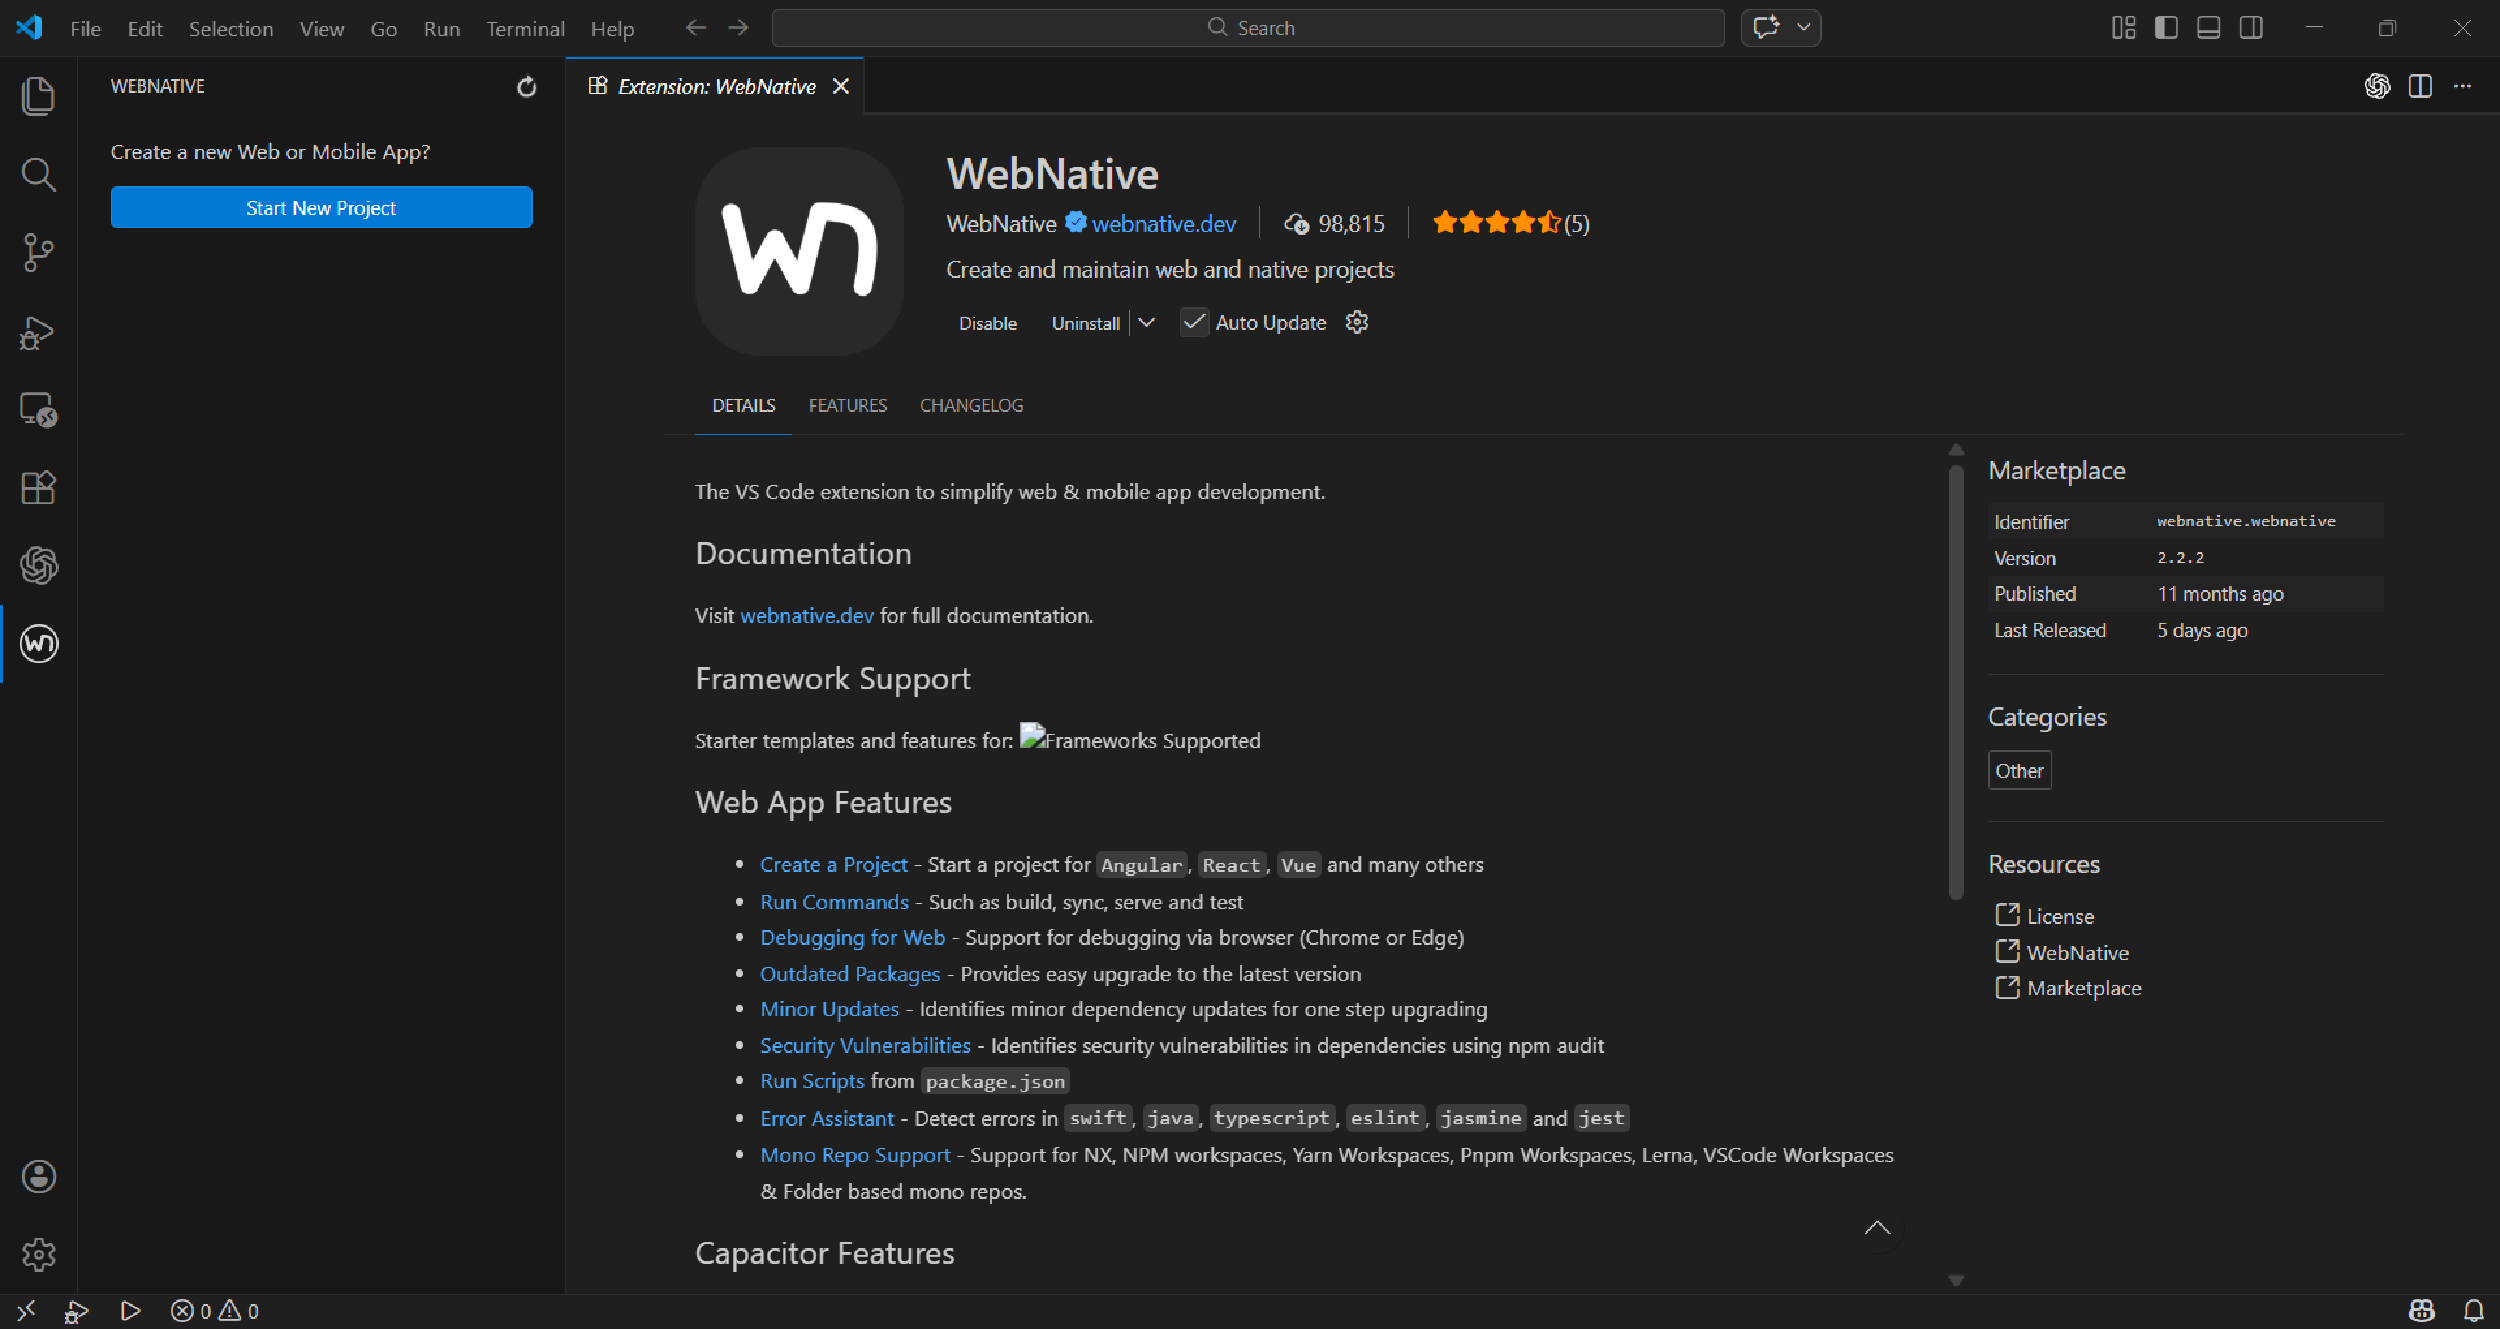
VsCode开发
加载项目
打开上文中的qrcodeapp,插件中能够自动识别初对应配置,其中比较常用的就是运行项目,构建项目,同步部署包。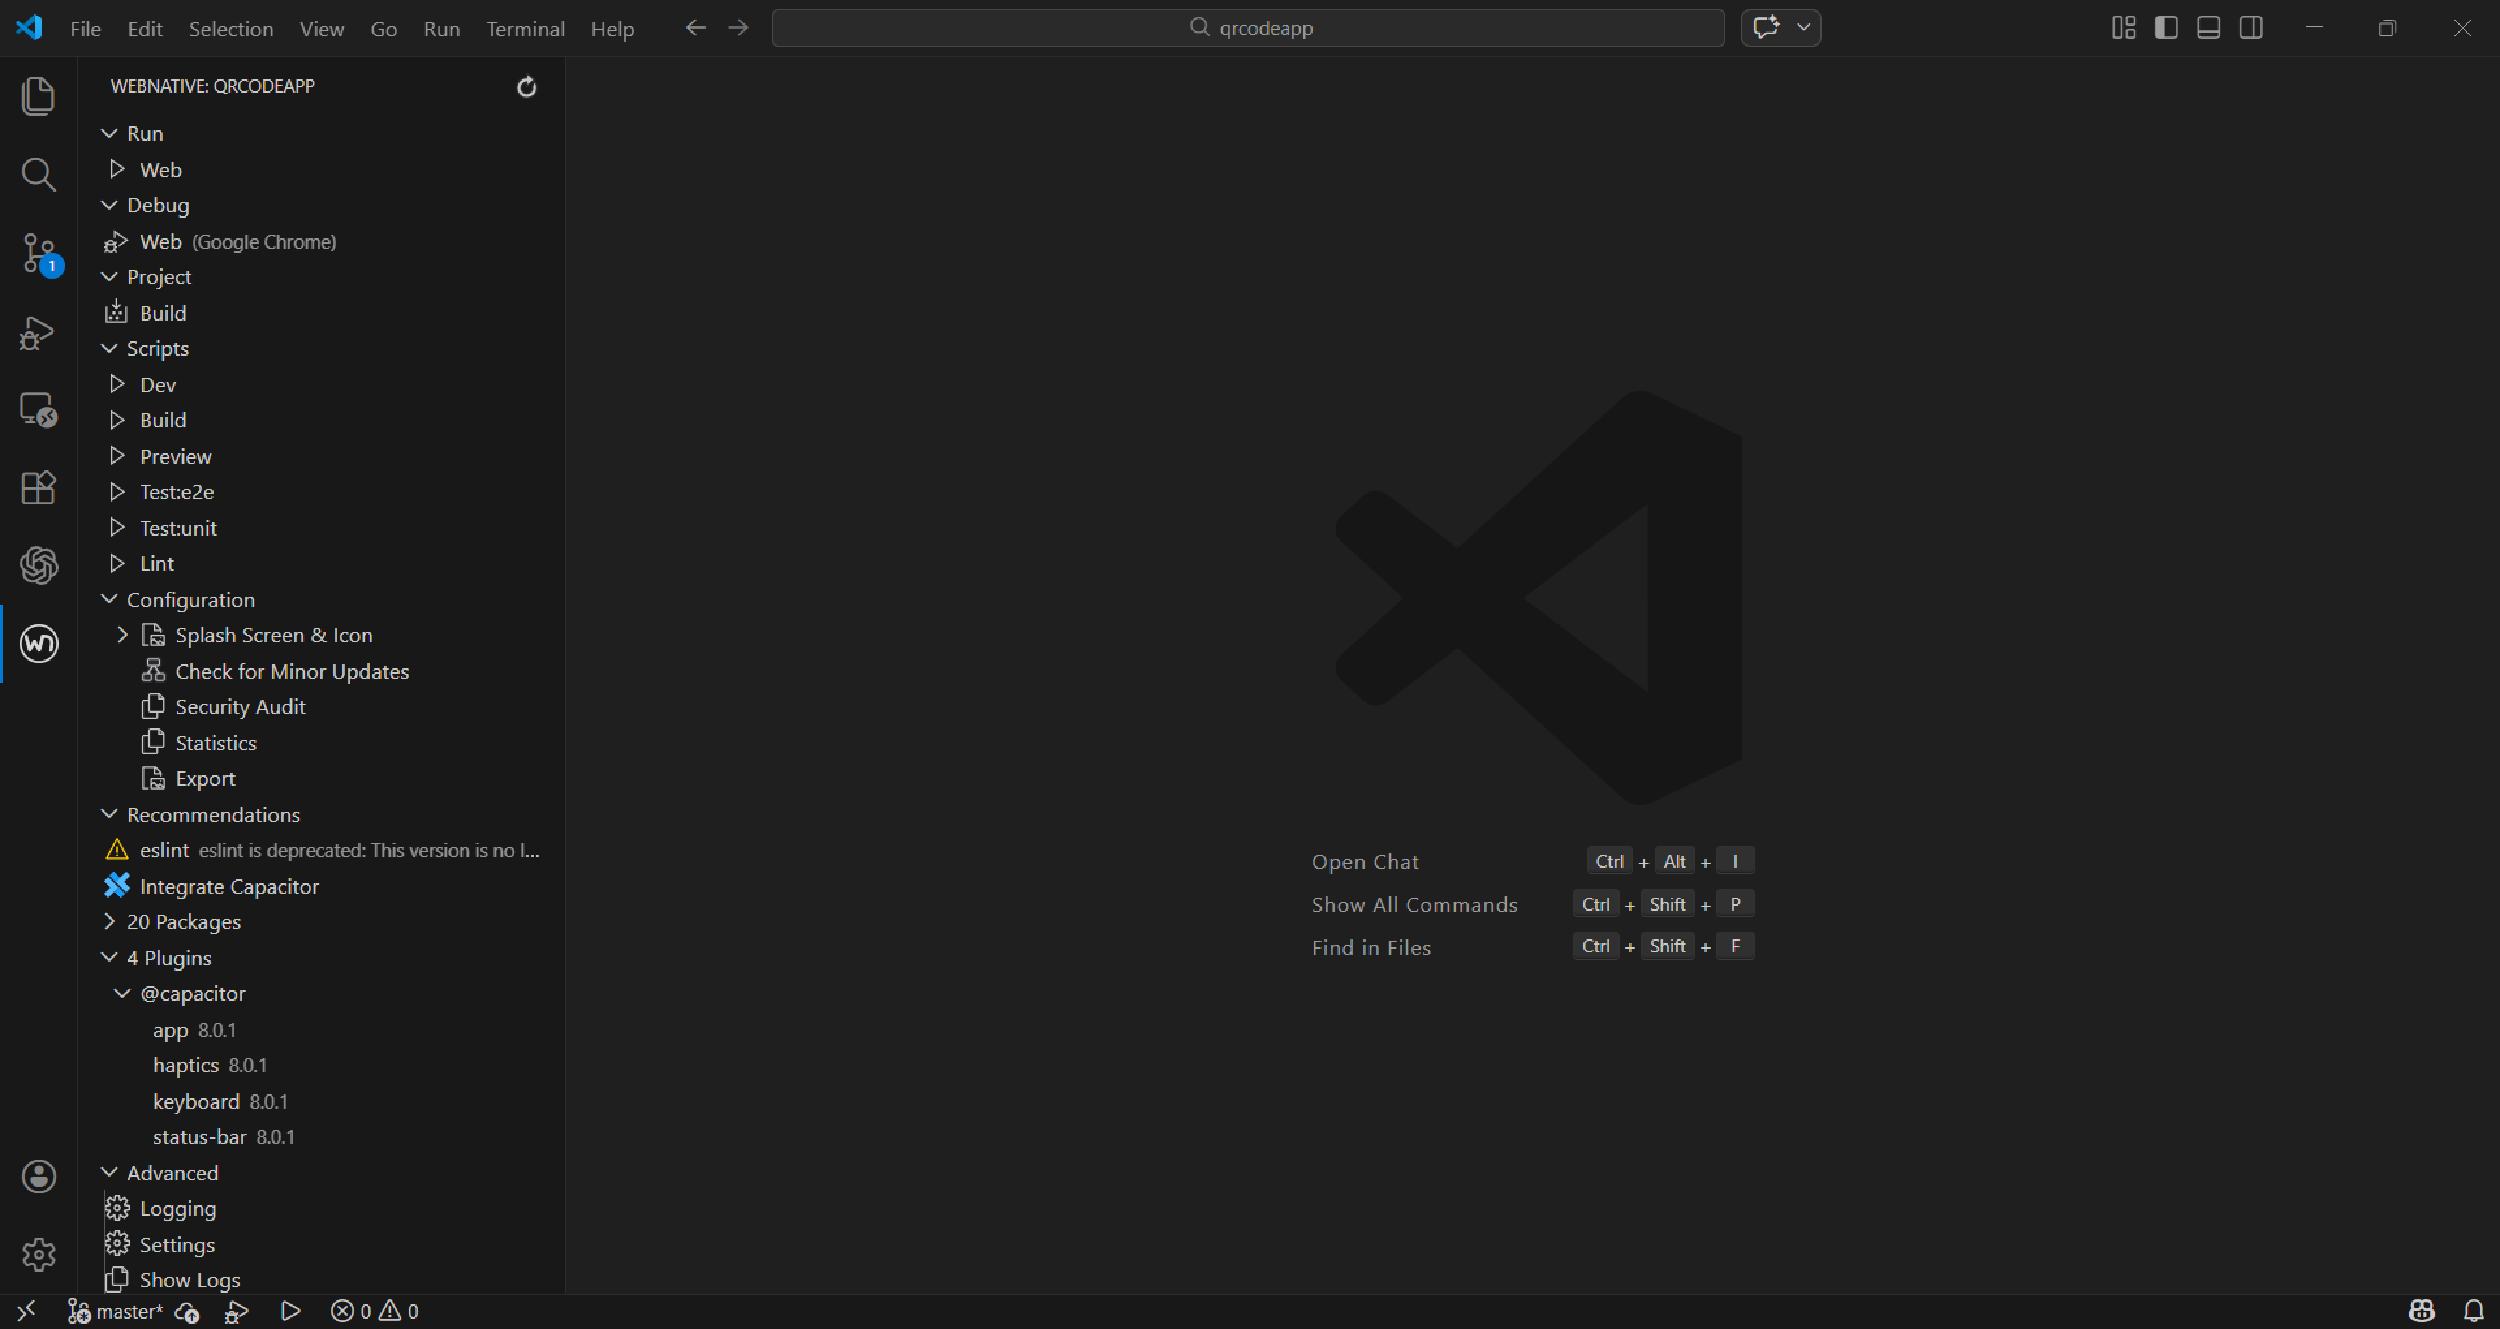
运行项目
点击插件中的Run ,可以看到对应执行逻辑输出,浏览器可以直接行,还支持手机使用Googly play扫码安装官方提供的WebNative app进行设备预览查看和真机调试。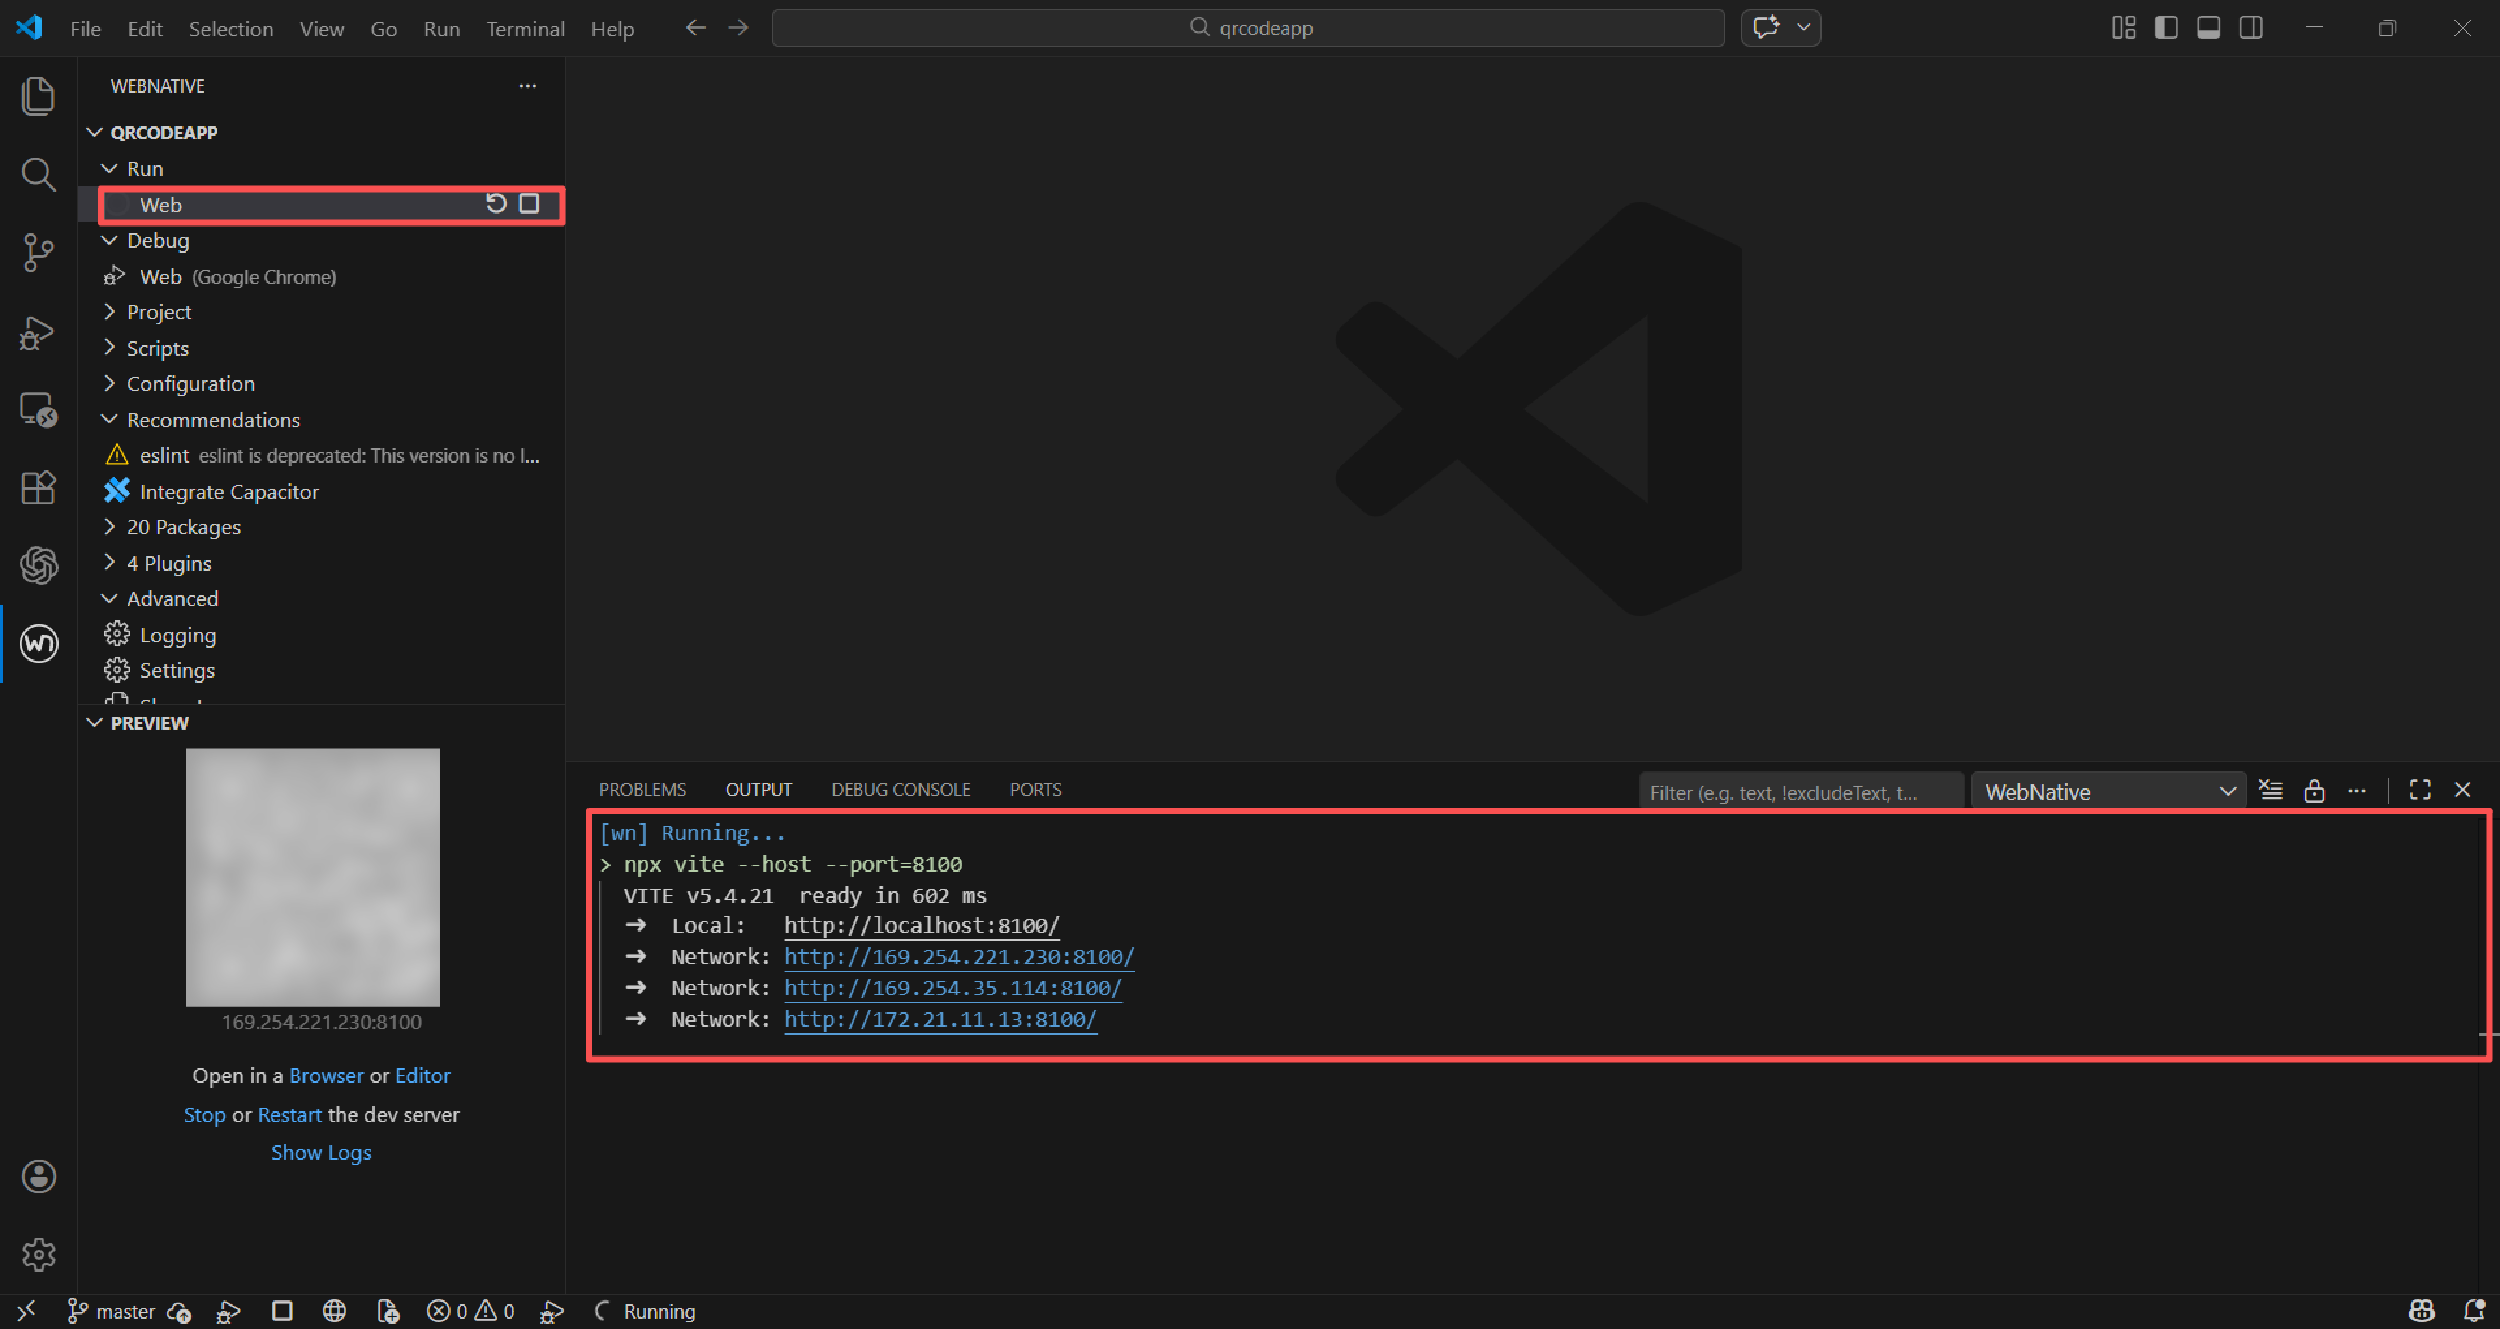
打包当前项目
使用npm script ,打包项目,查看脚本执行为npm build,打包后静态部署包在dist 文件目录中。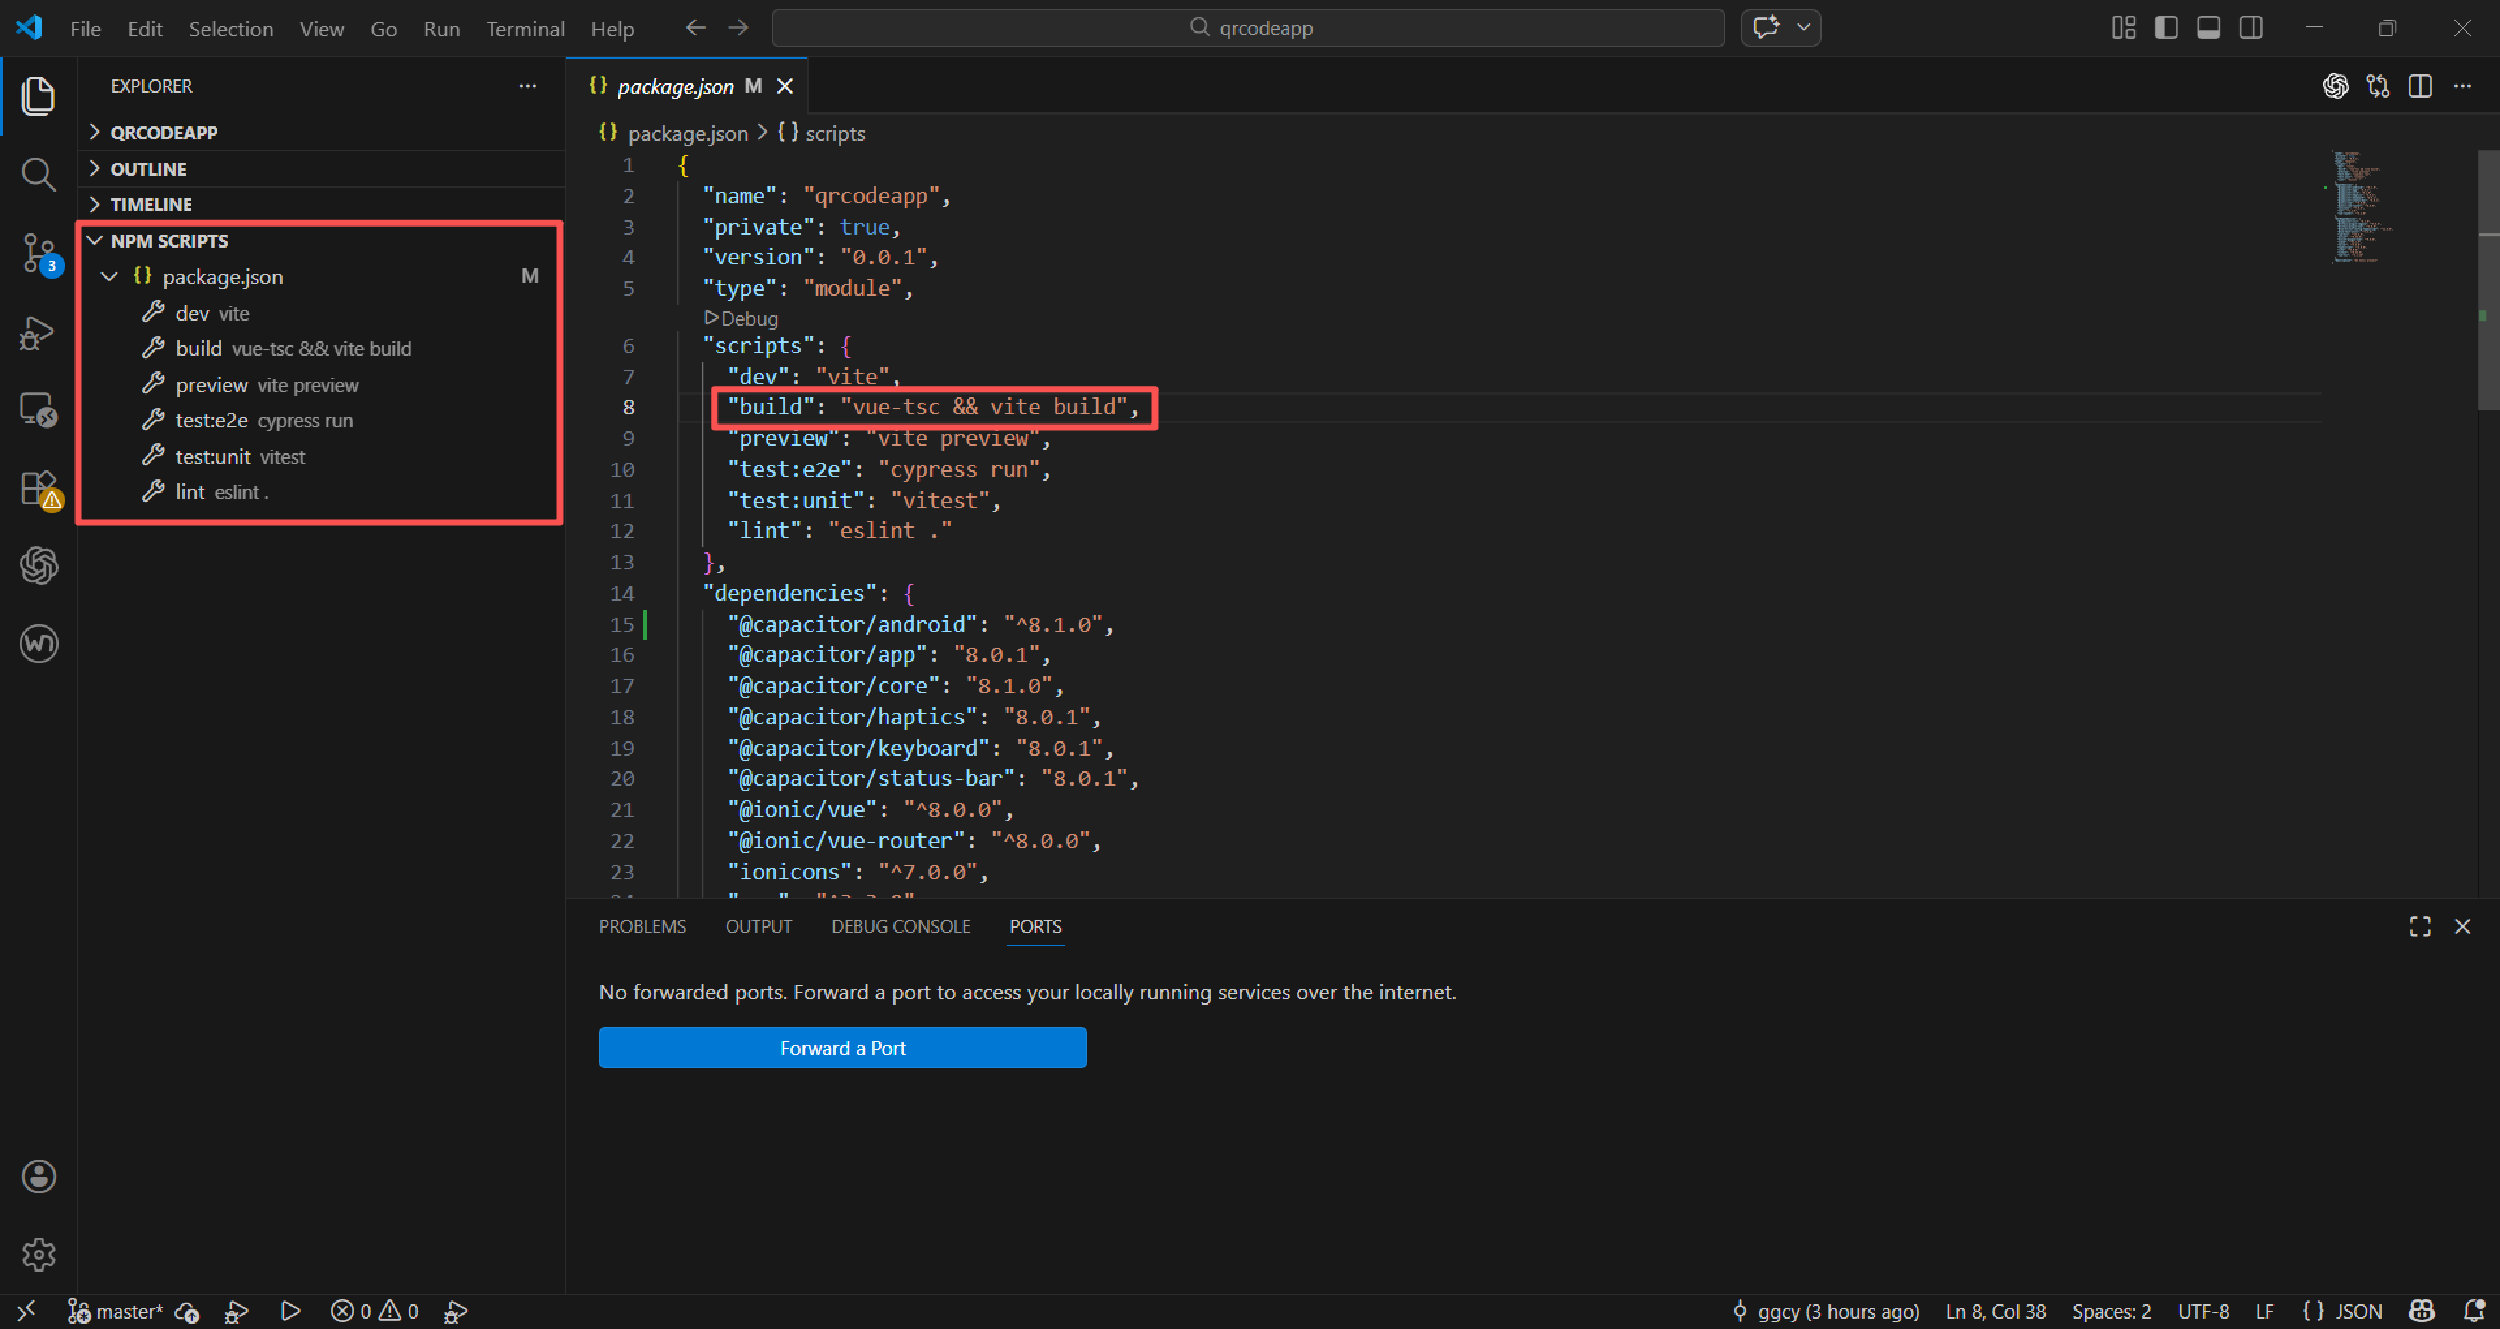
添加打包依赖
打包跨多端,需要使用Capacitor。
方式一
添加打包依赖,针对IOS 和 Android 可以使用命令行,这是只说安装Android 依赖。
npm install @capacitor/android
对应用初始化。
npx cap init
需要进行配置,用于应用初始化配置,如果不希望app 的观测数据采集到线上,可以使用npx cap telemetry off 进行关闭。
[?] What is the name of your app?
    This should be a human-friendly app name, like what you'd see in the App
    Store.
√ Name ... qrcodeapp
[?] What should be the Package ID for your app?
    Package IDs (aka Bundle ID in iOS and Application ID in Android) are unique
    identifiers for apps. They must be in reverse domain name notation,
    generally representing a domain name that you or your company owns.
√ Package ID ... com.qrcode.app
√ Creating capacitor.config.ts in E:\Study\WebNative\qrcodeapp in 2.25ms
[success] capacitor.config.ts created!
Next steps:
https://capacitorjs.com/docs/getting-started#where-to-go-next
[?] Join the Ionic Community! 💙
    Connect with millions of developers on the Ionic Forum and get access to
    live events, news updates, and more.
√ Create free Ionic account? ... no
Thank you for helping improve Capacitor by sharing anonymous usage data! 💖
Information about the data we collect is available on our website: https://capacitorjs.com/docs/next/cli/telemetry
You can disable telemetry at any time by using the npx cap telemetry off com
配置之后,对应会在项目目录生成一个配置文件capacitor.config.ts,这里vue打包目录默认为public,需要修改为dist。
import type { CapacitorConfig } from '@capacitor/cli';
const config: CapacitorConfig = {
  appId: 'com.qrcode.app',
  appName: 'qrcodeapp',
  webDir: 'dist'
};
export default config;
关闭遥测数据采集。
npx cap telemetry off
输出如下:
[success] You have opted out of telemetry on this machine.
为当前项目添加Android 平台支持。
npx cap add android
正常输出如下:
√ Adding native android project in android in 117.38ms
√ add in 117.95ms
√ Copying web assets from dist to android\app\src\main\assets\public in 19.07ms
√ Creating capacitor.config.json in android\app\src\main\assets in 716.90μs
√ copy android in 45.58ms
√ Updating Android plugins in 5.20ms
[info] Found 4 Capacitor plugins for android:
       @capacitor/app@8.0.1
       @capacitor/haptics@8.0.1
       @capacitor/keyboard@8.0.1
       @capacitor/status-bar@8.0.1
√ update android in 65.77ms
√ Syncing Gradle in 554.50μs
[success] android platform added!
Follow the Developer Workflow guide to get building:
https://capacitorjs.com/docs/basics/workflow
方式二
直接使用插件,进行插件进行安装。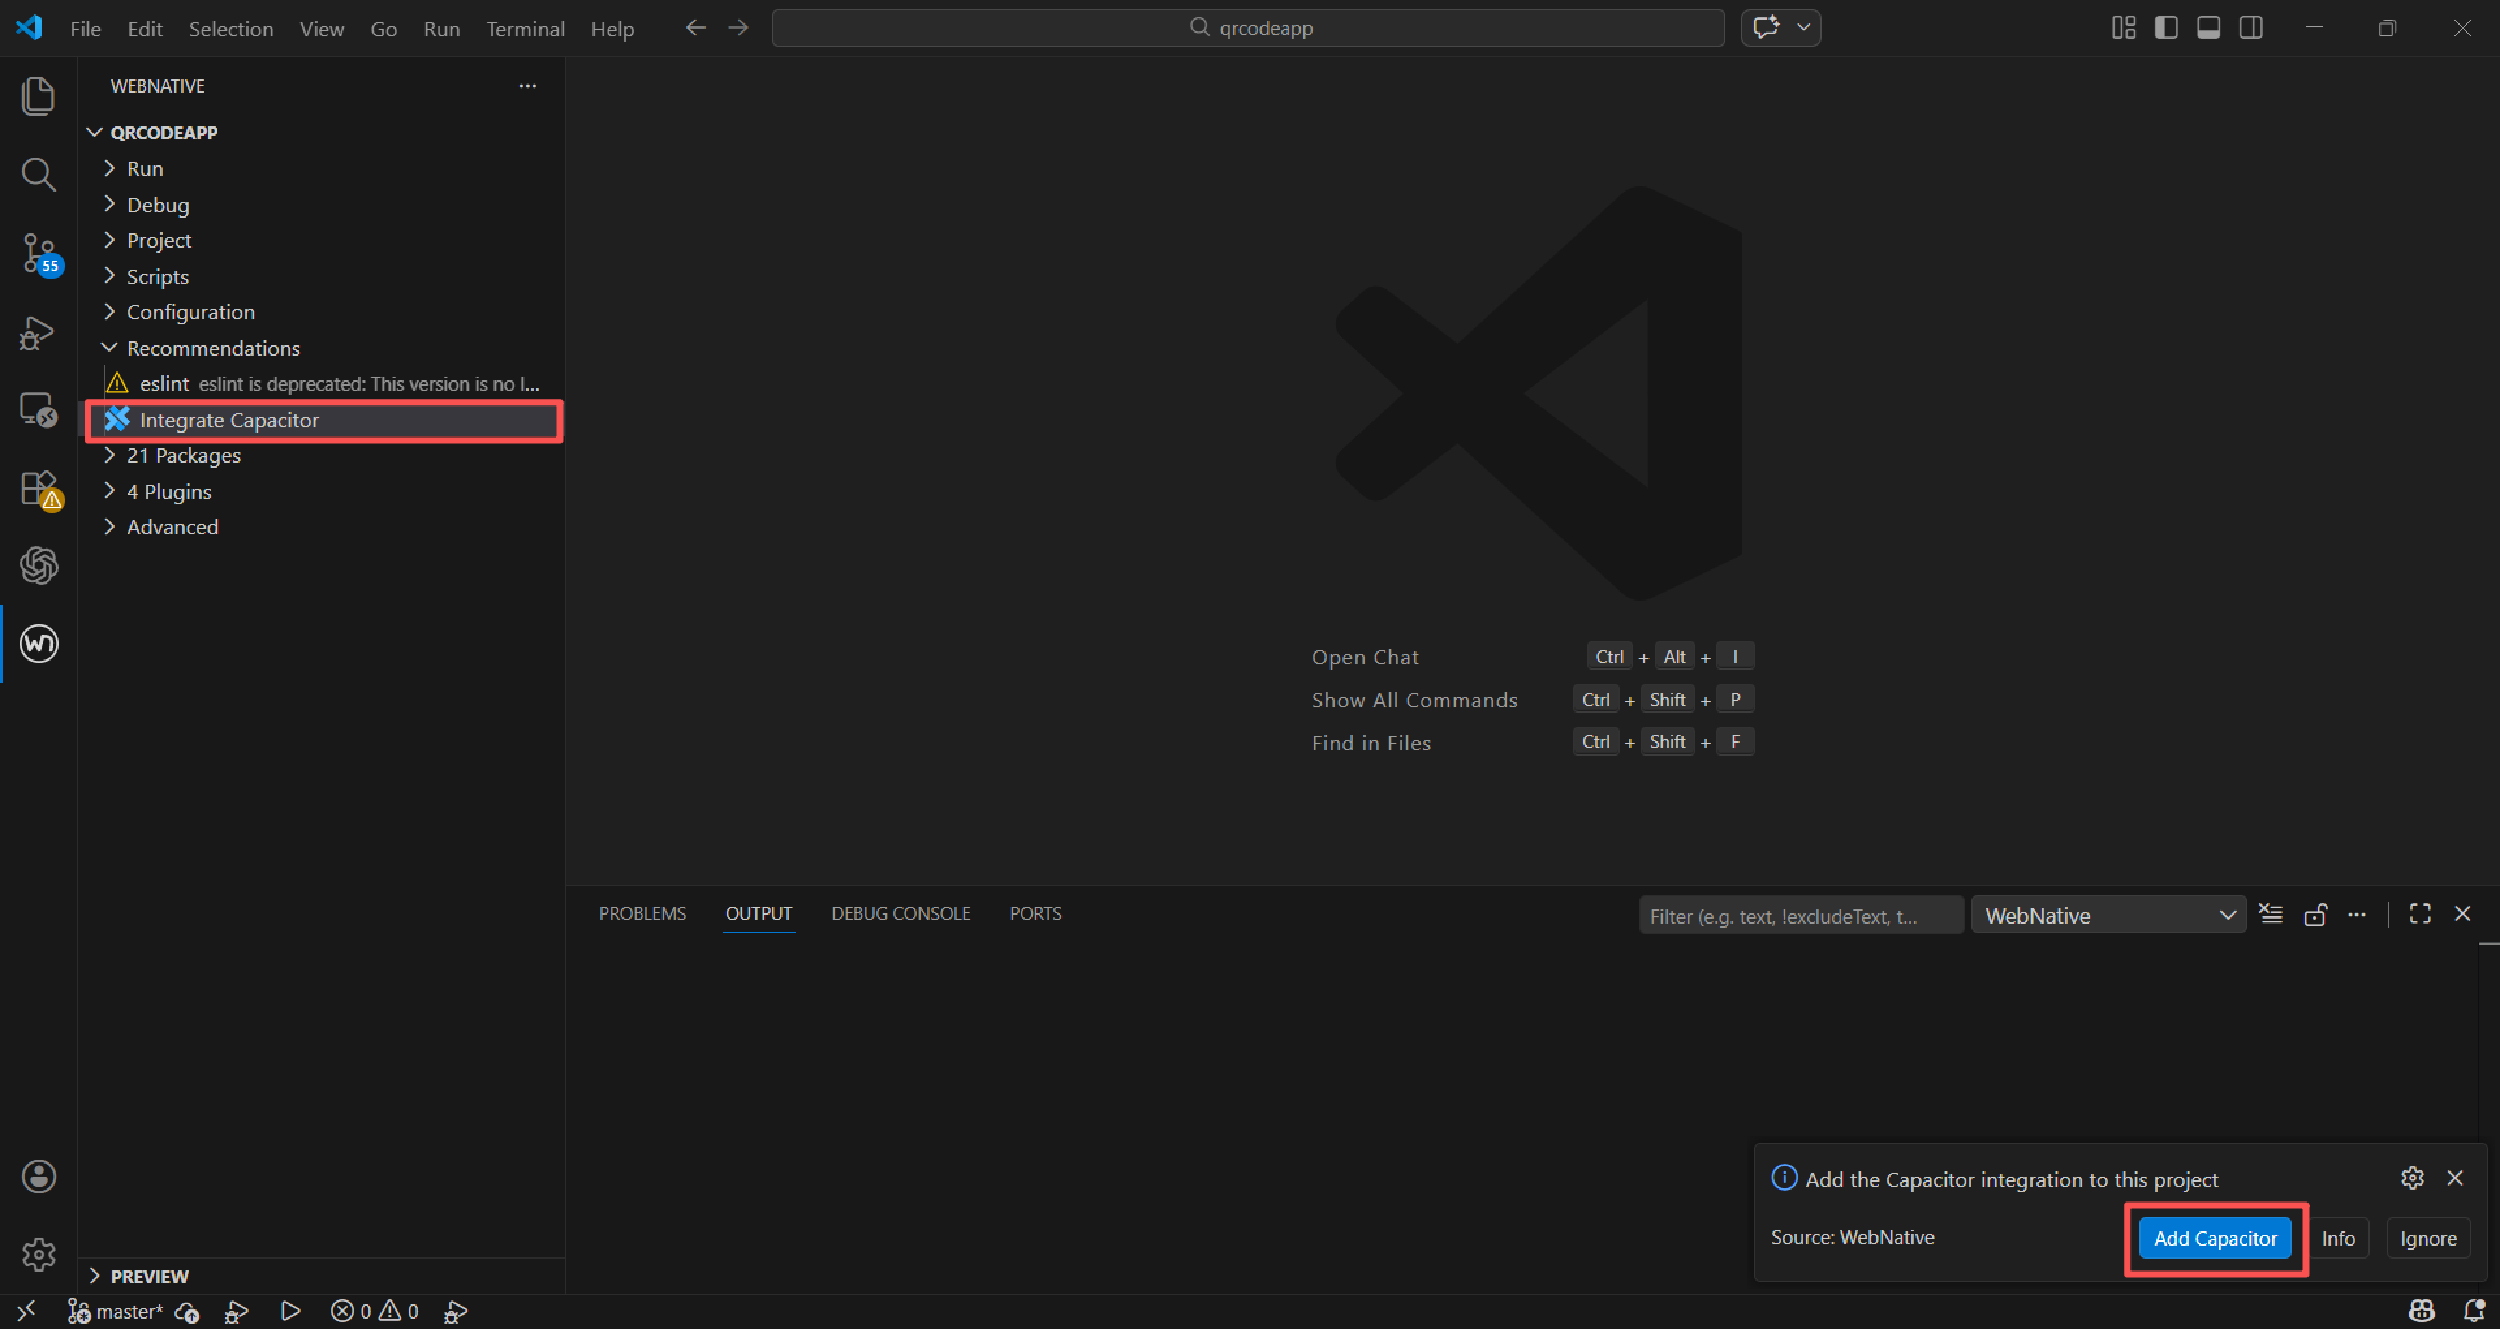
依赖下载完成。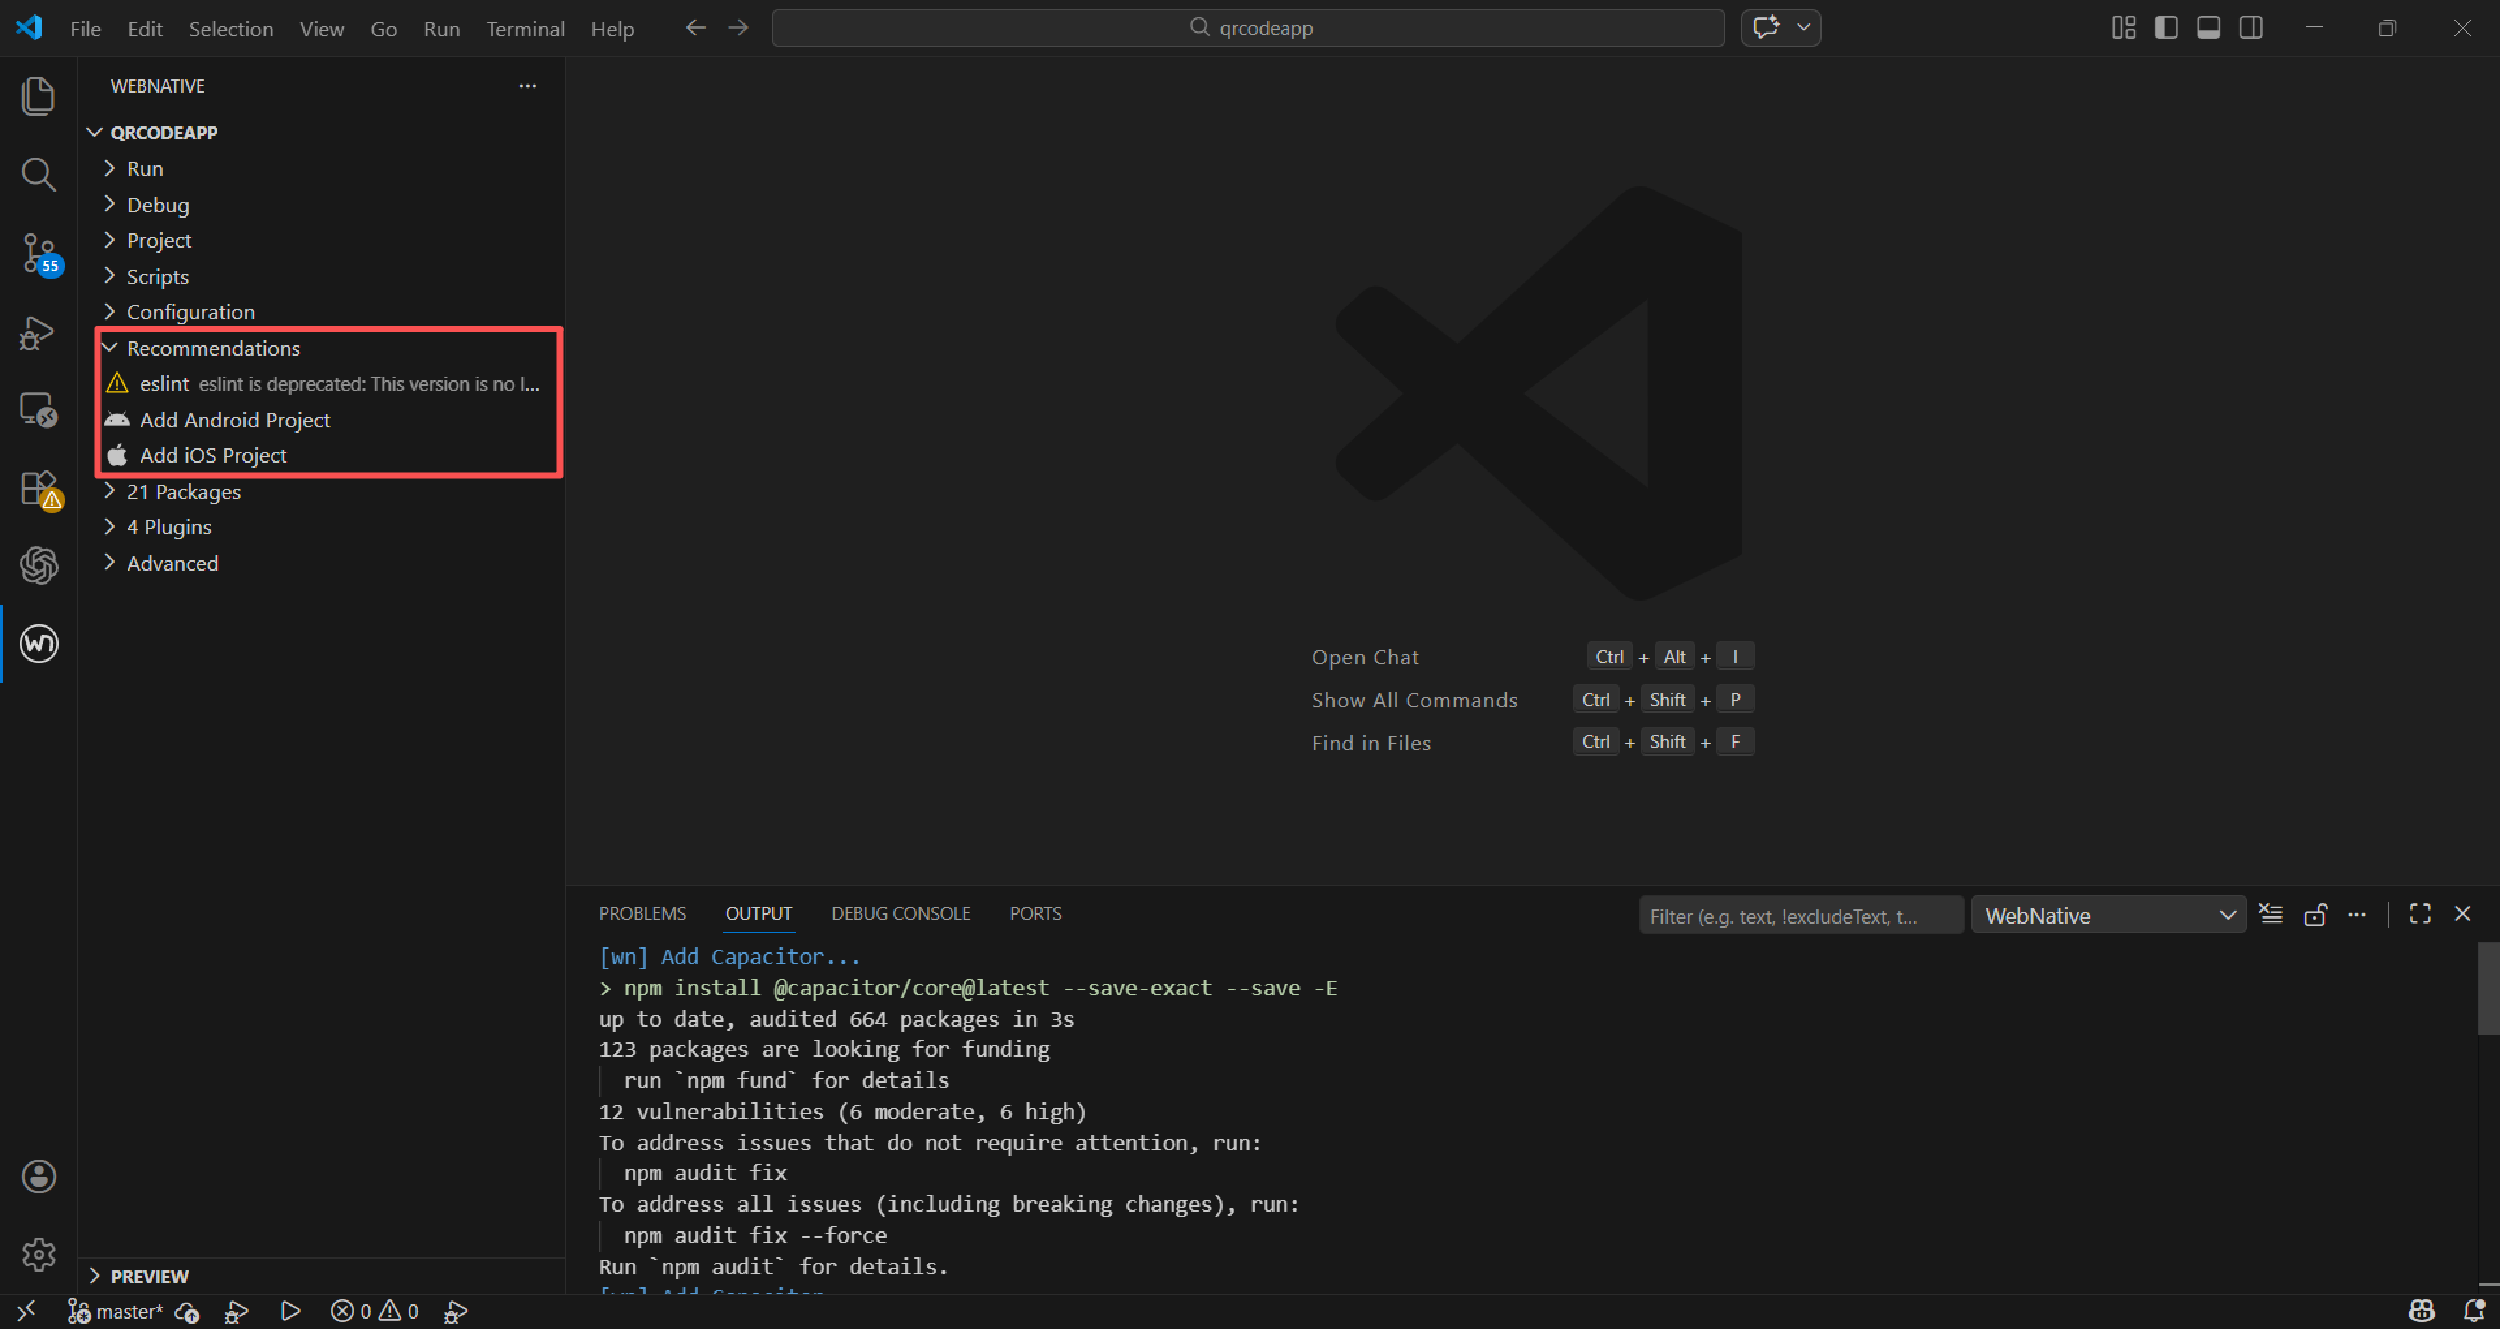
修改当前项目配置capacitor.config.ts。
import type { CapacitorConfig } from '@capacitor/cli';
const config: CapacitorConfig = {
  appId: 'com.qrcode.app',
  appName: 'qrcodeapp',
  webDir: 'dist'
};
export default config;
为项目添加Android 模板配置。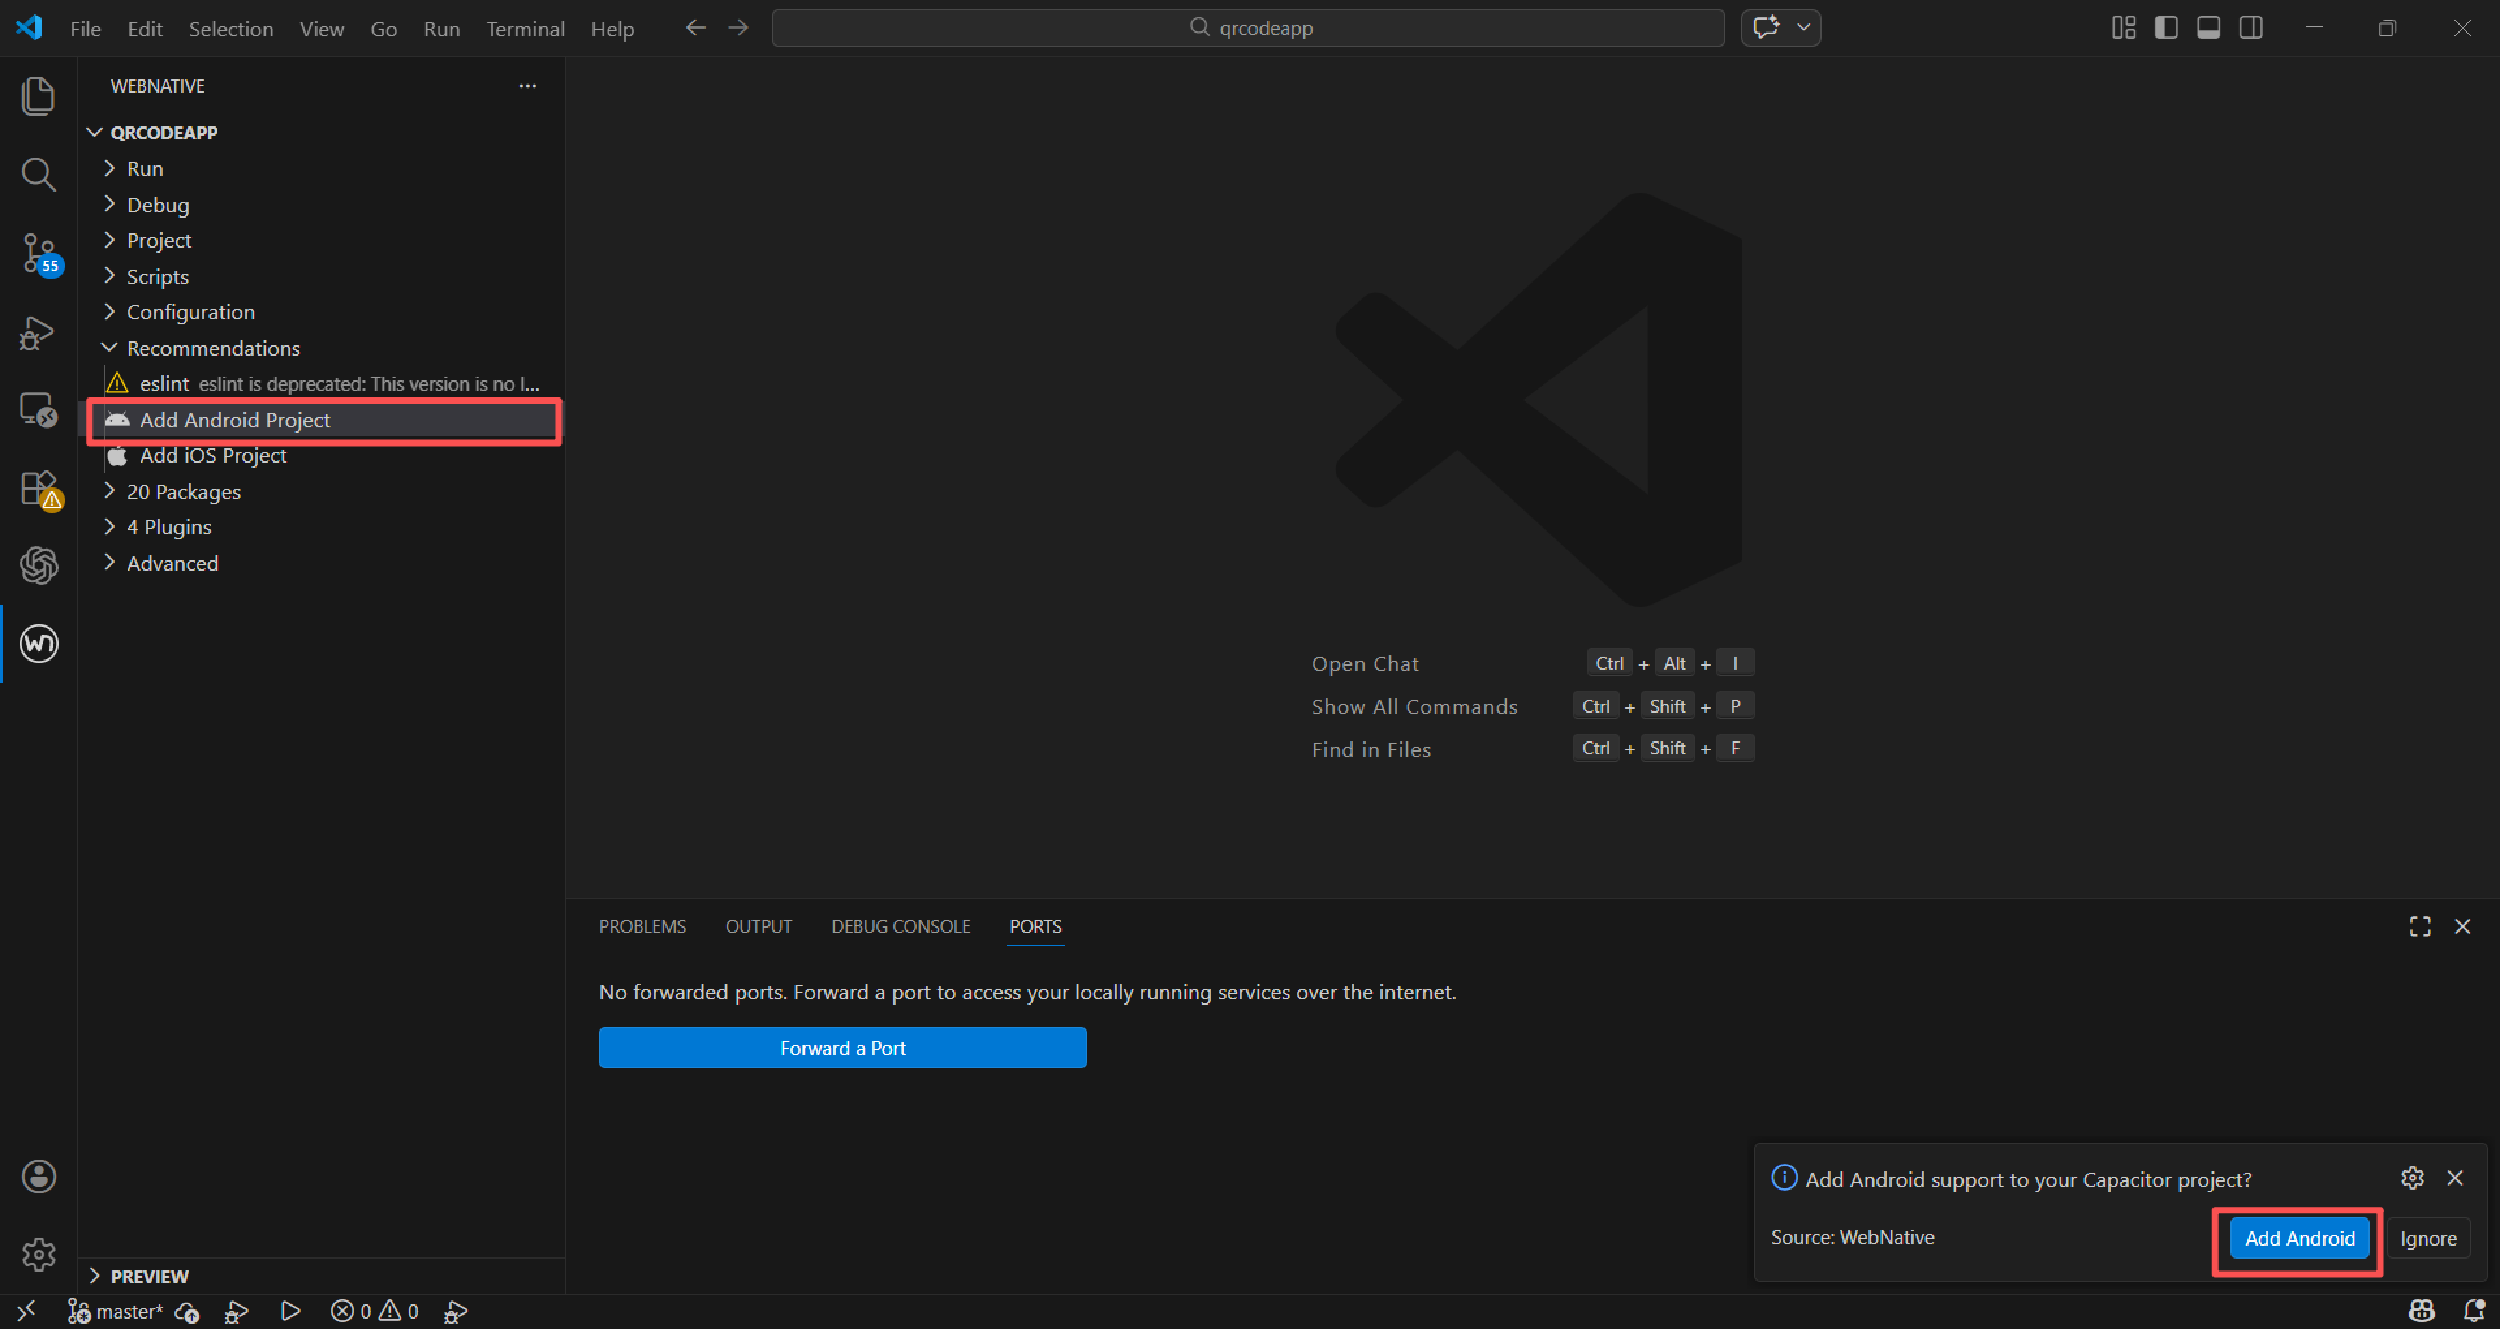
等待安装依赖完成。
安装完成后,项目中会新增一个android 文件目录,该目录中的文件主要用于打包当前应用为apk 相关的依赖和配置。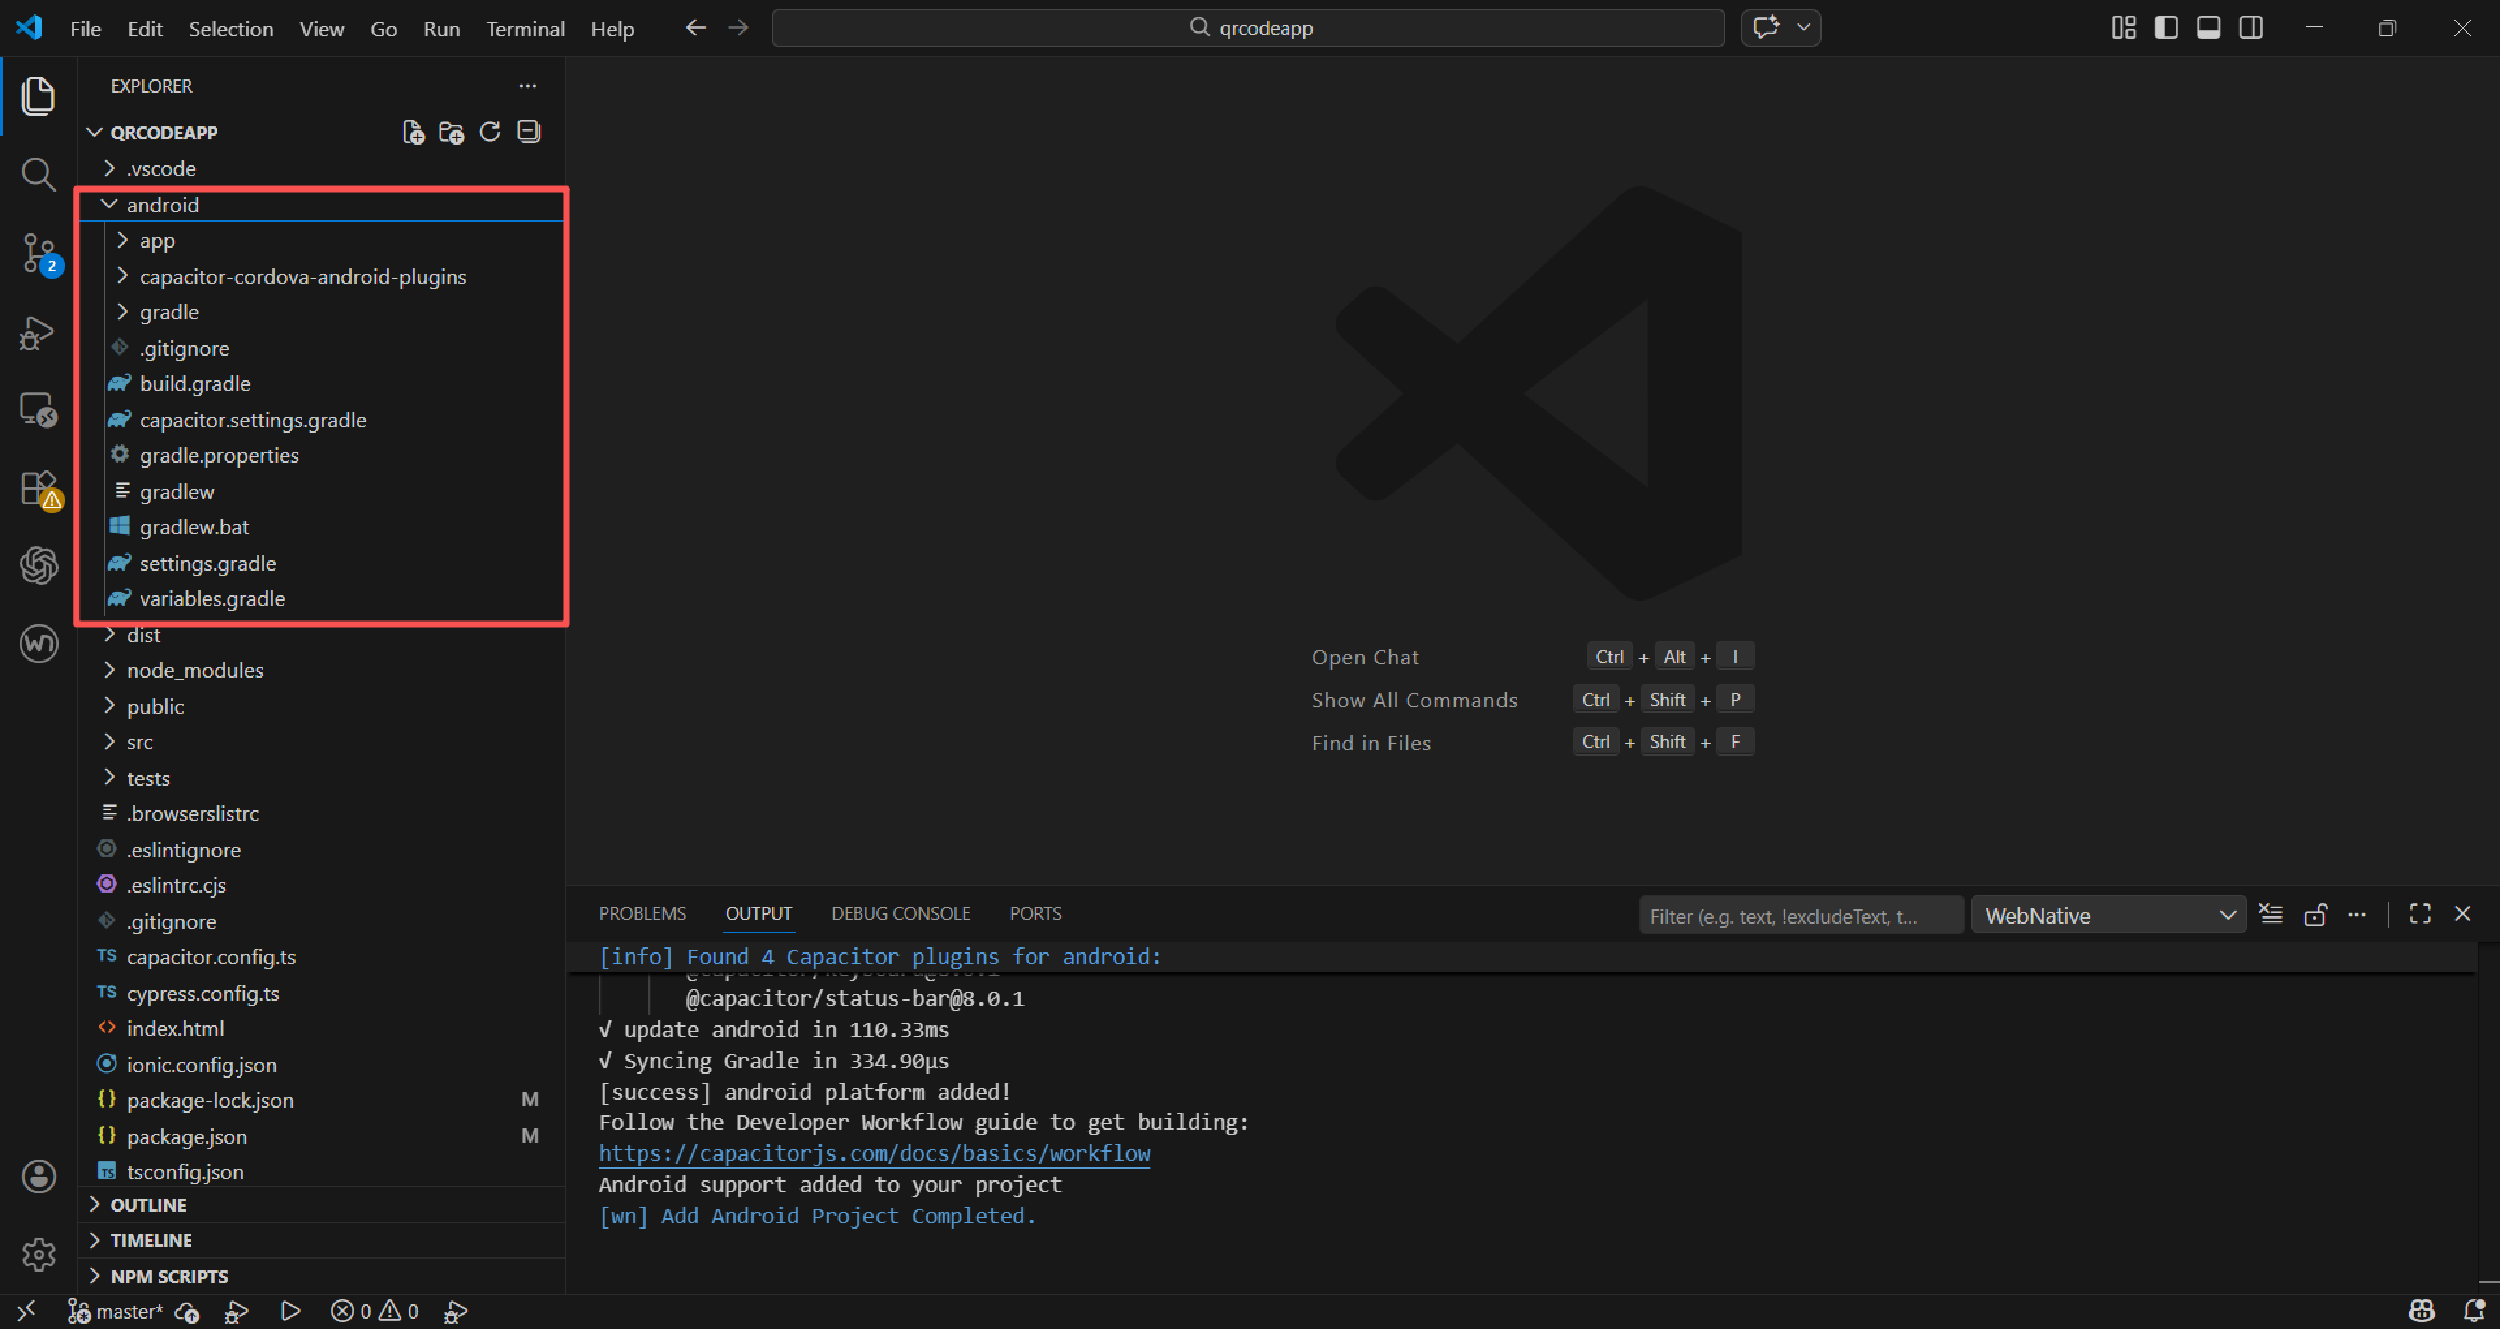
总结归纳
以上即为基本的ionic framework 从依赖下载到插件使用的基础介绍,接下来的文章将介绍对应基本的Android 打包过程和注意事项。

腾讯云面向开发者汇聚海量精品云计算使用和开发经验,营造开放的云计算技术生态圈。
更多推荐
 0
0 0
0- 0


 已为社区贡献1条内容

所有评论(0)