基于ansible的roles实现LNMP
本文介绍了使用Ansible自动化部署LNMP(Linux+Nginx+MySQL+PHP)环境及WordPress网站的详细过程。首先在纯净Linux环境中配置跨主机SSH免密认证,设置Ansible控制节点并调整软件源。通过角色(role)方式分别实现Nginx、PHP、MySQL和WordPress的模块化部署,包括用户创建、软件安装、服务配置等任务。最后通过编写playbook文件。最后拆
·
1.1项目环境准备
注意:本实验目标主机必须是纯净的linux环境,且所有主机必须开启跨主机免密码认证免密码认证
ssh-keygen    生成密钥、
ssh-copy-id root@10.0.0.19
ssh-copy-id root@10.0.0.19
1.1.1 项目架构
| 节点 | 系统 | IP | 服务 | 备注 |
| ansible | ubuntu | 10.0.0.13 | ||
| node-1 | ubuntu | 10.0.0.16 | nginx,php,wordpress | blog.test.com |
| node-2 | ubuntu | 10.0.0.19 | mysql |
1.1.2控制节点环境
软件源环境 - 仅ubuntu系统需要调整
rm -rf /etc/apt/sources.list.d/*
cat > /etc/apt/sources.list <<-eof
deb https://mirrors.aliyun.com/ubuntu/ noble main restricted universe multiverse
deb https://mirrors.aliyun.com/ubuntu/ noble-security main restricted universe multiverse
deb https://mirrors.aliyun.com/ubuntu/ noble-updates main restricted universe multiverse
deb https://mirrors.aliyun.com/ubuntu/ noble-backports main restricted universe
multiverse
eof
apt update
安装软件
root@ubuntu24-13:~# apt update
root@ubuntu24-13:~# apt install -y software-properties-common
安装ansible的专用软件源
root@ubuntu24-13:~# add-apt-repository --yes --update ppa:ansible/ansible安装ansible软件
root@ubuntu24-13:~# apt install -y ansible配置文件定制
root@ubuntu24-13:~# cat /etc/ansible/ansible.cfg
[defaults]
deprecation_warnings = False             #弃用警告
interpreter_python = /usr/bin/python3    #默认py版本
module_name=shell                        #默认模板为shell
定制主机清单
root@ubuntu24-13:~# cat /etc/ansible/hosts
[web]            #规定小组
10.0.0.13        # 组内成员
10.0.0.16        # 组内成员
10.0.0.19        # 组内成员
1.2 Ansible项目部署
1.2.1 环境准备
控制节点准备工作
mkdir /data/ansible/role/lnmp_case
cd /data/ansible/role/lnmp_case
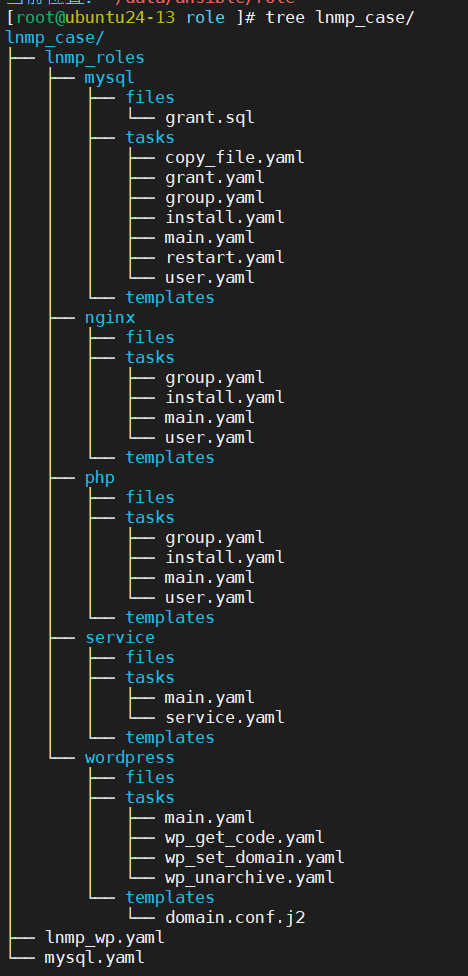
mkdir -p lnmp_roles/{mysql,nginx,php,service,wordpress}/{tasks,files,templates}1.2.2 nginx role实践
定制用户组
root@ubuntu24:lnmp_case# cat > lnmp_roles/nginx/tasks/group.yaml <<-eof
- name: add-nginx-group
  group: name=nginx gid=800 system=yes
eof
定制用户
root@ubuntu24:lnmp_case# cat > lnmp_roles/nginx/tasks/user.yaml <<-eof
- name: add-nginx-user
  user: name=nginx group=800 system=yes uid=800 create_home=no
eof
定制软件安装
root@ubuntu24:lnmp_case# cat > lnmp_roles/nginx/tasks/install.yaml  <<-eof
- name: install-nginx
  apt: name=nginx,unzip state=present
eof
定制主环境
root@ubuntu24:lnmp_case# cat > lnmp_roles/nginx/tasks/main.yaml <<-eof
- include_tasks: group.yaml
- include_tasks: user.yaml
- include_tasks: install.yaml
eof
1.2.3 php role实践
定制用户组
root@ubuntu24:lnmp_case# cat > lnmp_roles/php/tasks/group.yaml <<-eof
- name: add-php-group
  group: name=www-data gid=33 system=yes
eof
定制用户
root@ubuntu24:lnmp_case# cat > lnmp_roles/php/tasks/user.yaml <<-eof
- name: add-php-user
  user: name=www-data group=33 system=yes uid=33 create_home=yes home=/var/www=
shell=/usr/sbin/nologin
eof
安装软件
root@ubuntu24:lnmp_case# cat > lnmp_roles/php/tasks/install.yaml <<-eof
- name: install-php
  apt: name=php-fpm,php-mysqlnd,php-json,php-gd,php-xml,php-mbstring,php-zip state=present
eof
定制主环境
root@ubuntu24:lnmp_case# cat > lnmp_roles/php/tasks/main.yaml <<-eof
- include_tasks: group.yaml
- include_tasks: user.yaml
- include_tasks: install.yaml
eof
1.2.4 wordpress role实践
获取软件
root@ubuntu24:lnmp_case# cat > lnmp_roles/wordpress/tasks/wp_get_code.yaml <<-eof
- name: wget-wordpress
  get_url: url=https://cn.wordpress.org/latest-zh_CN.zip dest=/var/www/html/wordpress.zip
eof
解压文件
root@ubuntu24:lnmp_case# cat > lnmp_roles/wordpress/tasks/wp_unarchive.yaml <<-eof
- name: wp-unarchive
  unarchive: src=/var/www/html/wordpress.zip dest=/var/www/html/ owner=www-data group=www-data remote_src=yes
eof
定制配置
root@ubuntu24:lnmp_case# cat > lnmp_roles/wordpress/tasks/wp_set_domain.yaml <<-eof
- name: set-wp-domain
  template: src=domain.conf.j2 dest=/etc/nginx/sites-enabled/{{ WP_DOMAIN }}.conf
- name: rm-default-conf
  shell: rm -rf /etc/nginx/sites-enabled/default
eof
定制模版文件
root@ubuntu24:lnmp_case# cat > lnmp_roles/wordpress/templates/domain.conf.j2 <<-eof
server{
    listen {{ WP_PORT }};
    server_name {{ WP_DOMAIN }};
    include /etc/nginx/default.d/*.conf;
    root {{ WP_PATH }};
    index index.php index.html;
    location ~ \.php$ {
      include snippets/fastcgi-php.conf;
      fastcgi_pass unix:/run/php/php8.3-fpm.sock;
    }
}
eof
定制主任务
root@ubuntu24:lnmp_case# cat > lnmp_roles/wordpress/tasks/main.yaml <<-eof
- include_tasks: wp_get_code.yaml
- include_tasks: wp_unarchive.yaml
- include_tasks: wp_set_domain.yaml
eof
1.2.5 service role实践
定制服务启动
root@ubuntu24:lnmp_case# cat > lnmp_roles/service/tasks/service.yaml <<-eof
- name: service
  service: name={{ item.name }} state={{ item.state }} enabled={{ item.enabled }}
  loop: "{{ SERVICE_LIST }}"
eof
定制主任务
root@ubuntu24:lnmp_case# cat > lnmp_roles/service/tasks/main.yaml <<-eof
- include_tasks: service.yaml
eof
1.2.6 mysql role实践
定制用户组
root@ubuntu24:lnmp_case# cat > lnmp_roles/mysql/tasks/group.yaml  <<-eof
- name: add-mysql-group
  group: name=mysql gid=306 system=yes
eof
定制用户
root@ubuntu24:lnmp_case# cat > lnmp_roles/mysql/tasks/user.yaml <<-eof
- name: add-mysql-user
  user: name=mysql group=306 system=yes uid=306 create_home=no
eof
软件安装
root@ubuntu24:lnmp_case# cat > lnmp_roles/mysql/tasks/install.yaml <<-eof
- name: apt-install-mysql-server
  apt: name=mysql-server state=present update_cache=yes
- name: set-mysqld-conf-task-1
  lineinfile: path=/etc/mysql/mysql.conf.d/mysqld.cnf backrefs=yes regexp='^(bind-address.*)$' line='#\1'
- name: set-mysqld-conf-task-2
  lineinfile: path=/etc/mysql/mysql.conf.d/mysqld.cnf  line='skip-name-resolve'
- name: set-mysqld-conf-task-3
  lineinfile: path=/etc/mysql/mysql.conf.d/mysqld.cnf  line='default-authentication-plugin=mysql_native_password'
eof
服务重启
root@ubuntu24:lnmp_case# cat > lnmp_roles/mysql/tasks/restart.yaml <<-eof
- name: restart-mysql-service
  service: name=mysql enabled=yes state=restarted
eof
拷贝文件
root@ubuntu24:lnmp_case# cat > lnmp_roles/mysql/tasks/copy_file.yaml <<-eof
- name: copy-mysql-file
  copy: src=files/grant.sql dest=/tmp/grant.sql
eof
用户赋权
root@ubuntu24:lnmp_case# cat > lnmp_roles/mysql/tasks/grant.yaml <<-eof
- name: mysql-client-init
  shell: mysql </tmp/grant.sql
eof
定制文件
root@ubuntu24:lnmp_case# cat > lnmp_roles/mysql/files/grant.sql  <<-eof
create database if not exists wordpress;
create user 'wp_user'@'10.0.0.%' identified by '123456';
grant all on wordpress.* to 'wp_user'@'10.0.0.%';
flush privileges;
eof
定制主任务
root@ubuntu24:lnmp_case# cat > lnmp_roles/mysql/tasks/main.yaml <<-eof
- include_tasks: group.yaml
- include_tasks: user.yaml
- include_tasks: install.yaml
- include_tasks: restart.yaml
- include_tasks: copy_file.yaml
- include_tasks: grant.yaml
eof
1.2.7 最终实践
安装 nginx,php,wordpress,并配置域名
root@ubuntu24:lnmp_case# cat > lnmp_wp.yaml <<-eof
- hosts: 10.0.0.16
  remote_user: root
  gather_facts: no
  vars:
    WP_PORT: 80
    WP_DOMAIN: blog.test.com
    WP_PATH: /var/www/html/wordpress
    SERVICE_LIST: [ {name: nginx, state: restarted, enabled: yes},{name: php8.3-fpm, state: started, enabled: yes} ]
  roles:
  - lnmp_roles/nginx
  - lnmp_roles/php
  - lnmp_roles/wordpress
  - lnmp_roles/service
eof
安装mysql,并创建空数据库,并完成授权
root@ubuntu24:lnmp_case# cat > mysql.yaml <<-eof
- hosts: 10.0.0.19
  remote_user: root
  gather_facts: no
  roles:
  - lnmp_roles/mysql
eof
完成以上步骤得到下图中的所有文件,其中有些目录中没有文件,可以直接删除
1.2.8 开始部署Mysql
部署数据库
root@ubuntu24:lnmp_case# ansible-playbook mysql.yaml检测效果 ####查看目标主机3306端口否开启
root@top-node1:lnmp_case# ansible 10.0.0.19 -m shell -a "netstat -tnulp| grep 3306"远程登录数据库
root@top-node1:lnmp_case# ansible 10.0.0.19 -m shell -a "mysql -uwp_user -h 10.0.0.19 -p123456 -e 'show databases;'"
1.2.9开始搭建web环境
root@ubuntu24:lnmp_case# ansible-playbook lnmp_wp.yaml1.2.10 检测效果
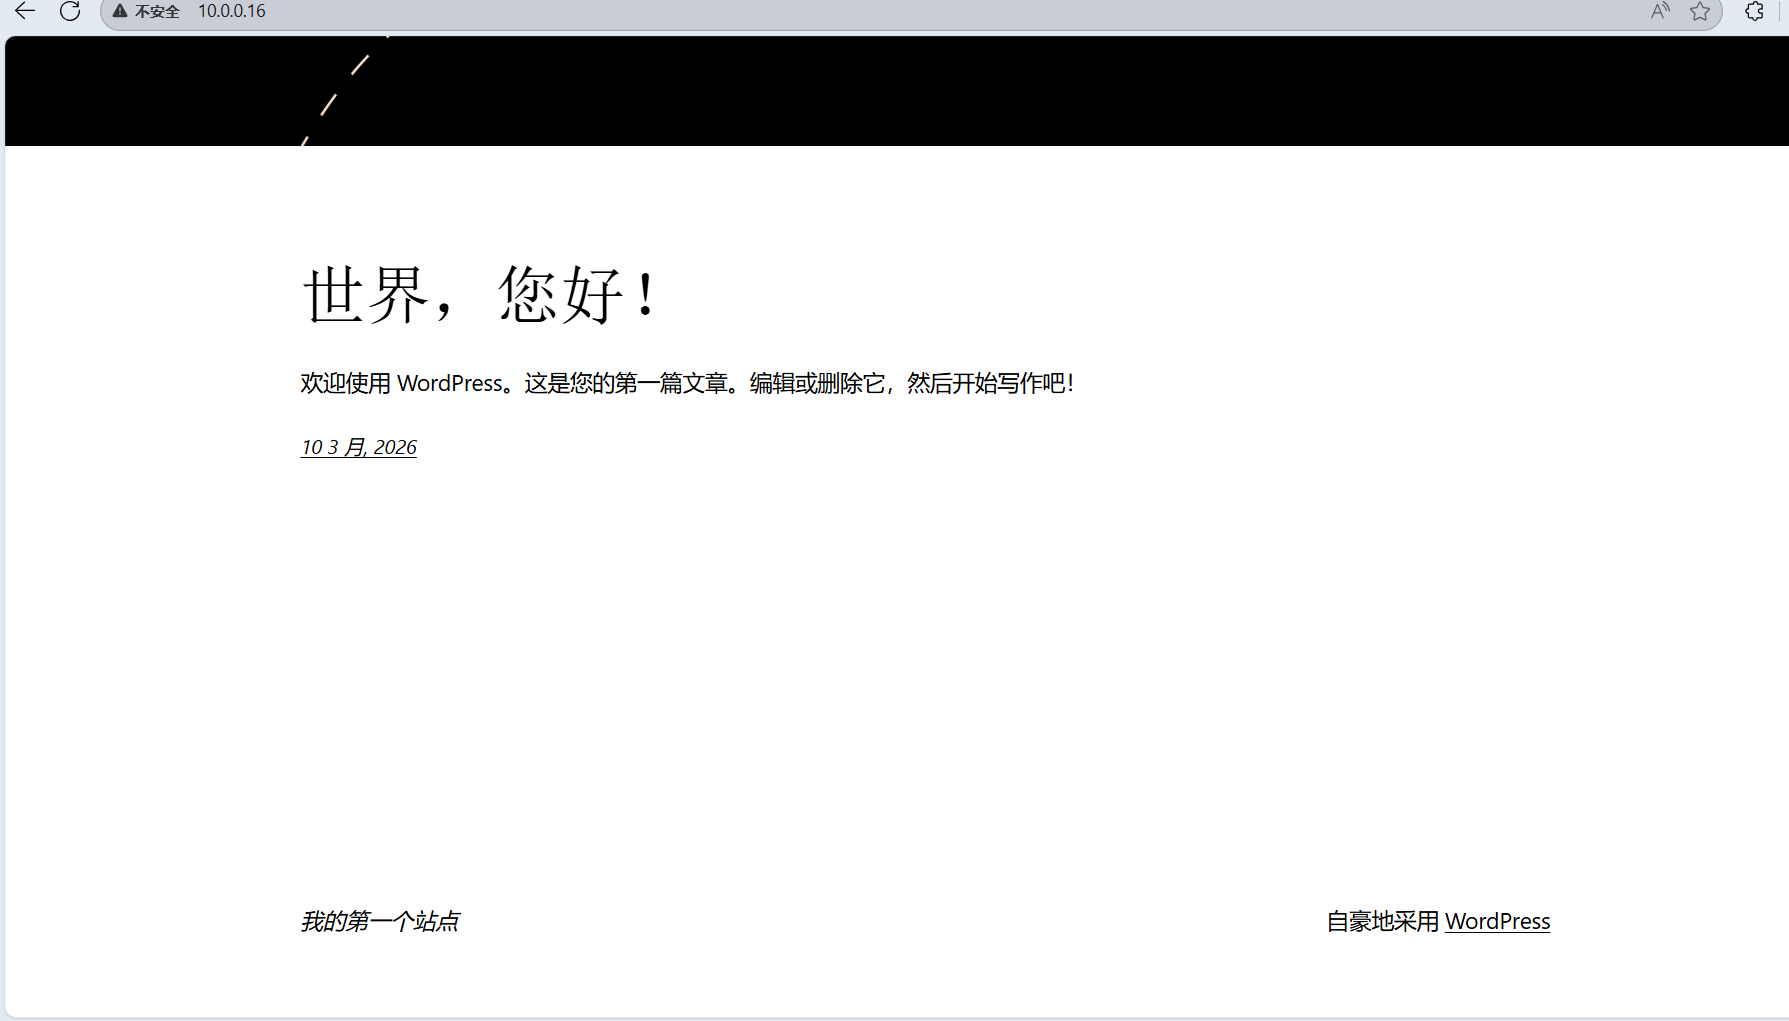
注:这不是第一个界面,第一界面为配置数据库等

腾讯云面向开发者汇聚海量精品云计算使用和开发经验,营造开放的云计算技术生态圈。
更多推荐
 4
4 0
0- 0


 已为社区贡献1条内容

所有评论(0)